Brewing 101: Complete All-Grain Homebrew Guide from Mash to Keg
All-grain brewing demystified with a practical end-to-end guide that covers equipment, mashing at 148–156°F, fermentation control, and packaging from bottles to kegs.

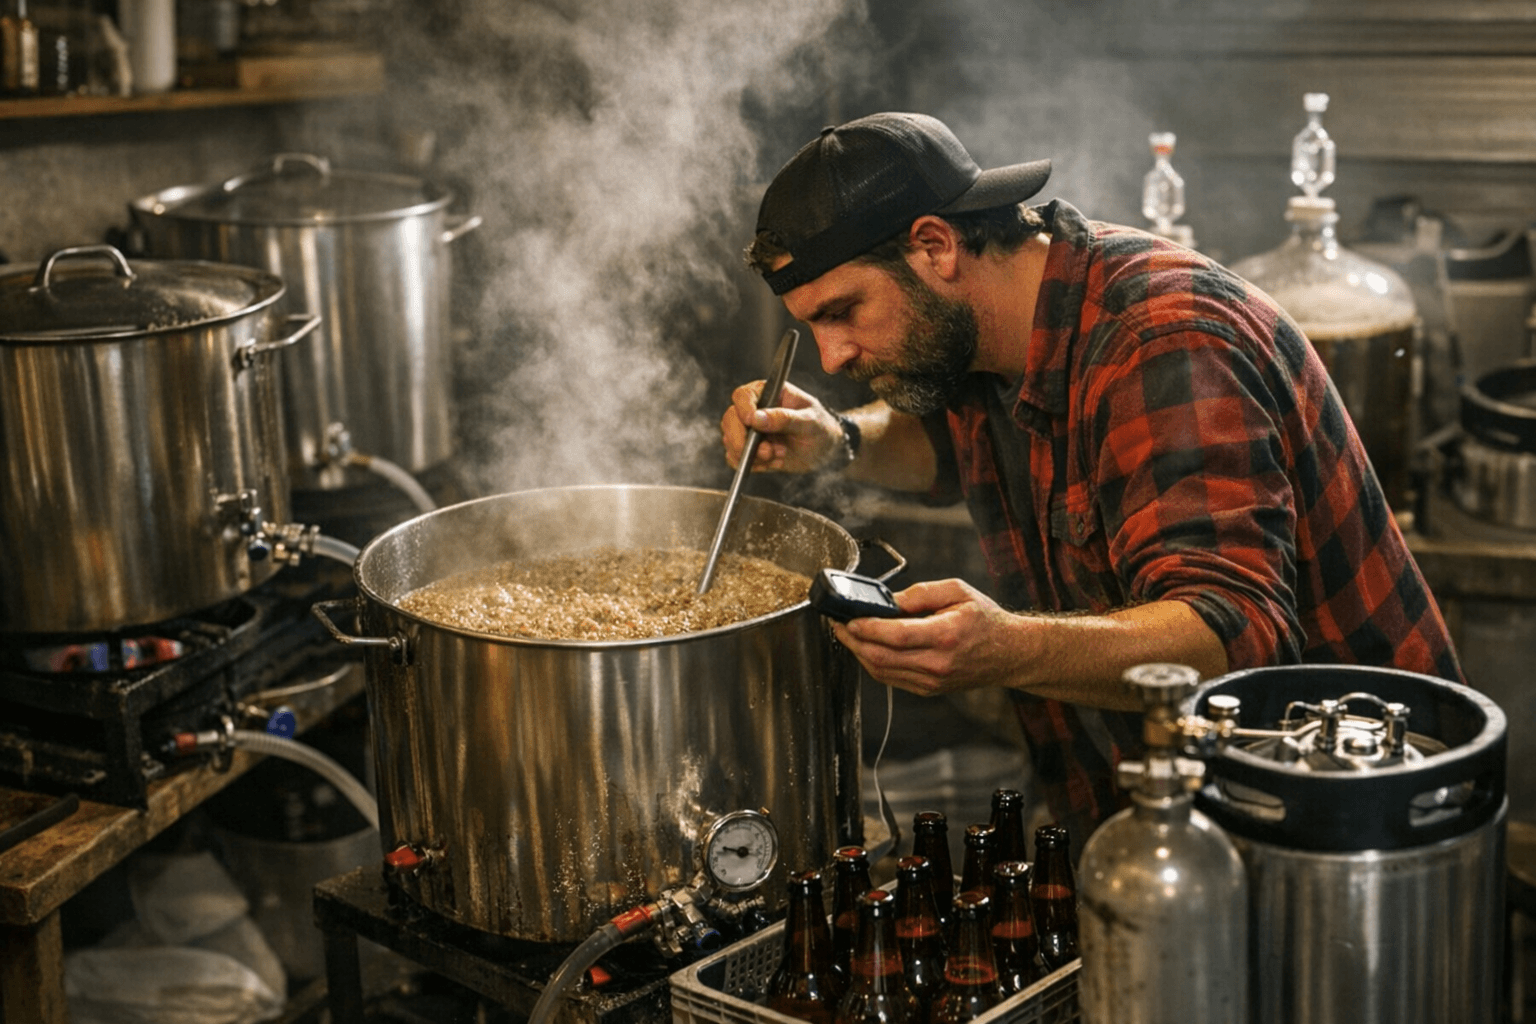
Moving from extract to all-grain brings control over mash chemistry and beer character, and this guide walks you through a full all-grain brew day from mash to keg. Start with equipment: a boil kettle, mash tun or BIAB option, a fermenter, an immersion or counterflow chiller, a hydrometer or digital refractometer, sanitization tools, and optional temperature control or a fermentation chamber. Size kettles and mash tuns to account for boiloff and pre‑ and post‑boil volumes, and plan for a spare bucket or carboy for transfers.
Water and mashing set the beer’s body. Calculate strike water to hit your target mash temperature, then choose a mash rest in the 148–156°F range depending on the body you want; lower temps favor fermentable wort and drier beers, higher temps produce more body. Convert starches to sugars with single or step mashes in a mash tun, or use BIAB for a simplified infusion method. Sparge by batch or fly if you use a mash tun, and time your lautering to avoid tannin extraction.
Boil procedures and hop timing determine bitterness, flavor, and aroma. Schedule bittering hops early in the boil, flavor additions mid‑boil, and aroma or whirlpool hops late. Use whirlpool or late-hop techniques and dry‑hopping for hop-forward styles such as IPAs and pale ales. Late hop additions and careful dry hop timing preserve volatile aromatics.
Cooling and yeast handling are critical. Chill wort rapidly with an immersion or counterflow chiller to minimize DMS and infection risk. Oxygenate or aerate wort appropriately for ale yeasts; build a yeast starter for high‑gravity beers and control pitching temperature to avoid stress. Primary fermentation follows a schedule matched to your strain and gravity; maintain stable temperatures to prevent diacetyl, acetaldehyde, excess esters, or phenols. Consider racking or using a secondary fermenter when clarifying, aging, or dry‑hopping, and note longer conditioning for lagers and barrel‑aged beers.
Packaging choices affect time and equipment. Bottling requires priming sugar calculations for natural carbonation; kegging uses forced carbonation and targets expressed in volumes of CO2. Follow CO2 safety protocols and secure tanks and fittings.
Troubleshooting begins with identification: diacetyl, acetaldehyde, esters, and phenols often stem from temperature swings, infection, or under‑attenuation. Sanitize thoroughly, control temps, and allow adequate conditioning to correct many issues.
This practical flow, from strike water through conditioning and packaging, equips you to plan a successful first all‑grain brew day whether you choose BIAB or a mash tun. Check your equipment fits your batch size, follow sanitation and temperature control, and expect better consistency and flavor control as you move from extract brewing into full all‑grain.
This article was produced by Prism’s automated news system from verified source data, official records, and press releases, then run through automated quality and moderation checks before publishing. The system is built and supervised by the people who set the standards it runs under. Read our full AI policy.
Did this article answer your question?