Your Complete Beginner Checklist for Safe, Effective Cold Plunging
Gradual cold-plunge progression boosts adherence by up to 60%, yet most beginners skip the ramp. Here's the eight-week checklist that actually gets you in safely.

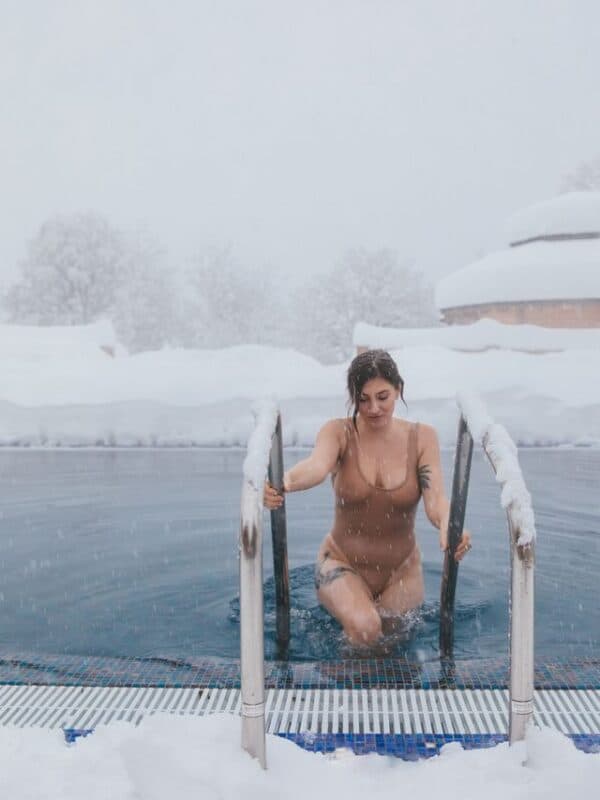
A chest freezer humming quietly in a garage, water sitting at a crisp 50°F. A stock tank on a back porch with a bag of ice dissolving at the surface. A community studio with a glowing plunge tub and a sign-up sheet by the door. Cold plunging has moved from elite sports recovery into everyday life so fast that the global market for dedicated cold plunge tubs was valued at nearly $382 million in 2025 and is projected to surpass $534 million by 2033. With that growth comes an enormous wave of first-timers, many of whom step in without a protocol, a plan, or any idea what their body is about to do.
That unpreparedness is the real risk. Not the cold itself.
Start Here: Medical Clearance Is Non-Negotiable
Before you buy a bag of ice or book a studio session, one question cuts through everything else: do you have a condition that makes cold immersion genuinely dangerous for you? Cardiovascular disease, uncontrolled hypertension, epilepsy, and serious respiratory conditions each represent a hard stop until you have a clinician's sign-off. Cardiologists, including those at major health institutions focused on cardiac care, consistently advise that anyone with a history of heart disease consult their physician before beginning any cold plunge routine. The American Heart Association has raised similar cautions specifically for cardiac patients, noting the limited research on cold water immersion in people with heart conditions. This is not boilerplate. The cold shock response can spike heart rate and blood pressure within seconds, and for someone with an underlying condition, that physiological load can be genuinely dangerous. Get the clearance first; then get in.
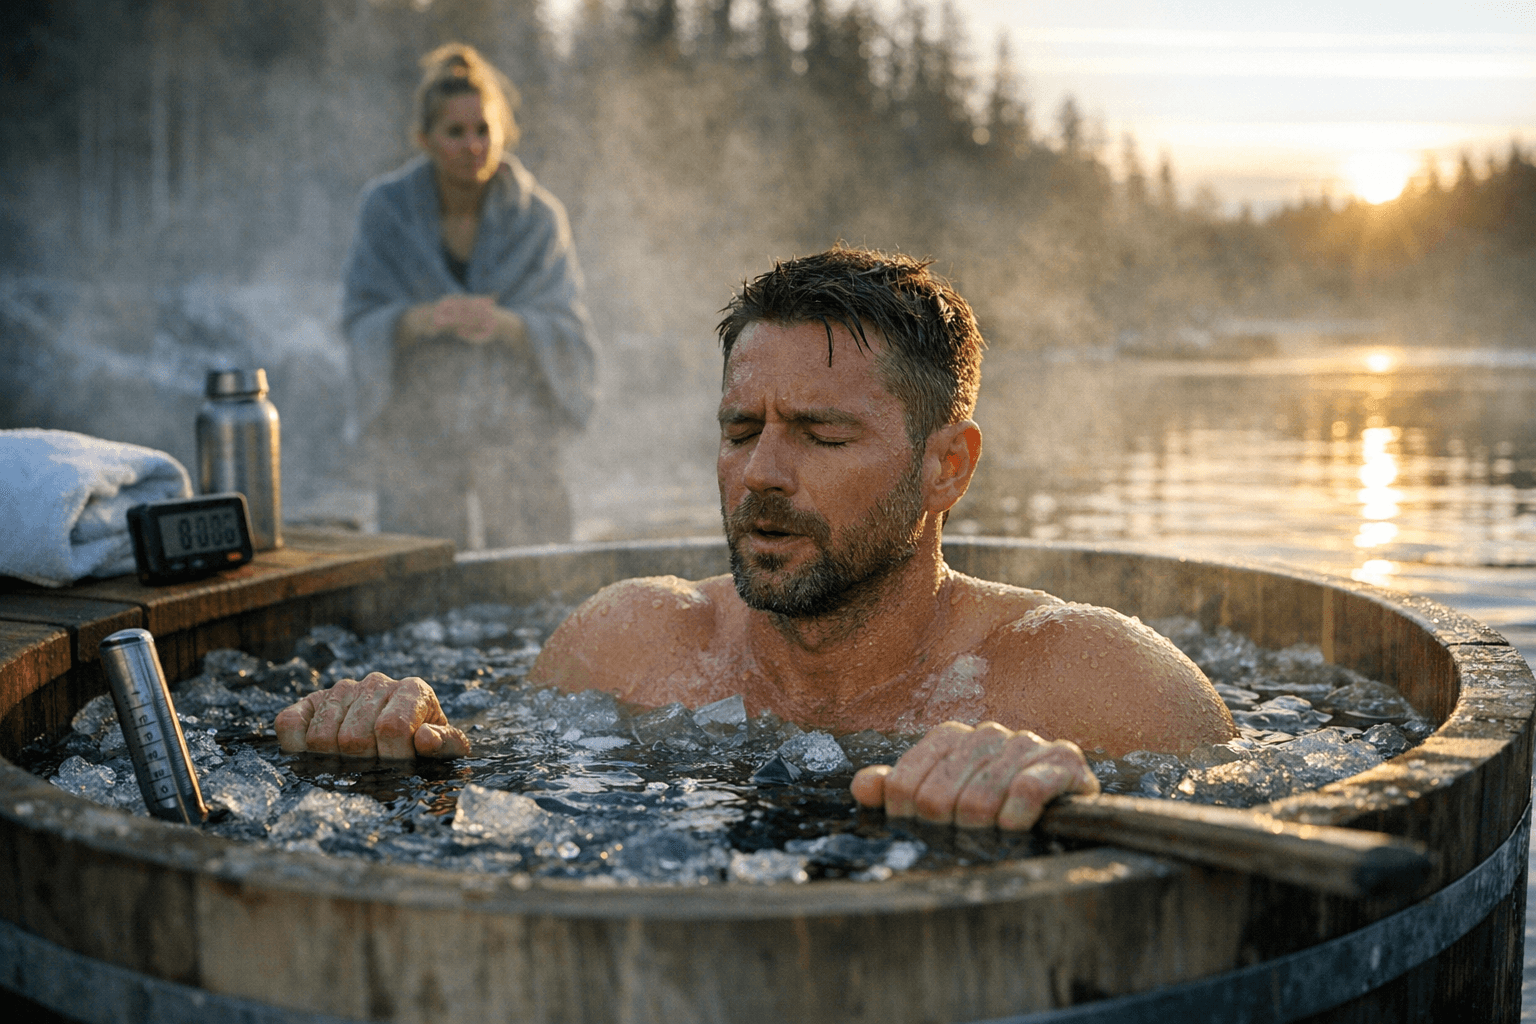
What Your Body Does in the First 30 Seconds
Understanding the cold shock response is the single most valuable piece of knowledge you can have before your first plunge. The moment cold water hits your skin, your body triggers an involuntary gasp, followed by rapid, uncontrolled breathing and a sharp spike in both heart rate and blood pressure. Blood vessels constrict. Disorientation is possible. In open water, this loss of breath control becomes a drowning risk. In a controlled home tub, it is manageable, but only if you know it is coming and have trained your breathing in advance.
This is exactly why breath work is a prerequisite, not an afterthought. Gentle, paced breathing, slow inhales and long exhales through the nose and mouth, counteracts the gasp reflex and keeps your nervous system from escalating into full panic. Hyperventilation is the opposite of what you want: it depletes carbon dioxide, worsens disorientation, and makes the experience harder to sustain or repeat. Practicing controlled nasal breathing in the weeks before your first plunge means it is already a habit by the time you actually need it.
Your 8-Week Launch Protocol
The biggest predictor of whether beginners stick with cold plunging is how aggressively they start. Research on temperature progression shows adherence is 40 to 60 percent higher when newcomers ramp gradually rather than diving straight into sub-50°F water. The following eight-week schedule is built around that principle.
1. Weeks 1–2: Cold showers only, 30 seconds each session. The goal is familiarizing your nervous system with cold-water contact, not suffering. Your household water supply temperature is naturally limiting here, and that is fine.
2. Weeks 3–4: Extend cold showers to 60–90 seconds and add a brief 30-second tub dip if you have home access. This is where you experience full-body immersion for the first time.
3. Weeks 5–6: Introduce 1–2 minute tub dips or cold-water swims with a buddy present. Any open-water session requires a partner; no exceptions at this stage.
4. Weeks 7–8: Progress to 2–4 minute controlled plunges, continuing breath and recovery work throughout. Target frequency is 2–4 sessions per week with rest days between.
Do not accelerate this schedule because you feel fine after the first week. The acclimation happening in Weeks 1 through 4 is physiological, not just psychological, and compressing it removes the safety margin that matters most when conditions are less than ideal.
Temperature and Time: The Two Variables You Control
For beginners, the target water temperature is 50–59°F (10–15°C). This range is cold enough to trigger the sympathetic activation and mood response that draws most people to the practice, while staying clear of the zone where thermal shock becomes genuinely dangerous. Water colder than 50°F is territory for experienced practitioners, not first-timers navigating their early weeks.
Start with 30–60 seconds per session and build toward 2–3 minutes over several weeks. Use a thermometer every session. Do not guess. Water temperature varies widely depending on your source, ambient air temperature, and whether you are using ice, and the difference between 55°F and 45°F is not trivial from a physiological standpoint. Knowing your numbers is part of the discipline.
Gear on Every Budget
You do not need to spend thousands to plunge effectively. The setup tiers break down simply:
- Entry (under $100): A large plastic storage tub or repurposed container filled with cold tap water and ice bags. Functional, minimal, and the approach many serious practitioners started with long before the market matured.
- Mid-range ($300–$800): A purpose-built soft-shell cold plunge tub or a converted stock tank with a basic chiller. These hold temperature more consistently and are easier to maintain across multiple sessions.
- Premium ($3,000–$5,000+): Branded units with built-in chillers, integrated filtration, and precise temperature displays. Convenient and consistent, but the benefit over a well-managed mid-range setup plateaus quickly for most users.
Wherever you land on the budget spectrum, two additions matter regardless of price: a waterproof thermometer and non-slip footwear for getting in and out. Filtration becomes important the moment you are reusing water across sessions; a simple pool-grade filter cartridge or regular full water changes prevent bacterial buildup that DIY setups are prone to without maintenance.
The Buddy Rule and Environment Checks
The rule is simple: never plunge in open water alone. Currents, tides, slippery banks, and the disorientation that follows cold shock make solo open-water immersion genuinely high-risk regardless of your fitness level. Before any outdoor session, check currents, inspect access and exit points, and confirm your partner knows what to do if something goes wrong.
For home tubs, having someone nearby, not just somewhere in the house but actively aware you are plunging, is the baseline standard. It is easy to skip this step when everything is going smoothly. It matters most on the day something does not.
Recovery Done Right
How you come out of a plunge matters almost as much as how you get in. Have towels, warm clothing, and a pre-warmed space ready before you step in, not after. The goal coming out is gradual rewarming: dry off, layer up, and let your heart rate stabilize before doing anything strenuous.
Two things to actively avoid: stepping directly into a scalding shower, which forces an abrupt vascular reversal your system does not need, and using alcohol before any session. Intoxicants impair thermoregulation and judgment simultaneously, which is the worst possible combination when your core temperature is actively dropping.
Common Failure Points
The patterns that derail beginners cluster consistently around the same mistakes:
- Going too cold too fast. Starting at 45°F with no prior cold exposure is the most reliable way to have a bad first experience and not return.
- Skipping the breath work. Entering a plunge without a practiced breathing pattern means the shock response runs unchecked.
- No warm-up plan in place before getting in. Getting out wet with nothing ready turns your recovery into a second ordeal.
- Attempting solo open-water plunges on the first few outings, even if you are a strong swimmer.
- Treating pain signals as something to push through. Violent shivering, numbness in the extremities, or chest tightness are signals to exit immediately.
What to Track Week by Week
Keep a simple log: date, water temperature, session duration, how you felt entering, and how you felt in the hour after. Over eight weeks this becomes a genuine data set. You will see your breath control stabilize, your perceived intensity at a given temperature decrease, and your recovery time shorten. Frequency matters as much as intensity: 2–4 sessions per week with rest days is the window where adaptation happens without overloading the system.
The beginner who plunges at 55°F for 90 seconds, four times a week, with controlled breathing and a solid recovery routine, will adapt faster and benefit more than someone who attempts 40°F water once on a dare and never goes back. Consistency at a manageable temperature builds the foundation. Once that foundation is solid, colder water and longer sessions follow naturally.
This article was produced by Prism’s automated news system from verified source data, official records, and press releases, then run through automated quality and moderation checks before publishing. The system is built and supervised by the people who set the standards it runs under. Read our full AI policy.
Did this article answer your question?