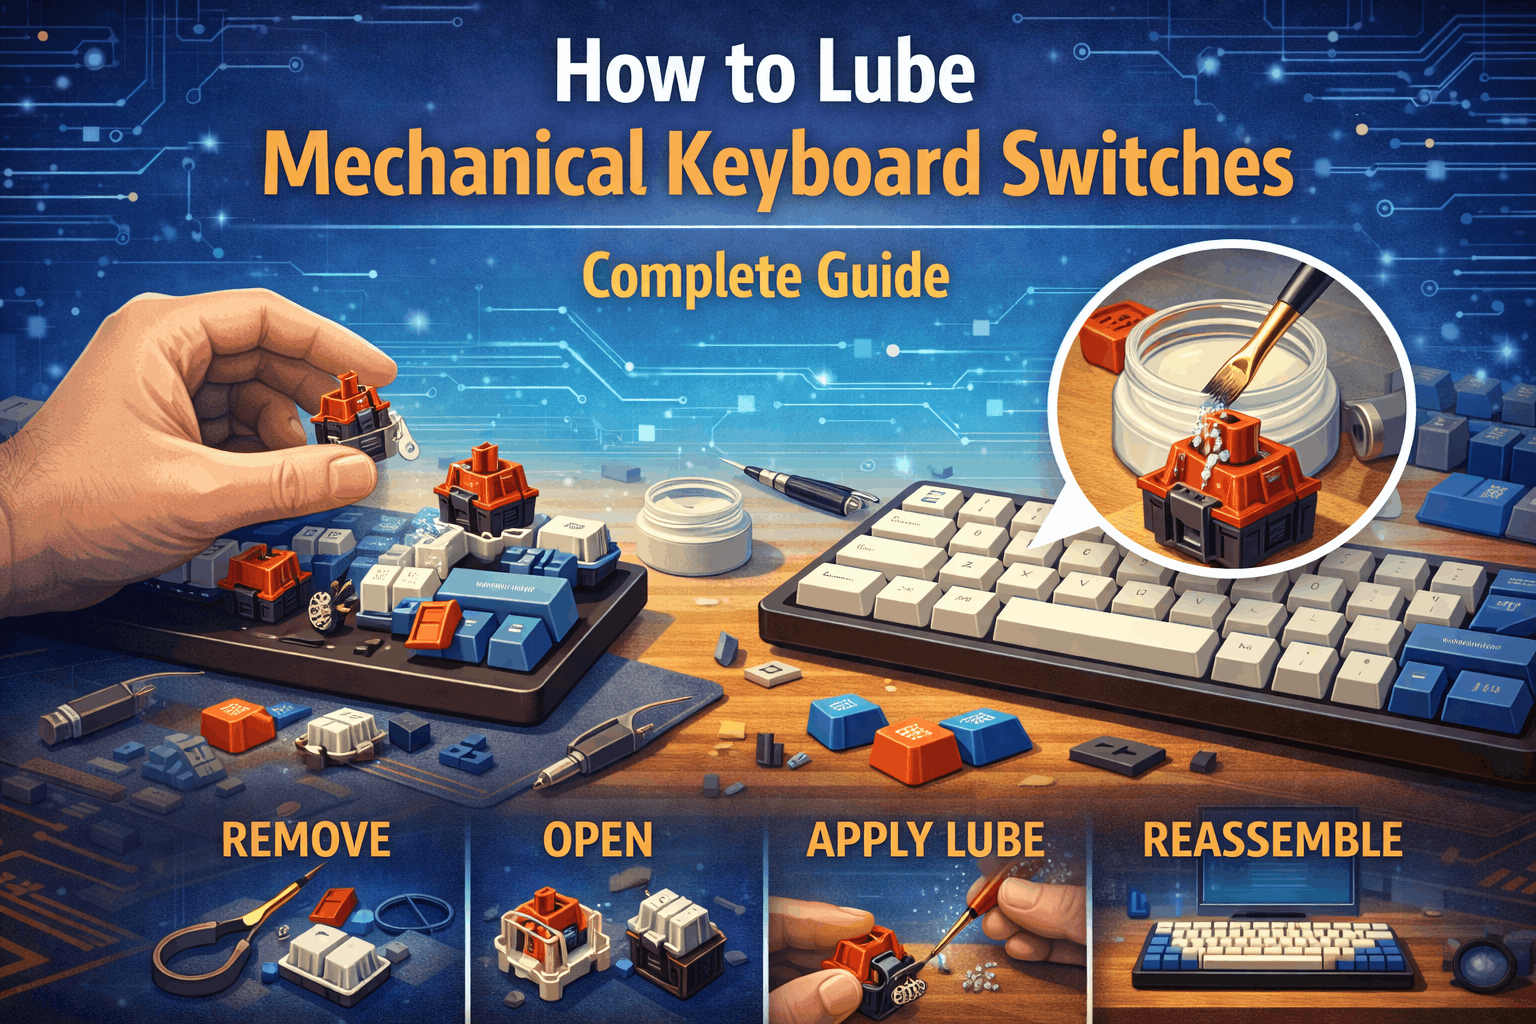
Complete Guide to Lubricating Mechanical Keyboard Switches for Better Feel and Sound
Lubing your switches transforms how a board feels and sounds, and mastering the technique is one of the most impactful mods you can do.
Few modifications deliver as dramatic a transformation as lubing your switches. Whether you're chasing that satisfying thocky sound, a smoother linear travel, or a crisper tactile bump, the right lubricant applied correctly is the single most impactful thing you can do to tune a build. This guide walks through everything you need to know, from choosing the right lube to applying it without killing your switch's character.
Why lubing matters
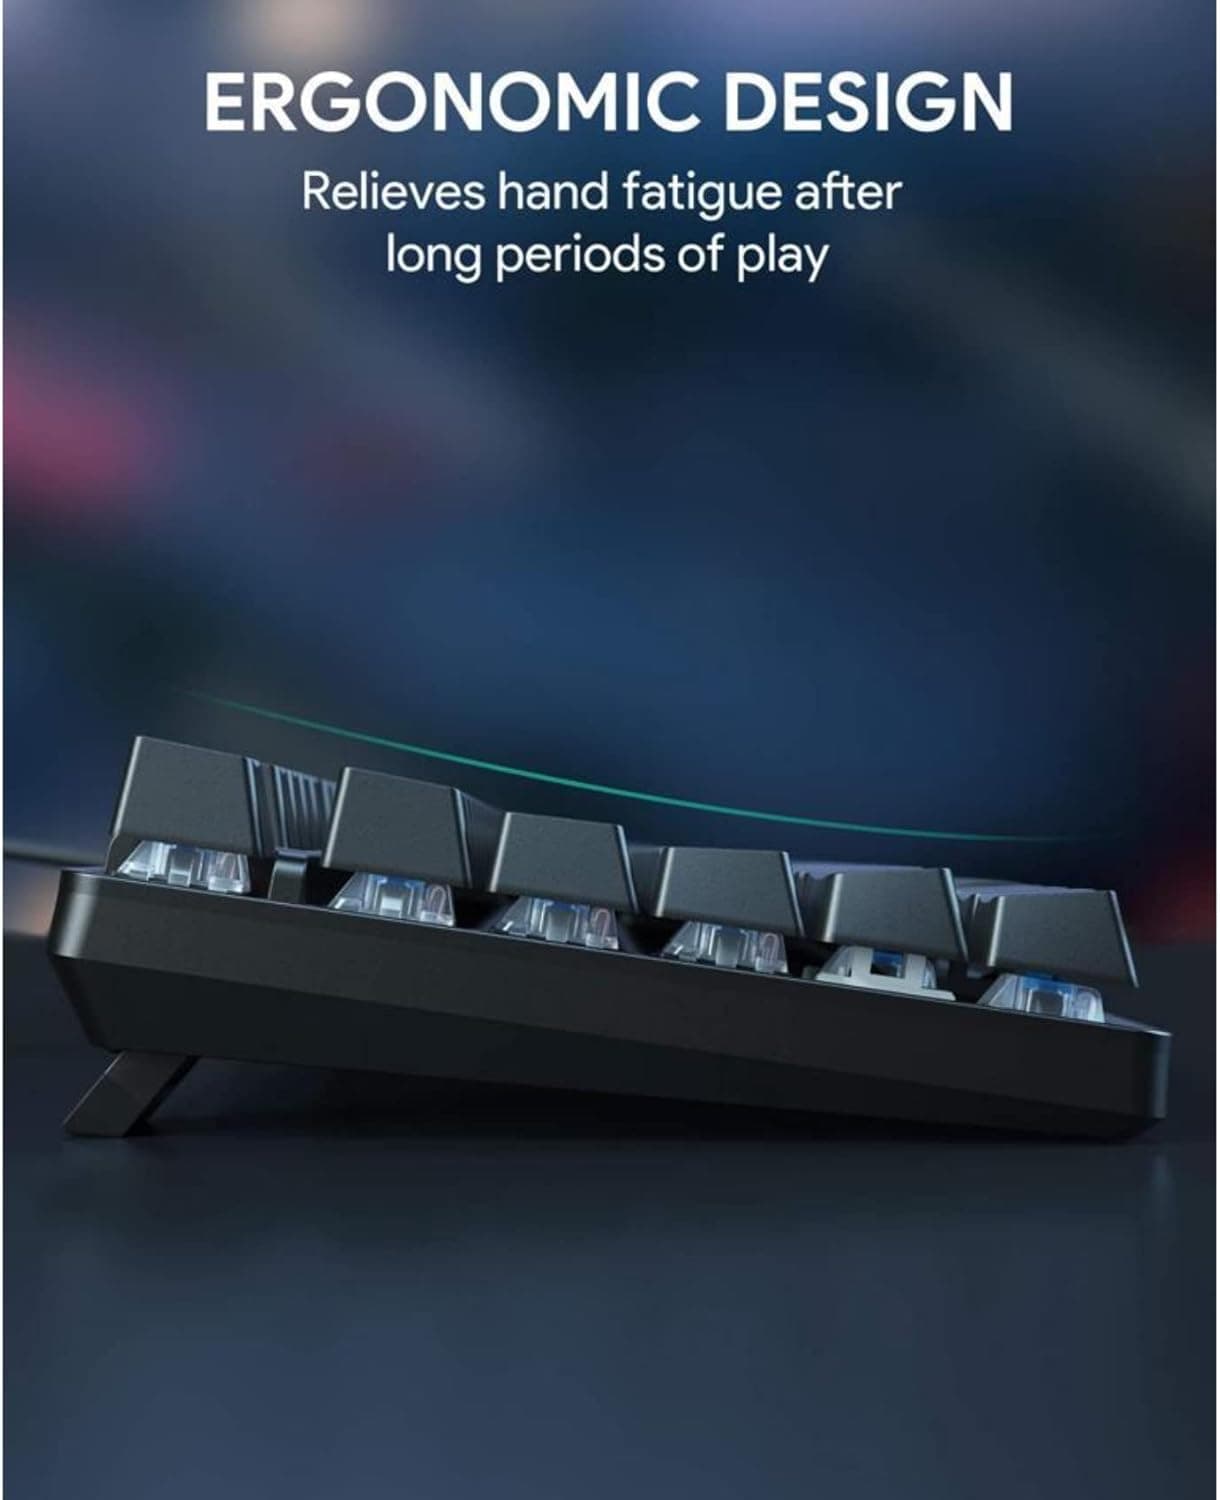
Stock switches, even premium ones, come with friction. The plastic-on-plastic contact between the stem, housing, and spring creates scratchiness and unwanted noise that no amount of expensive keycaps will fix. Lubing eliminates that friction by introducing a thin, consistent layer of lubricant across the moving surfaces. The result is a smoother keystroke, a more controlled sound profile, and a board that simply feels more deliberate and refined under your fingers.
Beyond smoothness, lube changes acoustics in ways that builders actively chase. A well-lubed linear switch goes from a scratchy clack to a deep, muted thock. A tactile gets its rougher edges polished without necessarily losing the bump itself, if you apply carefully. Understanding what you want from the end result shapes every decision that follows.
Choosing the right lubricant
Not all lubes are created equal, and using the wrong one is one of the most common beginner mistakes. The mechanical keyboard community has largely converged on a few trusted options, each suited to different switch types and desired outcomes.
- Krytox 205g0 is the gold standard for linear switches. It's a thick grease that coats surfaces evenly and produces that buttery, smooth feel most builders are after. Apply it too heavily and you'll get a mushy, slow-feeling switch, so thin coats are essential.
- Krytox 105 is a thin oil, not a grease, and it's the go-to for springs. Bag lubing springs with 105 is faster and more consistent than brushing them individually.
- Tribosys 3203 sits between 205g0 and a thinner grease in viscosity, making it popular for tactile switches like Holy Pandas or Boba U4s where you want smoothness but need to preserve the tactile bump. Avoid lubing the tactile legs of a stem with thick grease, or you'll flatten the bump noticeably.
- Tribosys 3204 is slightly thicker than 3203 and sits just below 205g0 in weight. Some builders use it on linears when they want a touch less resistance than 205g0 provides.
Avoid petroleum-based products or anything not formulated for plastics. They degrade switch housings over time and create more problems than they solve.
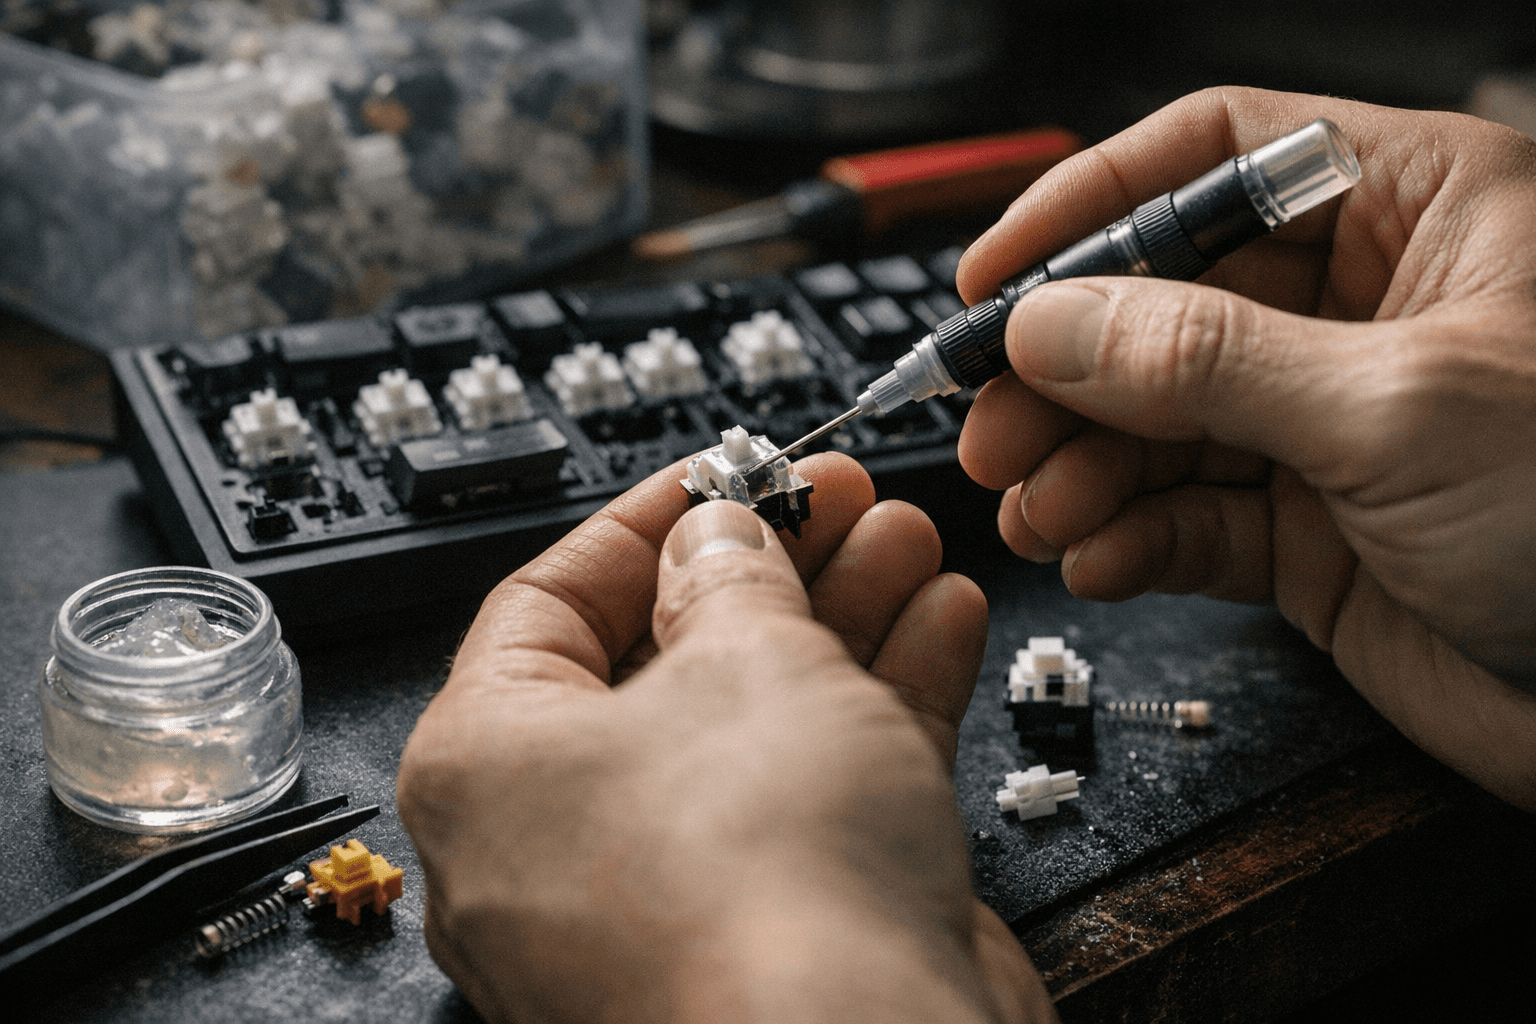
What you'll need
Before cracking open your first switch, gather the right tools. Trying to lube without a proper switch opener, for example, leads to scratched housings and frustration.
- Switch opener (3-pin and 5-pin compatible)
- Small paintbrushes (size 0 or 00 for precision work)
- Switch puller
- A small container or lube station to hold open switches while working
- Krytox 105 and a small zip-lock bag for spring lubing
- Your chosen grease lube (205g0, 3203, or 3204 depending on switch type)
A stem holder is optional but speeds up the process considerably when you're working through 70 or 100 switches.
The lubing process
Lubing switches is repetitive work. Budget an hour or two for a full board, more if it's your first time. Breaking it into stages makes the job manageable.
1. Open the switch. Use your switch opener to separate the top housing from the bottom.
Pop the stem out and set the spring aside. Keep each switch's components together if possible.
2. Lube the spring. Drop all your springs into a small zip-lock bag, add a few drops of Krytox 105, seal it, and shake thoroughly for 30 to 60 seconds.
This bag lube method coats every spring evenly and saves significant time compared to brushing each one individually. Lay them out on a paper towel to dry briefly before reassembly.
3. Lube the stem. This is where precision matters most.
Dip your brush lightly into the grease and wipe most of it off. You want a thin, even layer, not a glob. Brush the four sides of the stem legs and the cylinder, but if you're working with tactiles, leave the tactile legs completely untouched. Even a light coat on those legs will noticeably reduce bump feedback.
4. Lube the bottom housing. Apply a thin coat to the rails inside the bottom housing where the stem legs travel.
Some builders also lube the inside of the cylindrical channel lightly. Avoid the contact leaves in linear switches because over-lubing there can affect actuation consistency.
5. Lube the top housing (optional). Many builders skip this step, but a light pass on the inside of the top housing where it contacts the stem can add a little extra smoothness.
It's a marginal gain and not worth overdoing.
6. Reassemble and test. Clip the switch back together, give the stem a few manual pushes to feel the result, and move on to the next one.
Common mistakes to avoid
Over-lubing is the most frequent error, and it's particularly costly with tactiles. If 205g0 finds its way onto tactile legs, the bump becomes mushy or disappears entirely. The fix is disassembly and careful cleaning with isopropyl alcohol, which is time-consuming. Start light and add more in a second pass if needed.
Inconsistent brush loading is another issue. Dipping heavily into the pot and applying directly produces uneven coverage. Always wipe excess off the brush before touching any switch component.
Finally, don't rush spring lubing by skipping the bag method. Individually brushing springs wastes time and rarely achieves the same consistency as the bag shake technique.
Film and switch feel
Switch films deserve a mention here because many builders apply them during the same disassembly session as lubing. Films are thin gaskets, typically PORON or polycarbonate, that sit between the top and bottom housing halves. They tighten the housing fit, reduce wobble, and alter acoustics further. Polycarbonate films tend to produce a brighter, tighter sound; PORON films dampen resonance for a deeper profile. If you're already going switch by switch, adding films costs very little extra time.
Clicky switches: a firm boundary
Leave clicky switches alone. Lubing the click jacket or click bar mechanism on switches like Cherry MX Blues or Box Whites will compromise or destroy the click. The tactile click on these switches relies on precise mechanical interaction that lubricant disrupts. If you want a smoother clicky switch, the answer is finding a different switch altogether, not reaching for the 205g0.
Lubing is a skill that improves quickly with repetition. The difference between a first attempt and a tenth is usually confidence with coat thickness and speed of execution. Once you've dialed in your technique on a set of linears, the principles translate cleanly to every other switch type you'll encounter.
This article was produced by Prism’s automated news system from verified source data, official records, and press releases, then run through automated quality and moderation checks before publishing. The system is built and supervised by the people who set the standards it runs under. Read our full AI policy.
Did this article answer your question?