Complete Mechanical Keyboard Build Checklist for First-Time Builders and Hobbyists
A practical, step-by-step checklist for first-time builders and hobbyists to plan budgets, pick parts, prepare tools, test firmware, and tune acoustics for a successful custom keyboard build.

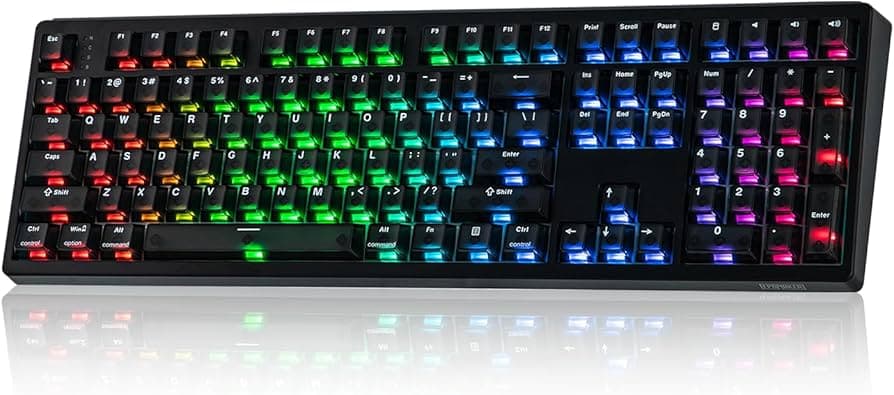
Building a custom mechanical keyboard starts with choices that shape cost, sound, and daily use. Decide your goals first - desktop work, gaming, travel, or prioritizing the sound profile - then pick a layout and budget to match. Common layouts include 60, 65, 75, 80, 96, TKL, and full; choose whether you want wired only or wireless/tri-mode support. Typical budgets run $100–$200 for premium prebuilts or simple barebones, $200–$400 for mid-range customs with case, PCB, switches and decent keycaps, and $400+ for high-end customs with CNC cases, artisan keycaps, and Hall/TMR switches.
Parts selection drives the feel. Pick a case material and profile - aluminium, acrylic, wood, resin, or plastic - and weigh acoustics versus portability. Plate and mounting choices such as brass, steel, PC, FR4 or aluminium directly affect flex and sound. Choose a PCB early: hot-swap versus solderable, tri-mode or wireless support, and firmware compatibility with QMK, ZMK or VIA. Select switches by type - linear, tactile or clicky - and consider factory lubed options and actuation specs. Plan stabilizers by mount type - plate, PCB or PCB-mount - and pick a brand such as Durock or Cherry with a plan to clip and lube. Decide keycap profile and material - Cherry, OEM, SA, MT3 or DSA profiles, and PBT versus ABS material for legends and durability. Include accessories: case and plate foam, silicone dampers, gasket strips, screw kits and a screw mat.
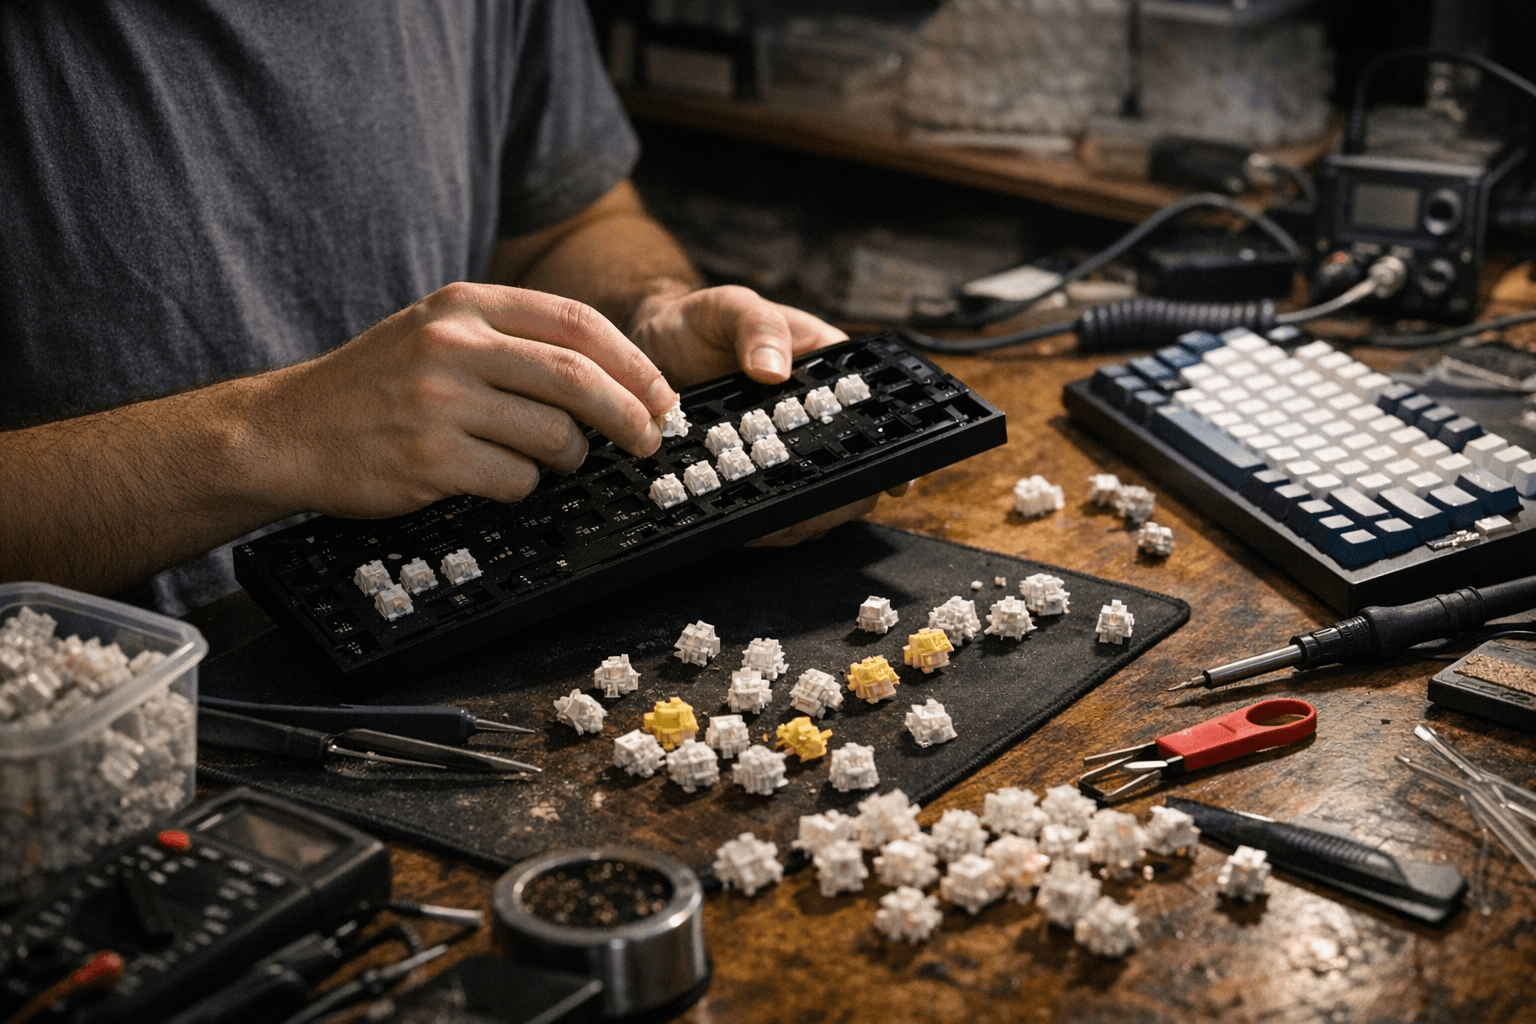
Tools and pre-build mods save time. Acquire a switch puller and keycap puller, a quality screwdriver set, flush cutters for clipping stabs, a soldering iron and multimeter if soldering, lubes for switches and stabilizers, small paintbrushes and foam scissors. For your firmware and testing plan, confirm PCB support for QMK or ZMK - note that wireless boards often use ZMK - and plan your keymap and macros ahead of time. Keep a simple testing script: verify each switch, check diode and pin continuity when soldering, and confirm the USB device enumerates before completing assembly.
Tuning the acoustics and stabilizers sharpens the final result. Try case foam such as poron or EPDM and plate or PCB foam to reduce hollowness; install switch films to limit wobble where applicable. Clip and lube stabilizers, then reassemble and test for rattle. When participating in group buys track lead times, shipping, import tariffs and proxy fees and avoid mixing long‑lead GB items with in‑stock purchases.
Start with a hot-swap PCB to lower risk, join regional forums and Discords for local proxy help and hands-on advice, and document your build with photos and a parts list to aid troubleshooting and future swaps. With clear goals, the right parts and a methodical testing plan you turn GAS into a working, satisfying board that sounds and types the way you want.
This article was produced by Prism’s automated news system from verified source data, official records, and press releases, then run through automated quality and moderation checks before publishing. The system is built and supervised by the people who set the standards it runs under. Read our full AI policy.
Did this article answer your question?