How to build a custom mechanical keyboard, from layout to switches
Your first custom board lives or dies on layout, hot-swap support, and switch choice. Get those right, and the rest is tuning instead of regret.

From retro collectors to people assembling their first hot-swap board on a weekend, the hobby now stretches across every experience level. That breadth is exactly why a first custom build should start with decisions that lock in the feel, the size, and the upgrade path, not with a parts cart full of extras.
Start with the layout you will actually live with
Layout is the first irreversible choice, because it decides which keys you gain, which ones disappear, and how much desk space you give up. Full-size 100% boards keep the 104-key standard intact, including the numpad. Tenkeyless or 80% boards cut the numpad, while 75% boards compress the navigation cluster to save width without jumping to a tiny footprint. Sixty-five percent boards usually move the function row to a layer, and 60% boards go further by relocating both navigation and arrow keys.
That is why the first-build trap is simple: do not buy the smallest board because it looks clean on a desk photo. If you edit spreadsheets, enter numbers all day, or want dedicated navigation keys, the numpad and nav block matter more than the “minimal” aesthetic. If you want more mouse room for gaming or a more centered typing posture, a 75% or 65% board often hits the sweet spot. Split boards and Alice-style layouts widen the field even more, especially if comfort matters as much as compactness.
Alice boards have become a real category rather than a niche experiment. Modern designs use an inward angle and a split-spacebar arrangement to split the difference between a standard staggered board and a fully split ergonomic keyboard.
ANSI, ISO, and why the key shape matters
The next choice is the standard. ANSI is the common layout in the United States, Canada, and much of the Asia-Pacific region. ISO is the European standard, and the difference is not cosmetic: ISO usually uses a tall L-shaped Enter key, a shorter left Shift, and 105 keys on a full-size board instead of ANSI’s 104.
That one-key difference sounds small until you start shopping for keycaps, plates, or replacement parts. ISO/IEC 9995 is the formal international standards series for keyboard layouts, and ISO/IEC 9995-1:2026 and ISO/IEC 9995-2:2026 were published in January 2026. The standard you choose affects what keycaps, plates, and replacement parts are easiest to find later.
Choose your build path before you chase parts
Custom keyboards usually fall into three build paths: a fully assembled board, a barebones kit, or a more modular build with a separate PCB and base. The first is the easiest route, the second is where most beginners should start if they want to learn, and the third is where full-custom territory begins.
Hot-swap has pushed this choice into the mainstream. Hot-swap, programmable functions, and wireless mechanical models now sit right alongside standard boards. Modularity is no longer a boutique feature. If you want to test switches without soldering, hot-swap is one of the safest places to spend money. If you want the cheapest path into the hobby, a barebones kit can be smarter than buying a fully loaded board with features you will replace anyway.
The plate and mounting style decide the character of the board
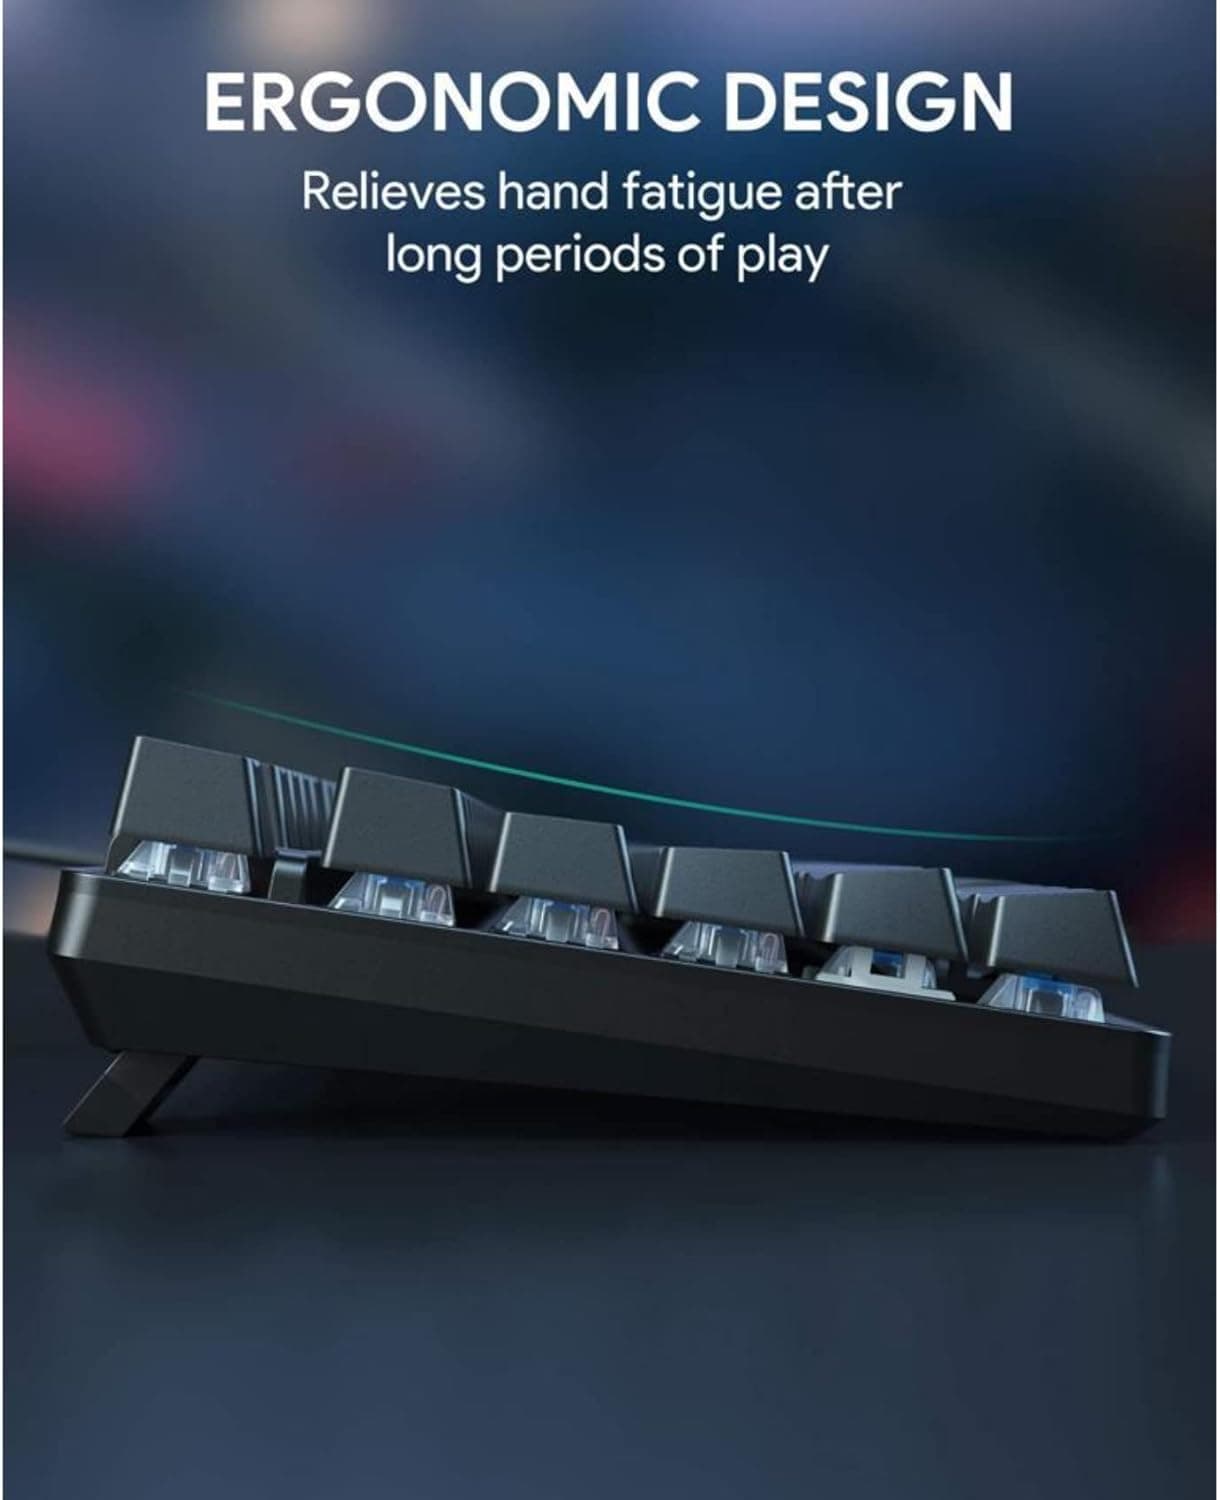
A keyboard’s plate and mounting style do a lot of the audible and tactile work people often blame on switches. A stiffer plate usually feels sharper and more immediate, while a more flexible setup softens the bottom-out and changes the sound profile. If you are chasing a quieter office board, the mounting system matters as much as the switch itself.
This is one of the easiest places for beginners to overspend. A premium case finish can look spectacular, but if the plate and mount are mismatched to your goal, the board will still feel wrong. If your priority is a thocky budget build, a sensible plate and a well-damped case often get you farther than a fancy material upgrade you barely notice. If your goal is a premium daily driver, then the case, plate, and mounting system should be chosen together, not as isolated upgrades.
Switches should match the job, not the hype
Switch choice is where the hobby gets loudest, but it should still be goal-driven. For a quiet office board, linear or tactility-focused switches with controlled stem wobble and restrained sound work better than anything tuned for maximum snap. For gaming, many builders still prefer a light linear feel for rapid repeated presses, but the bigger payoff is consistency across the board, especially if you are using hot-swap to test a few options first.
A thocky budget build usually leans on a case that naturally lowers pitch, a plate that does not sound thin, and switches that do not fight the acoustic goal. The expensive mistake here is buying exotic switches before you know whether you prefer linear, tactile, or clicky behavior. You will feel the difference in the first hour, but the smarter move is to buy enough sample switches to compare before committing to a full set.
Stabilizers and keycaps are where a board stops sounding cheap
If a board has a rattly spacebar or clacky larger keys, the problem is usually stabilizers, not the switches. Stabilizers are the most underappreciated part of a first build because they control the keys that get pressed most often outside the alphas. They are also one of the hardest things to ignore once you notice them.
Keycaps are the final layer of the build, and they are not just decoration. Profile, material, thickness, and layout compatibility all affect how the board feels in hand and how it sounds on the desk. This is another place where beginners overspend by buying flashy sets before settling the layout. If you are still deciding between ANSI and ISO, or between a 75% and 65%, lock that in first or you risk buying a beautiful set that does not fit the board you end up keeping.
Build around the use case, not the catalog photo
A quiet office board usually wants a 75% or tenkeyless layout, a sensible mount, hot-swap for easy switch changes, and switches tuned for lower noise. A gaming board benefits from a layout that keeps critical keys close, often 65% or 75%, with a switch feel you can repeat fast without fatigue. A thocky budget build does better with restraint: pick a solid case, a plate that supports the sound you want, and avoid paying for features that do not change the typing experience. A premium daily driver can justify better materials, a refined mount, and programmable wireless support, but only after the layout and key standard are settled.
Cherry’s G80-0427, released in 1984, is one of the early keyboards tied to Cherry MX Black switches, and the community revival around 2010 grew out of collectors and users who never stopped caring about older mechanical boards. The global mechanical keyboard market is estimated at USD 2.66 billion in 2026, rising to USD 3.43 billion by 2031 at a 5.19% CAGR.
This article was produced by Prism’s automated news system from verified source data, official records, and press releases, then run through automated quality and moderation checks before publishing. The system is built and supervised by the people who set the standards it runs under. Read our full AI policy.
Did this article answer your question?