Mechanical Keyboard Building Guide for Beginners and Upgraders
This guide walks you through planning, selecting parts, and assembling a custom mechanical keyboard from layout choice to final sound tweaks. You will learn component compatibility, switch and keycap options, a step‑by‑step build sequence, and practical tips for testing, firmware, and tuning.

Building a mechanical keyboard can be one of the most rewarding hands‑on projects you take on. Below I break the process into clear decisions and actionable steps so you can plan, buy, assemble, and tune a board that fits your typing style and budget.
1. Layout Choices, 100% through 60%
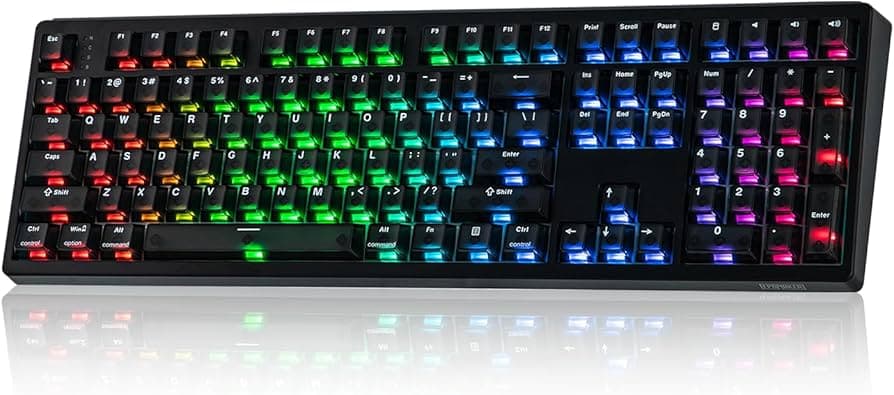
Choosing a layout is the first big decision because it determines key count, form factor, and use case. Full size (100%) keeps the numpad and function block for heavy spreadsheet work while TKL removes the numpad to save desk space. Compact options like 75%, 65%, and 60% progressively remove keys and often require more layers or remapping for function keys and arrows. Pick a layout that matches your workflow and desk footprint; smaller layouts save space and look cleaner but require you to relearn some shortcuts.
2. PCB, Case, and Plate Compatibility
Make sure the PCB, case, and plate are mechanically compatible before ordering parts. Check mounting points, plate cutouts, and supported layouts on the PCB so switches and stabilizers line up correctly. Some PCBs are hot‑swap while others require soldering; ensure the plate thickness and case material match the plate size and screw patterns. Compatibility saves you from returns and ensures the switches sit flush and the case closes without forcing parts.
3. Switch Types, Linear, Tactile, Clicky
Switch choice defines the feel and sound of your keyboard. Linear switches move smoothly with no tactile bump and are favored for fast, consistent keypresses and quieter operation. Tactile switches have a noticeable bump that helps with feedback and accuracy without an audible click. Clicky switches add an audible click on actuation for maximum feedback and a louder typing profile; they’re satisfying but can be disruptive in shared spaces. Try switch testers or sample packs to find what matches your typing style and sound preferences.
4. Keycap Profiles and Materials
Keycaps affect ergonomics and tone as much as aesthetics. Profiles like SA, DSA, Cherry, and OEM change the sculpt and height of rows, affecting finger travel and comfort; Cherry and OEM are popular for a balanced feel while SA is taller and more pronounced. Materials such as ABS and PBT change texture and longevity, PBT resists shine and feels sturdier, ABS can produce a brighter sound and is common on budget sets. Consider profile and material together to match typing comfort and the sound you want.
5. Stabilizers and Preparation
Stabilizers keep larger keys stable but are a common source of rattle if left stock. Clip and lube stabilizers to reduce wobble and noise; clipping refers to trimming the stabilizer legs (if needed) and lubing the housing and wire reduces friction. Plate-mounted vs PCB-mounted stabilizers behave differently so check your PCB type and provide the appropriate stabilizer style. Properly prepped stabilizers dramatically improve the feel of the spacebar, enter, and shift keys.
6. Tools You Need
Gather a few basic tools before you start to keep the build smooth. Essential tools include a soldering iron and solder for non‑hot‑swap builds, a switch puller and keycap puller, a small Phillips screwdriver, tweezers, and flush cutters. For lubing and stabilizer work you’ll want dielectric grease or dedicated switch lube, a small brush, and a switch opener if you plan to lube many switches. Having the right tools saves time and prevents accidental damage.
7. Step 1. Test the PCB
Before mounting anything, test the PCB to confirm all switches/registers work. For hot‑swap PCBs you can insert a single switch or use a multimeter for continuity checks; for solder PCBs power the board and use VIA or QMK’s matrix viewer to press each test point. Catching dead LEDs or faulty traces now avoids rework after assembly. Testing early saves frustration and helps isolate which component may be at fault.
8. Step 2. Prepare and Lube Stabilizers
Prepare stabilizers before mounting switches for easier access and consistent results. Clip any extra plastic legs as recommended by your stabilizer model, and lube the housing and wire contact points with a thin consistent layer of lubricant to reduce rattle. Assemble and test the stabilizers on the PCB or plate to ensure smooth motion before proceeding. A few minutes of stabilizer prep yields a major improvement in feel and sound.
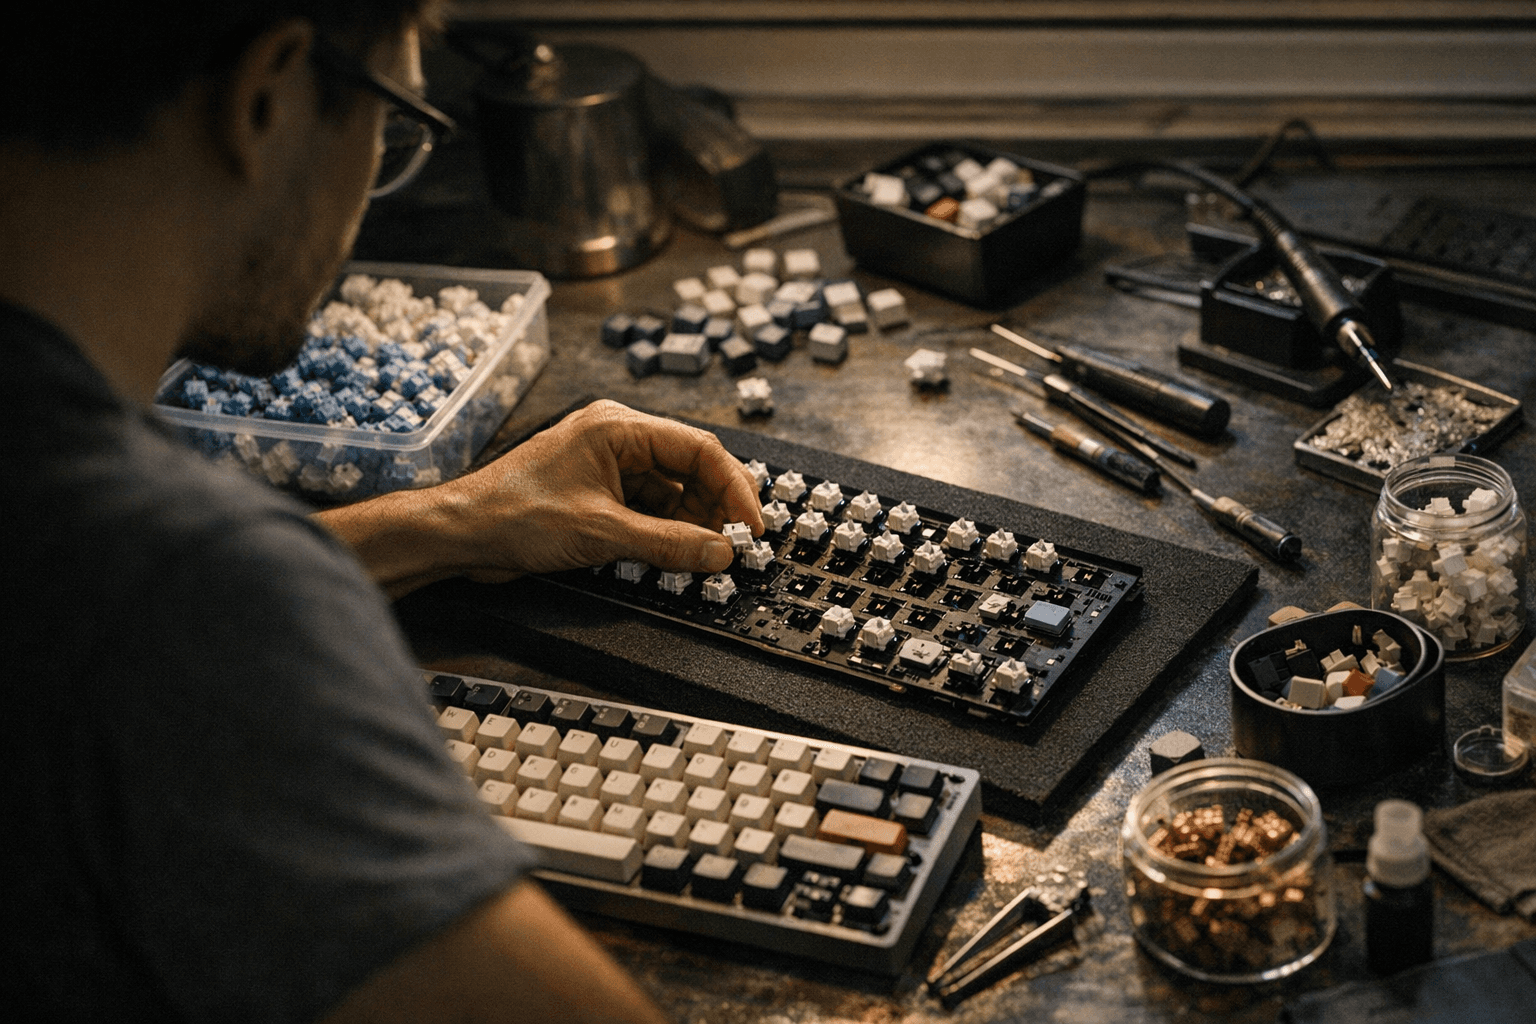
9. Step 3. Mount Switches, Hot‑Swap or Solder
Decide whether you’ll use a hot‑swap PCB or solder switches directly to the PCB. Hot‑swap allows easy switch changes without soldering and is great for trying many switches. If soldering, mount the switches into the plate and PCB, then solder each pin securely; check for bent switch pins before soldering to avoid missed contacts. Whether hot‑swapping or soldering, confirm each switch is fully seated and straight for consistent keypresses.
10. Step 4. Install Plate, PCB, and Case
Install the plate, secure the PCB, and close the case following manufacturer mounting order. Use the correct standoffs and screws and don’t overtighten which can flex the PCB and affect keypress feel. Some builds include silicone or foam between layers to dampen sound, place these according to your tuning plan. Proper assembly ensures stability and prevents PCB strain or misalignment.
11. Step 5. Test All Keys
Once assembled, test every key again with VIA or QMK configurator or a simple key tester application. VIA provides an easy GUI for remapping and confirming matrix layout on compatible PCBs without reflashing firmware. If any keys fail, check solder joints, switch pins, and alignment. Thorough testing now means fewer surprises when you start daily typing.
12. Step 6. Fit Keycaps and Final Adjustments
Fit keycaps starting with the larger stabilized keys to ensure correct row profiles and orientation. Confirm profile compatibility with your layout; some premium caps are designed for specific layouts. Do a final typing session to listen for unwanted ping or rattle and tighten or re‑lube stabilizers if necessary. After keycaps are fit, you’ll get the true feel and sound of the finished board.
13. Practical Build Tips and Sound Tuning
Watch for switch/PCB compatibility and bent switch pins before soldering and use a pin straightener or gently realign pins with tweezers to avoid cold solder joints. For sound tuning, add foam or tape in the case cavity to deaden ping and create a deeper, more satisfying tone; experiment with different densities and placements. Use VIA for easy remapping on supported boards and QMK when you want deeper firmware customization and macros. These practical tweaks keep your board performing and evolving with your needs.
14. Time and Budget Expectations
Expect a beginner build to take 2–6 hours depending on prep, lubrication, and whether you solder. Budget ranges widely: an entry custom build can start around a modest amount for a hot‑swap PCB and plastic case, while premium aluminum cases, artisan keycaps, and boutique switches raise costs significantly. Plan for optional extras like stabilizer lube, foam, and a good set of keycaps to get the sound and feel you want without surprises.
15. Firmware and Resources
Familiarize yourself with VIA for on‑the‑fly remapping and QMK for deeper firmware control and custom layers. Community forums, Discord servers, and group buys are valuable for parts sourcing, build help, and sound inspiration. Keep your PCB’s firmware guide and the QMK/VIA resources handy as you finish the build so you can customize layouts and lighting quickly.
Wrap up: take your time, test often, and engage with the community for parts recommendations and tuning advice. A well‑planned build rewards you with a personalized typing experience and a keyboard that grows with you.
This article was produced by Prism’s automated news system from verified source data, official records, and press releases, then run through automated quality and moderation checks before publishing. The system is built and supervised by the people who set the standards it runs under. Read our full AI policy.
Did this article answer your question?