Disain Studio Reveals Speed-Painting Workflow for 28mm Trubia A4 Light Tank
Disain Studio published a hands-on, game-ready speed-painting workflow for the 28mm Trubia A4 Light Tank on February 21, 2026, focused on resin kit surfaces and historical schemes.
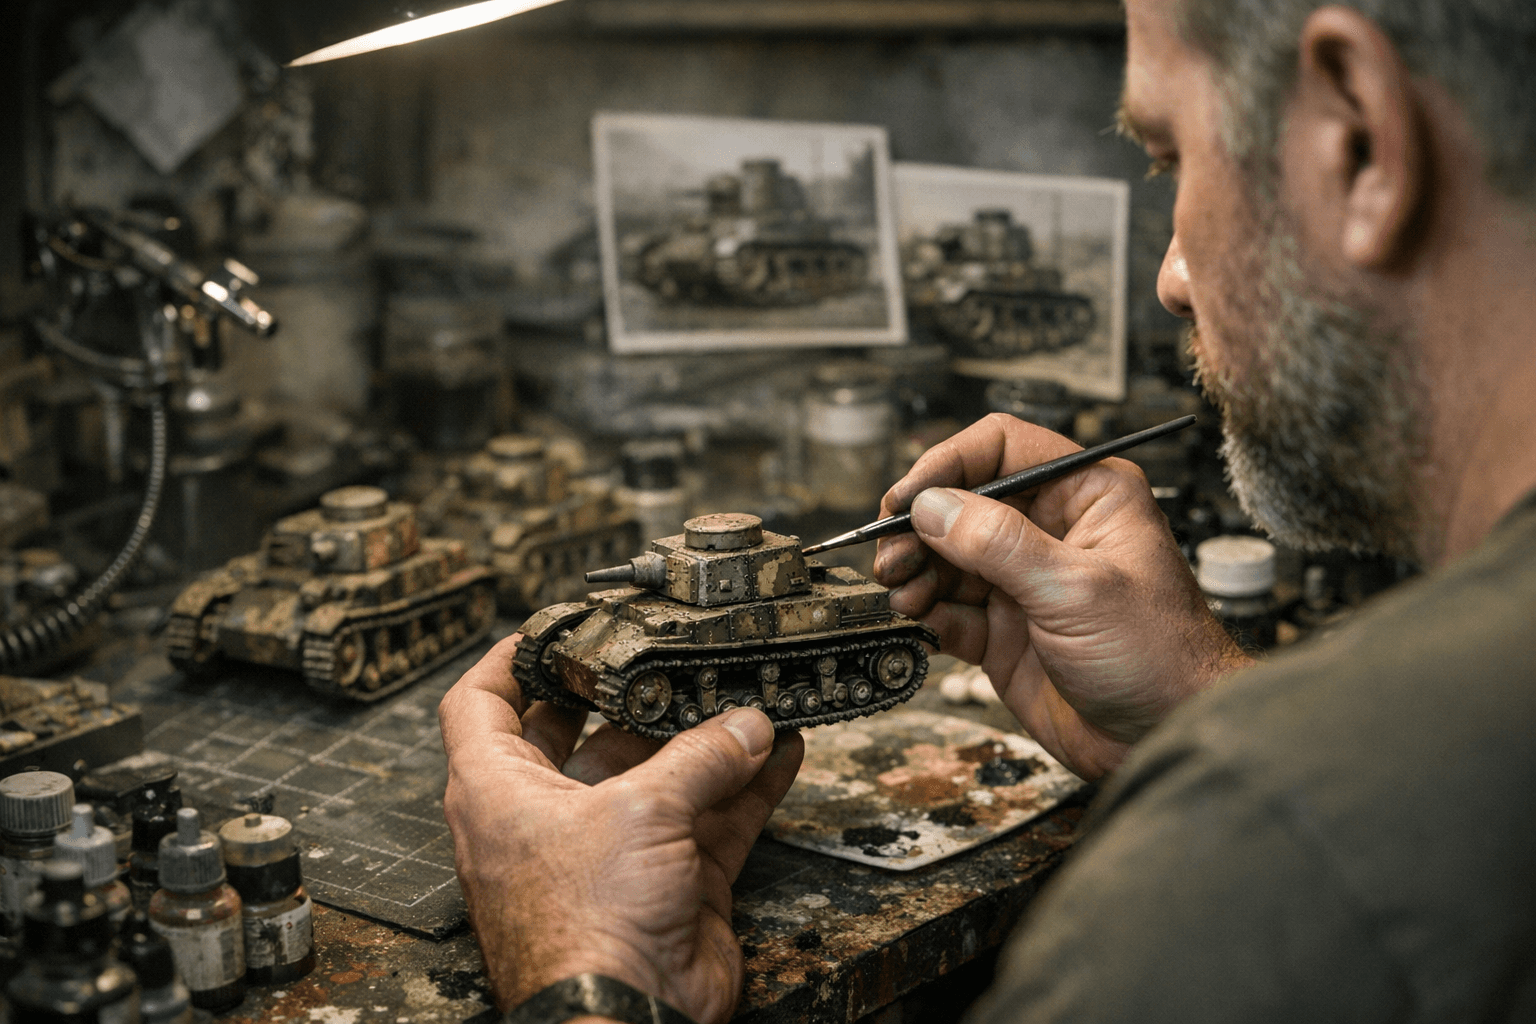
Disain Studio published a hands‑on speed‑painting workflow for the 28mm Trubia A4 Light Tank on February 21, 2026, and it’s written specifically for historical tabletop wargamers who want a fast, reliable route from resin kit to table-ready model. The guide frames every decision, prep, priming, color choices, washes, and sealing, around the realities of resin surfaces and the typical schemes you’ll see on Trubia A4 light tank miniatures.
1. Purpose and scope of the workflow
The workflow is explicitly billed as a speed-painting sequence aimed at producing a game‑ready finish rather than a display piece. Disain Studio designed the steps to be repeatable across multiple Trubia A4 Light Tank kits, which is useful for historical wargamers who need consistent results for platoon-level forces. The guide emphasizes working with resin kit surfaces, which have different preparation and paint adhesion needs than injection plastic.
2. Inspecting and preparing resin kit surfaces
Disain Studio starts the workflow with a careful inspection of the resin Trubia A4 Light Tank parts, calling out common resin issues such as flash, thin casting fins, and resin dust that can affect adhesion. The guide recommends targeted cleanup (filing, sanding, and washing) to get the resin ready; these are presented as non-negotiable steps before any speed-painting primer goes down. For historical tabletop use, the studio treats cleanup as a time-saver, proper prep reduces the chance of paint failure during transport or play.
3. Assembly choices for speed
Rather than full sub-assembly for display, Disain Studio outlines a pragmatic assembly strategy tailored to 28mm historical wargaming: glue major hull and turret components but leave some sub-assemblies (like separate machine guns or stowage) until after priming if they complicate access. This decision is framed as a trade-off between painting speed and final detail; the workflow favors accessibility to paint key areas quickly on a resin Trubia A4 Light Tank. The studio’s approach helps keep handling to a minimum, important when working with brittle resin parts.
4. Priming for resin: what to use and why
Priming is treated as a foundational, time-efficient step in the Disain Studio sequence, with the guide stressing adhesion and surface leveling for resin prints. The studio recommends a single, even prime coat designed to grab onto resin, creating a uniform base that supports thin, fast layers of paint. Because the workflow is for game‑ready models, the primer choice is positioned as the most important preventive measure against chipping or flaking during tabletop use.
5. Establishing the base tones for historical schemes
Disain Studio’s workflow sets a small, focused palette to capture typical historical schemes for the Trubia A4 Light Tank; the guide concentrates on broad base tones rather than elaborate color modulation. The workflow places basecoats down quickly and thinly to maintain surface detail on resin while providing enough opacity for subsequent washes and highlights. For historical wargamers, that means recognizable national or theater-appropriate colors without time-consuming glazing or layering.
6. Fast washes and filters to unify panels
To get a cohesive, weathered look across the 28mm Trubia A4 quickly, the guide uses economy techniques like single washes or filters applied across large panel areas. Disain Studio frames these as game‑ready concessions, one or two controlled washes tame the basecoat and suggest shading without requiring meticulous blending. On resin surfaces, the guide cautions dilution and control so washes flow into recesses without pooling on thin edges or gloss spots.
7. Speed highlights and edge definition
Rather than slow feathered highlights, Disain Studio prescribes selective edge picks and quick directional highlights to sell volume on the Trubia A4 Light Tank at arm’s length. The workflow demonstrates where to place these highlights so they read on the tabletop, corners of the hull, turret edges, and raised plate lines on the 28mm resin model. These moves are deliberate and small in number, designed to be repeatable across multiple kits when painting sets for historical games.
8. Weathering for game readiness
Disain Studio’s speed-painting sequence includes streamlined weathering: targeted mud on lower hulls and tracks, subtle chipping in high-contact zones, and a light overall dusting to mute saturation. The studio treats weathering not as an artistic centerpiece but as functional: it masks small assembly or casting imperfections in resin parts and gives the tank a consistent battlefield look for tabletop play. The workflow recommends modest applications so pieces remain durable in a gaming environment.
9. Handling metallics and tracks on resin parts
For the metal elements of the Trubia A4 Light Tank, the guide lays out a quick two-step approach: a controlled base metallic followed by a thin wash to settle into recesses, then selective drybrushing to suggest wear. Disain Studio highlights that on resin parts, adhesion and build-up are the main risks, so the workflow uses restrained metallic layers to avoid flaking and maintain the game-ready focus. Tracks and exposed running gear are given extra attention because they take the most visual punishment during play.
10. Decals, markings, and simplified insignia
The workflow deals with historical markings and unit insignia in a pragmatic way: apply decals or paint simplified stencils after the main weathering but before final sealing to ensure durability. Disain Studio sets expectations that insignia on 28mm Trubia A4 Light Tanks should read from gaming distance rather than be microscopically perfect, a stance consistent with the guide’s overall speed-painted objective. The sequence keeps the number of decal applications low to save time across multiple models.
11. Sealing and game-ready varnish
A final, robust sealing step features prominently in Disain Studio’s recommendations as the protective cap for speed-painted resin models. The studio recommends a finish that balances protection with acceptable sheen for tabletop readability, applied uniformly to guard against chips and to lock in washes and weathering. For historical wargamers, the guide positions sealing as a must: it’s the difference between a speed-painted Trubia A4 ready for repeated play and one that will require touch-ups after a single outing.
12. Time management and repeatability across platoons
Disain Studio frames the workflow as a blueprint for consistent, repeatable results when you have to paint more than one 28mm Trubia A4 Light Tank for a force. The sequence emphasizes batch processing, same step across multiple kits, so painters can maintain a steady pace without sacrificing the game-ready standard. The guide’s structure is aimed at historical tabletop gamers who need reliable, uniform tanks on the table without devoting display-level hours to each model.
Conclusion Disain Studio’s February 21, 2026, workflow for the 28mm Trubia A4 Light Tank takes the guesswork out of turning resin kits into playable historical miniatures: inspect and prep resin, prime for adhesion, lay down focused base tones, unify with washes and quick highlights, add restrained weathering, and seal for durability. It’s a deliberately pragmatic sequence, built for repeatability across multiple kits and tuned to the needs of historical tabletop wargamers who want a consistent, game‑ready fleet of Trubia A4 light tanks.
Know something we missed? Have a correction or additional information?
Submit a Tip
