Acrylic Miniature Painting Guide: Achieve Consistent Tabletop Results
A compact acrylic primer lays out practical brush, primer, thinning, and batch-painting techniques to help you deliver repeatable tabletop-ready minis.
Consistent tabletop results start with a repeatable acrylic workflow built around reliable gear choices, thinning technique, and an assembly-line rhythm. The most important win is predictability: set a process you can repeat across entire squads and you trade hobby chaos for steady, playable armies.
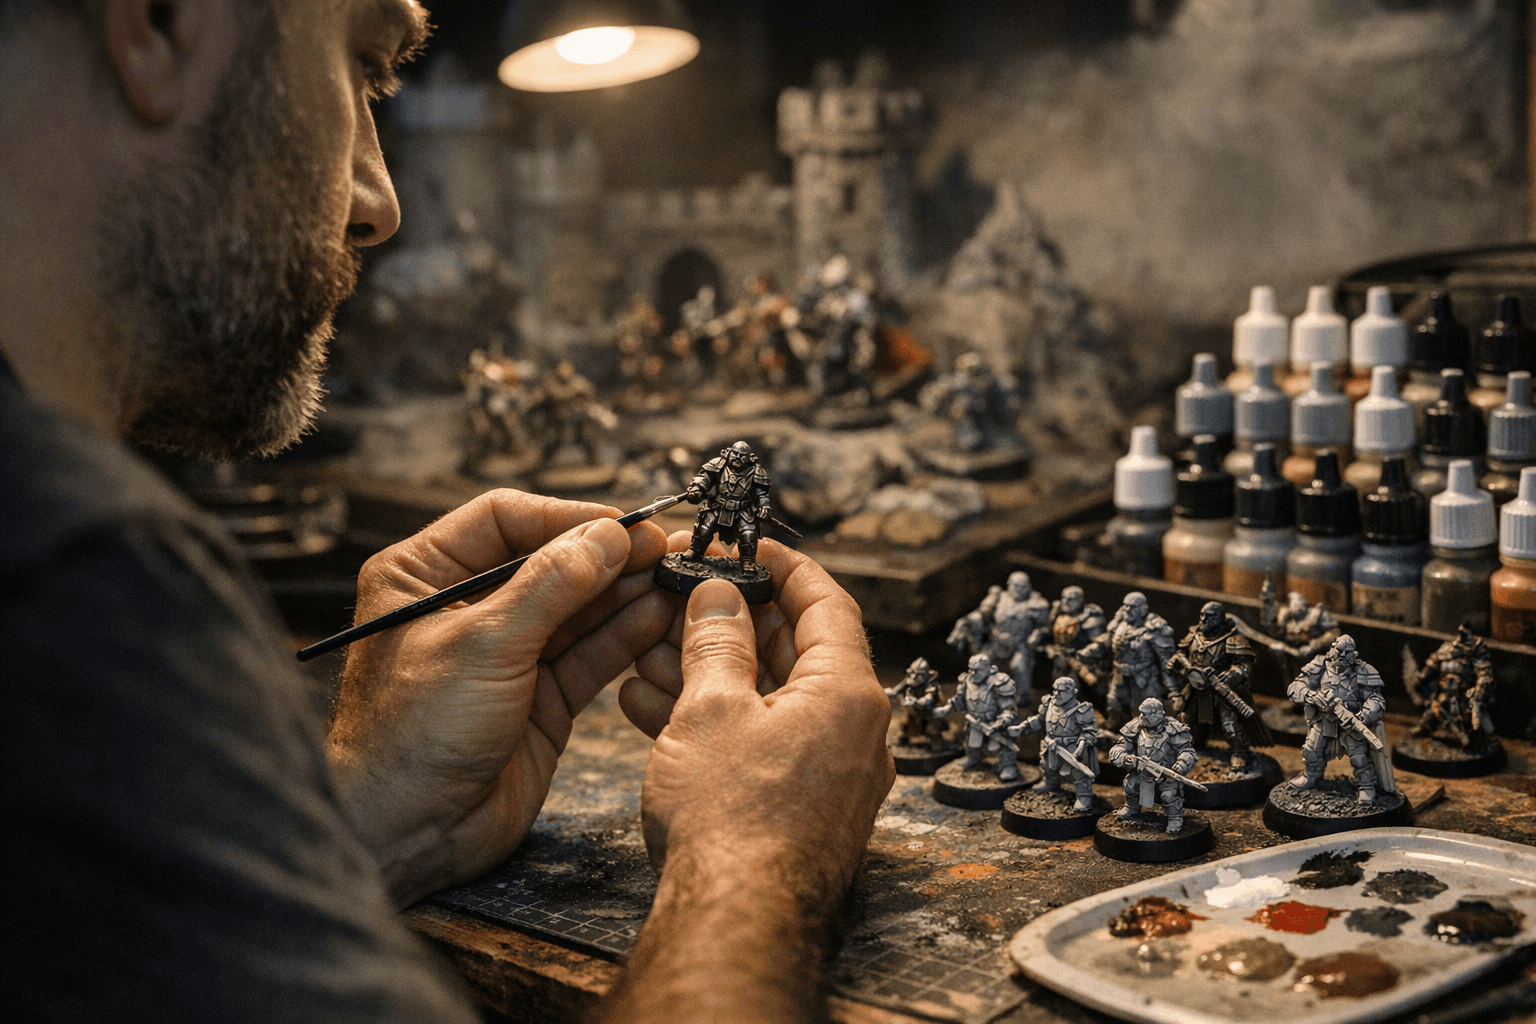
Begin with tools. Select a small range of brushes that covers broad coverage and fine detail: a larger synthetic for basecoating, a size 0 or 1 round for general work, and a finer sable or fine synthetic for detail and edge highlights. Use a wet palette to keep acrylics workable and thin paints to the consistency of milk for smooth coverage. Add a flow improver or retarder if you struggle with paint drying on the palette.
Primer choices shape the build from the first spray or brush-on coat. Black primer gives instant contrast and hides blemishes, white primes boost brightness and saturation, and neutral grey balances both. Consider zenithal priming if you want built-in light and shadow for faster highlights. Spray primers offer speed and thin coverage; brush-on primers rescue assembled miniatures or touch-ups.
Adopt a simple basecoat - wash - highlight workflow to move quickly without losing detail. Block in base colors thinly across parts, then apply a wash or shade to settle into recesses and unify surfaces. Lift the raised areas with layered highlights or thin edge highlights. For metallics, use a darker metallic base, apply selective highlights, and preserve glossy reflections with a spot varnish if needed. Glazes help smooth transitions and correct saturation without repainting.
Basic color theory speeds decision-making. Limit starter palettes to a short list of paints: a muted base, a mid-tone for layering, a bright highlight, a dark wash, and one metallic. Keeping palettes small reduces time lost mixing and yields more cohesive units on the table. A warm-cool contrast between primary and secondary colors helps figures read from a distance.
Batch-painting is the productivity secret. Break work into stages across multiple models: assemble and prime whole squads, basecoat all models in one session, apply washes across the batch, then return to highlights and details. Use masking and sub-assembly to avoid painting over joints, and prioritize the parts that will be most visible in games - faces, weapons, and banners - for the last, crisp layers.
Finish with sealing that matches the look you want. Matte varnish controls shine and protects against handling. Use satin or gloss selectively on lenses, armor plates, or other reflective surfaces. Test varnish on a spare part before committing to an entire army.
This compact workflow gives you the practical steps to go from sprue to table without endless marathon sessions. Start small, limit your palette, and batch your stages; over a few weekends you’ll produce cohesive, durable forces that stand up to gaming and critique. Keep practicing the same routine and your speed and consistency will improve more reliably than chasing new products or techniques.
Know something we missed? Have a correction or additional information?
Submit a Tip
