FauxHammer guide helps miniature painters dial in resin slicer settings
Your resin printer is working, but the slicer is where consistency lives. Start with layer height, bottom exposure, and motion settings before chasing new hardware.
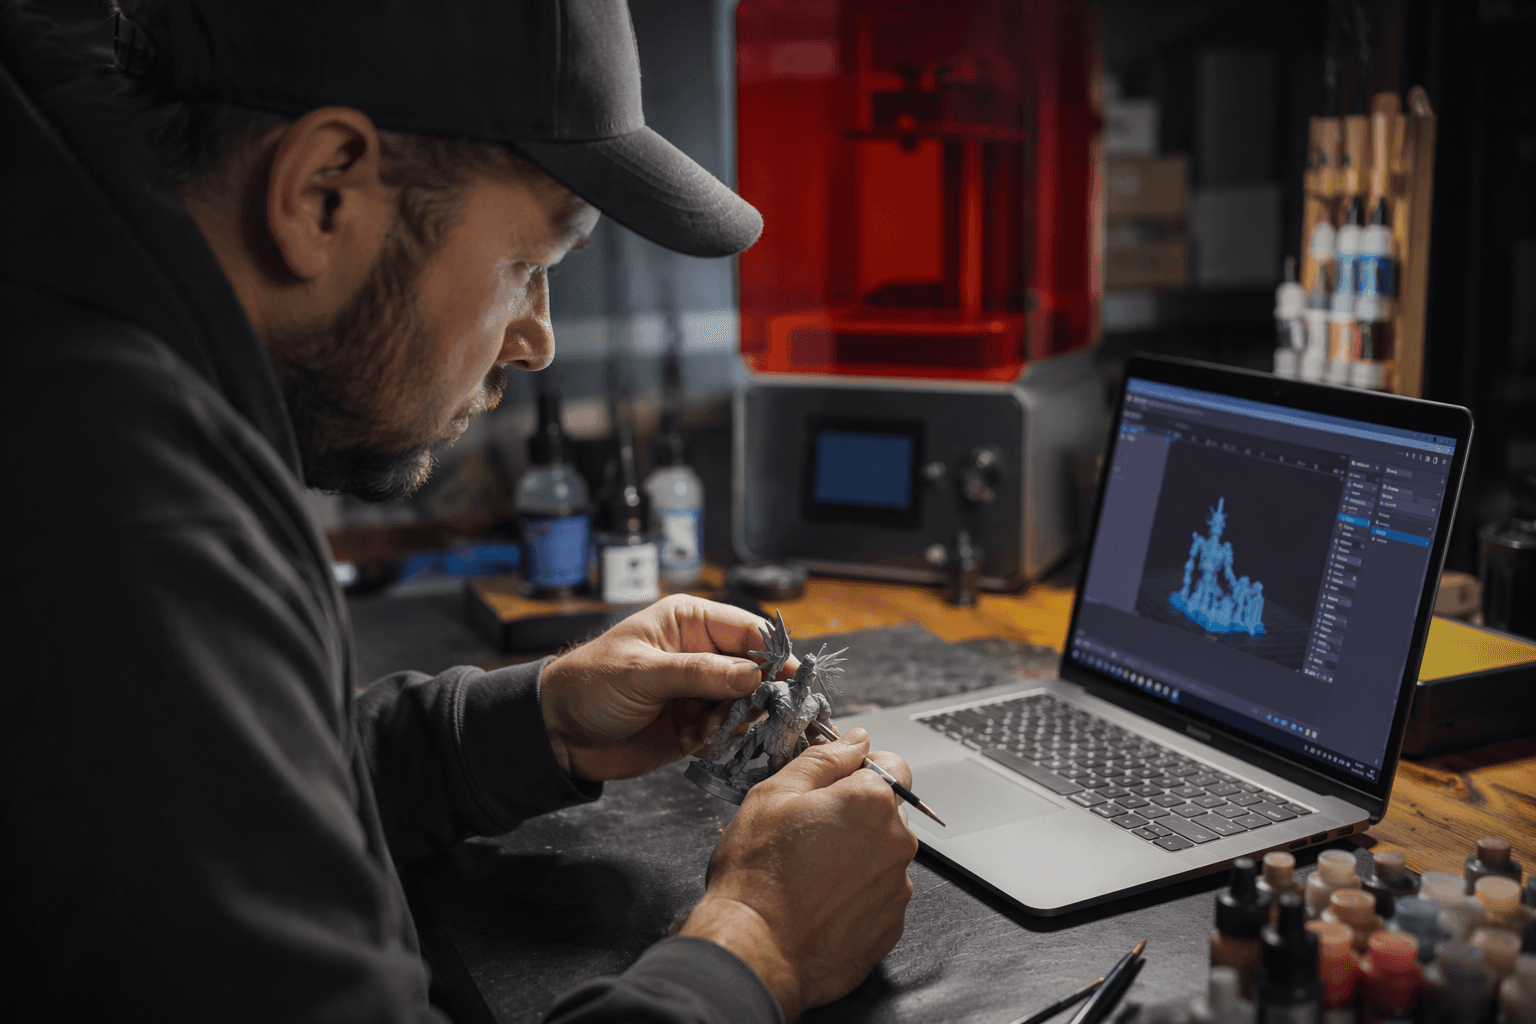
The hardest resin-printing problem is not getting a mini to print once. It is getting the same file to print cleanly on demand, without chewing through resin, wrecking supports, or turning every new job into a guess. FauxHammer’s slicer guide treats that problem the way experienced miniature painters already do at the bench: as a repeatability issue, where the real gains come from understanding the settings that shape the whole print cycle.
Start by treating the slicer as the control room
A reliable resin printer still leaves you with a lot of variables, and the guide’s core argument is that you need to know what each one does before you start copying other people’s profiles. That matters because the same model can fail for different reasons depending on layer height, bottom exposure, lift speed, retract speed, or the temperature of the resin itself.
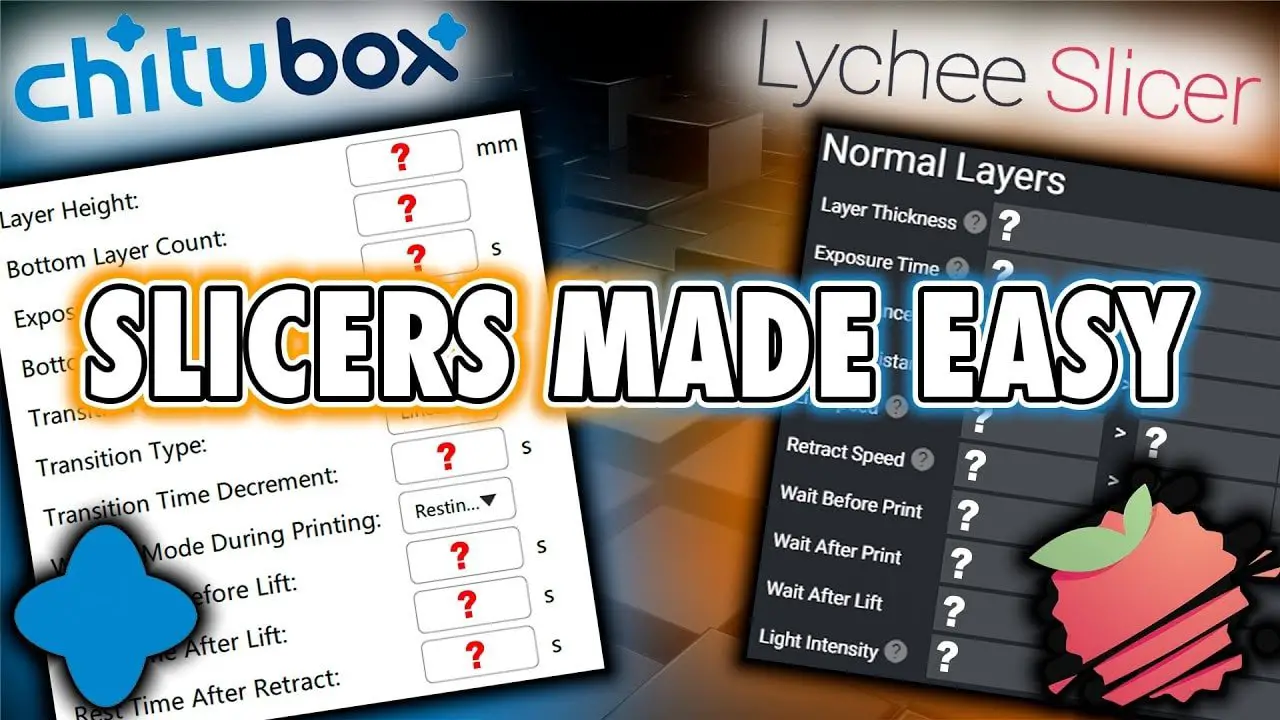
CHITUBOX’s documentation backs up that approach by spelling out how much the slicer actually controls. Layer height changes detail and print time, with 0.05 mm described as a typical balance point, while bottom exposure time, transition layers, lift speed, retract speed, and anti-aliasing are all configurable. Formlabs makes the same point from a different angle, saying print settings can control exposure, layer height, resolution, scaling, heating, wiping, and interlayer motion.
Why layer height is the first knob worth learning
If you only change one setting at a time, start with layer height. CHITUBOX notes that thinner layers give finer detail but take longer to print, and that 0.05 mm is a common middle ground between those two pressures. For miniature painters, that balance matters because you are usually deciding between a cleaner surface on a character model and a slower print queue for an entire army.
Layer height is also one of the easiest settings to misread as a quality fix when it is really a workflow choice. If your mini is coming out with surfaces that feel too coarse for paint, layer height is one of the first places to look. If your printer is already reliable and you are trying to keep repeatability high across different model sizes, resin types, or even seasonal changes, that same setting becomes part of a larger consistency strategy rather than a one-off tweak.
Bottom exposure, lift speed, and the peel cycle are where failures hide
The next step is learning that a resin print is not built in a static way. The resin cures, the layer peels away from the release film, fresh resin has to flow back under the model, and the motion settings decide whether that cycle stays smooth or gets stressed. That is why the guide leans so hard on understanding the logic of the print, not just the final numbers.
Bottom exposure time matters because it is part of the foundation the print builds on, and CHITUBOX lists it alongside transition layers, lift speed, retract speed, and anti-aliasing as adjustable parameters. Once you see those settings as part of one sequence, the troubleshooting gets more precise. A failed miniature is no longer just a failed miniature, but a clue that the early layers, the peel action, or the resin refill step may not be keeping pace.
A good test order looks like this:
- Start with layer height at a familiar midpoint, such as 0.05 mm, so you know what your baseline looks like.
- Adjust bottom exposure and transition layers before changing everything else, since those settings shape the early part of the print cycle.
- Tweak lift speed and retract speed if the model is separating poorly from the film or if failures seem tied to motion rather than detail.
- Use anti-aliasing as a finishing control, not a substitute for solving peel or adhesion problems.
That sequence keeps you from masking the real issue with unrelated changes.
Temperature is part of consistency, not an afterthought
One of the most useful parts of the guide is its reminder that resin does not behave the same way in every room, in every season, or with every resin type. Formlabs says its SLA printers pre-heat resin and maintain a consistent temperature before starting a print, which tells you how much that variable matters to reliability. If your desk setup swings colder in winter or warmer in summer, temperature can be the invisible reason a profile that once worked suddenly feels flaky.
That is why the guide makes sense for painters who are printing armies, centerpiece characters, or display parts. You are not just chasing a nice result once. You are trying to get a profile that behaves the same way next week, on a different model, with a different bottle of resin, without forcing you back into the forum rabbit hole.
Printing does not end at the slicer
ELEGOO frames resin printing as a full workflow, from file prep and slicing through printing and post-processing, and that is the right mindset for miniature work. The slicer may determine whether you get a usable print, but the finished part still needs washing, post-curing, and finishing before it is ready for paint.
Formlabs’ post-processing guidance is blunt about that sequence, saying resin prints need washing in IPA, post-curing, and finishing. Its Wash and Cure systems can produce finished parts in as little as 11 minutes, which is a reminder that post-processing is not just cleanup, it is part of the production chain. For miniature painters, that makes slicer tuning even more valuable, because every failed support tree or warped body part wastes time all the way down the line.
The payoff of FauxHammer’s approach is simple: once you understand how layer height, bottom exposure, motion, and temperature work together, the printer stops feeling like a gamble. That is when resin printing becomes what miniature painters actually want it to be, a controlled way to make clean, repeatable parts that are ready for the brush instead of the scrap pile.
This article was produced by Prism’s automated news system from verified source data, official records, and press releases, then run through automated quality and moderation checks before publishing. The system is built and supervised by the people who set the standards it runs under. Read our full AI policy.
Did this article answer your question?


