How to paint convincing rust on miniatures step by step
Rust looks convincing when you build it in layers, from dark primer to orange stipples, and place it where metal would actually fail first.
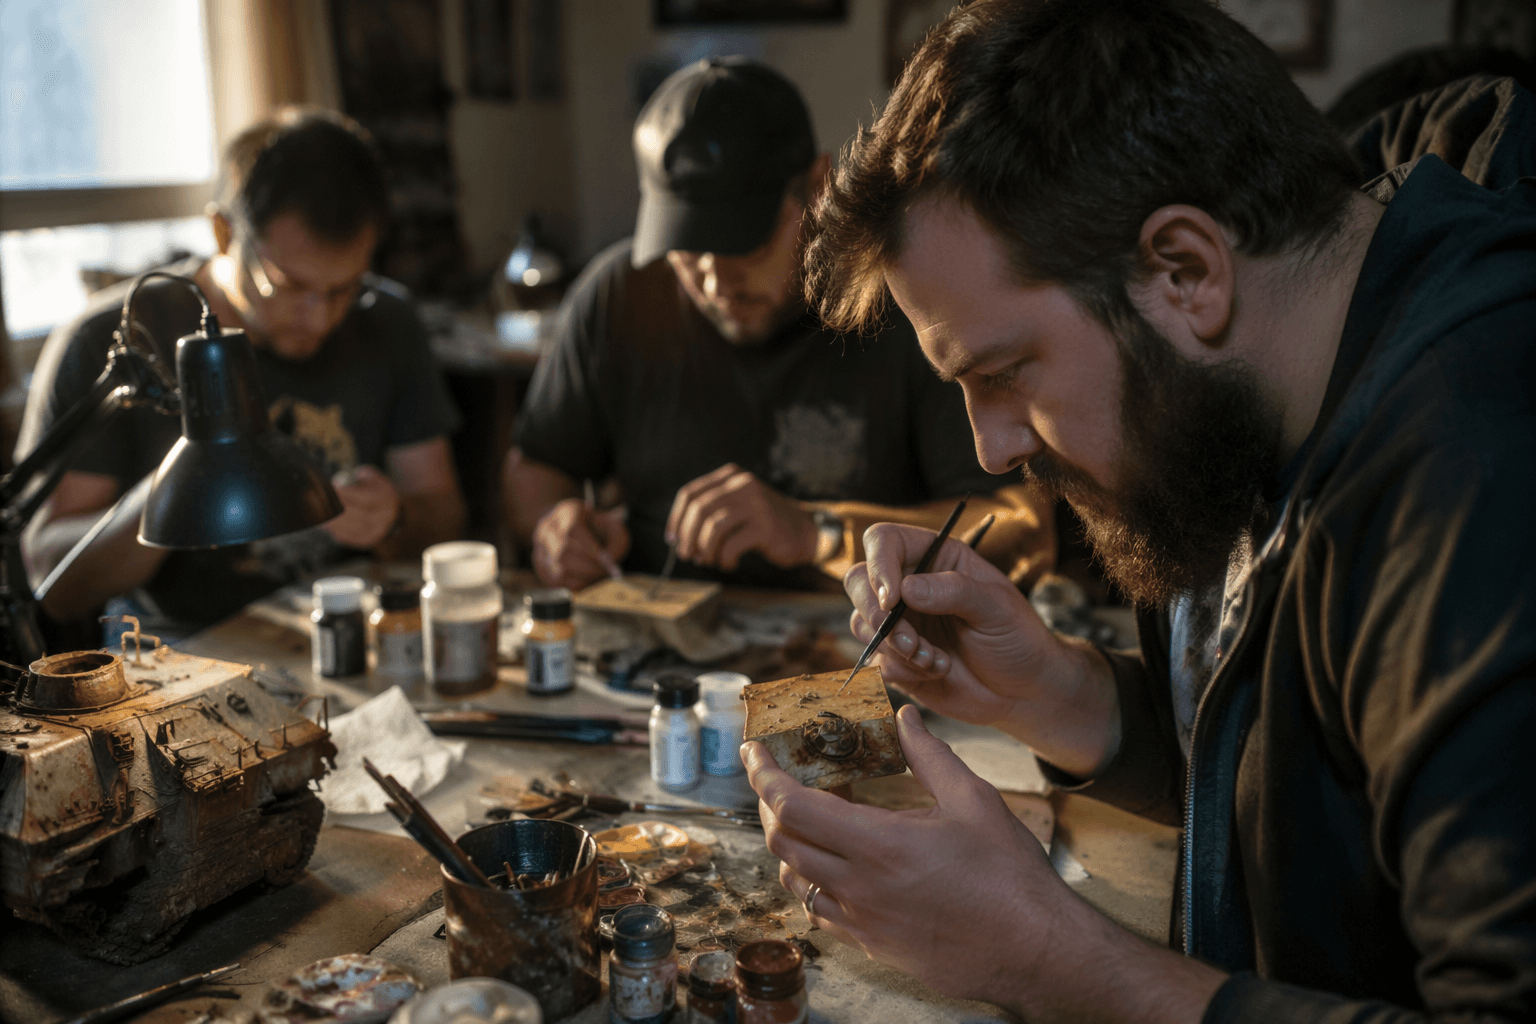
Black or dark gray primer gives rust somewhere to sit, so the effect reads like corrosion on metal instead of orange paint on a model. The best results start with depth under the corrosion, then move through texture, irregular dark marks, warm oxidation tones, and a few bright metallic edges that keep the surface readable.
Start with a dark foundation
The first decision is the undercoat. That darkness matters because rust is never just orange sitting on a clean surface. A black or dark gray base keeps chipped edges and recesses from looking flat, so the final weathering has the shadow it needs to feel built into the model.
Texture helps at this stage too. A rougher foundation, such as a texture medium like Typhus Corrosion, gives the paint job physical bite before the color work even begins. On a miniature with panels, bolts, or corroded plates, that gritty surface makes later rust layers catch in a way that smooth paint never will.
Lay down the first rust pass
The opening color pass should be restrained. Use a natural sponge to dab in dark browns and burnt umbers, and keep the marks broken up rather than even. The point is not to cover the whole panel; it is to suggest tiny patches of oxidation that have started to spread.
That sponge work creates irregularity. Rust is messy, and a stamped or repeated pattern immediately looks artificial, while a jagged, uneven application feels like metal that has been exposed to moisture, abrasion, and time. If the surface starts to look too neat, stop and let the primer show through in places.
Build the oxidation in layers
Once the first brown pass is dry, the rust can climb into its warmer stage. Apply reddish browns and oranges with stippling, and adjust the paint consistency so the tones stack instead of sitting in one opaque block. That layered approach gives the corrosion the look of older rust beneath fresher oxidation.
This is where the color family matters, but only after the placement is right. Dark brown and burnt umber give you the dead, dirty base; reddish browns and orange tones tell the eye that the rust is active and developing. If the miniature needs a fresher look, keep the oranges tighter and brighter; if you want something older, let the browns dominate and use the orange as an accent, not a blanket.
Use placement to sell the realism
Placement matters more than color choice alone. Rust gathers where water sits, where paint chips away, where edges catch wear, and where two surfaces meet, so those are the spots that should get the strongest treatment. A hatch rim, a shoulder plate edge, a sword guard, or the lower lip of a fuel drum all make sense as rust traps.
A few dark streaks under rivets can read as age better than a fully orange panel with no narrative behind it.
Three versions you can copy on different projects
Fresh rust is the easiest version to recognize because it stays warm and patchy. On sci-fi armor, that means small orange stipples around chipped panel edges and around exposed joints, with plenty of dark base still visible underneath. On fantasy weapons, fresh rust works best near the hilt, in nicks along the blade, and around any guard or pommel detail where handling would break the finish first.
Old rust pushes further into brown and umber, with the orange receding into smaller highlights. Industrial terrain takes this version well because it can look like equipment that has been left outside, so think of tank treads, vent housings, ladders, and pipework where moisture would linger. This stage reads especially well on broad flat surfaces when you break it up with sponge marks and stippled patches rather than smooth blends.
Heavy corrosion is the most dramatic stage, and it benefits from texture as much as color. Use texture mediums, pigment powders, foam sponges, and cotton swabs to build rougher crusts, streaks, and deposits where rust has clearly taken over. This version is ideal for ruined machinery, broken armored plates, corroded terrain pieces, and any weapon that should look like it has lived in a swamp, a scrapyard, or a siege yard for years.
Add metal back in at the end
Rust looks strongest when the viewer can still see the material underneath it. Finish with metallic highlights on raised edges so the model reads as metal rather than painted clay, especially on corners, scraped lips, and high-wear contact points. Those touches frame the corrosion and stop the rust from swallowing the whole piece.
A sword with a bright edge under a rusted surface tells a story about use, impact, and neglect. A vehicle hull with metal peeking through chipped corrosion feels more believable than one that has turned into a single flat orange mass.
Keep the tools flexible
The recipe does not depend on one special product. Typhus Corrosion is useful when you want a rough, gritty base, but the same method can be pushed with natural sponges, foam sponges, cotton swabs, pigment powders, and specialized rust effects. Each tool adds a slightly different texture or streaking pattern.
A sci-fi shoulder pad, an industrial gantry, and a battered axe do not need the same amount of rust, but they do benefit from the same sequence: dark foundation, rough texture, broken brown marks, layered orange oxidation, and a few exposed metallic edges.
This article was produced by Prism’s automated news system from verified source data, official records, and press releases, then run through automated quality and moderation checks before publishing. The system is built and supervised by the people who set the standards it runs under. Read our full AI policy.
Did this article answer your question?