Inside the 'Drifter’s Luck' star freighter terrain build
A 'Drifter’s Luck' star freighter terrain project was posted with detailed painting steps and high-resolution photos. It matters because painters can adapt its weathering, panel shading, and basing techniques.

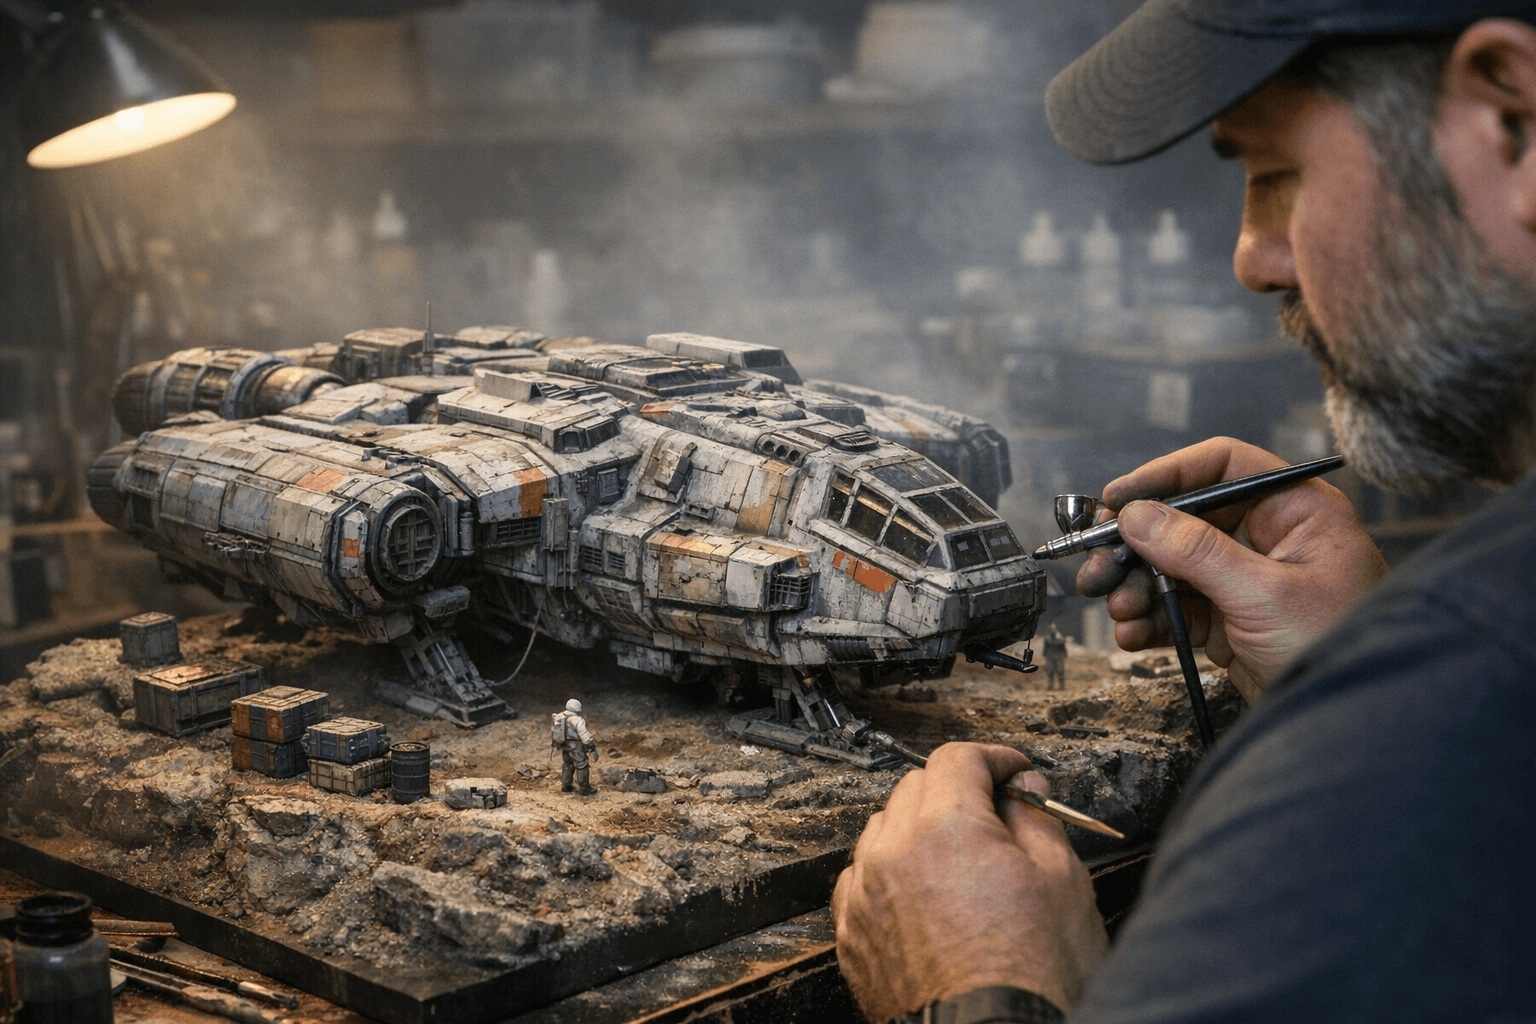
A completed 'Drifter’s Luck' star freighter terrain piece and its associated miniatures were shared with a step-by-step write-up and multiple high-resolution images, documenting the final assembly, paint sequence, and texturing choices. The entry focuses on techniques that scale up to large display terrain: selective metallic highlights, grime and weathering washes, panel shading, edge highlights, and practical basing that reads on camera.
The builder opened with assembly notes: gaps encountered during construction were repaired and panel lines were deliberately emphasized to read from a distance. Those fixes shaped the paint approach, pushing contrast into recesses and reinforcing seams before final priming. Texturing for hull surfaces used layered washes and deliberate grime to create believable service wear instead of uniform streaking.
Painting steps were organized around contrast and focal points. Base colors and panel shading established depth, then selective metallic highlights were added to picked edges and access panels to sell functional hardware. Weathering was applied with layered washes and grime techniques to break up large planes and suggest operational wear. The entry also covered final varnishing choices to protect matte areas while keeping metallics readable under studio lights.
Practical basing completed the presentation: scale-appropriate debris, muted ground tones, and a restrained palette kept the freighter grounded without competing with ship detail. Photographic setup was part of the process, with notes on lighting, camera angles, and backgrounds used to show weathering, edge highlights, and panel shading clearly in the submitted images. This makes the post useful not just for painters but for anyone photographing terrain for display or competition.
For terrain and miniature painters, the value is direct: the project lays out a workflow for large pieces where readability and durability matter. Emphasizing panel lines before painting prevents lost detail later, selective metallics stop the model from looking like one flat block of metal, and staged weathering washes help convey scale and history. The entry also flags common build-stage problems and how simple repairs influenced the finishing sequence.
The takeaway? Treat large terrain like a miniature with bold contrasts and staged weathering rather than a paint-once object. Our two cents? Reinforce seams early, plan where you want the eye to land, and test photos as you go so your highlights and varnish choices survive both paint and the camera.
This article was produced by Prism’s automated news system from verified source data, official records, and press releases, then run through automated quality and moderation checks before publishing. The system is built and supervised by the people who set the standards it runs under. Read our full AI policy.
Did this article answer your question?


