Miniature painters learn airbrush setup for control and smooth basecoats
The cleanest miniatures come from simple choices: the right nozzle, steady low pressure, and a cleaning routine that happens every session.
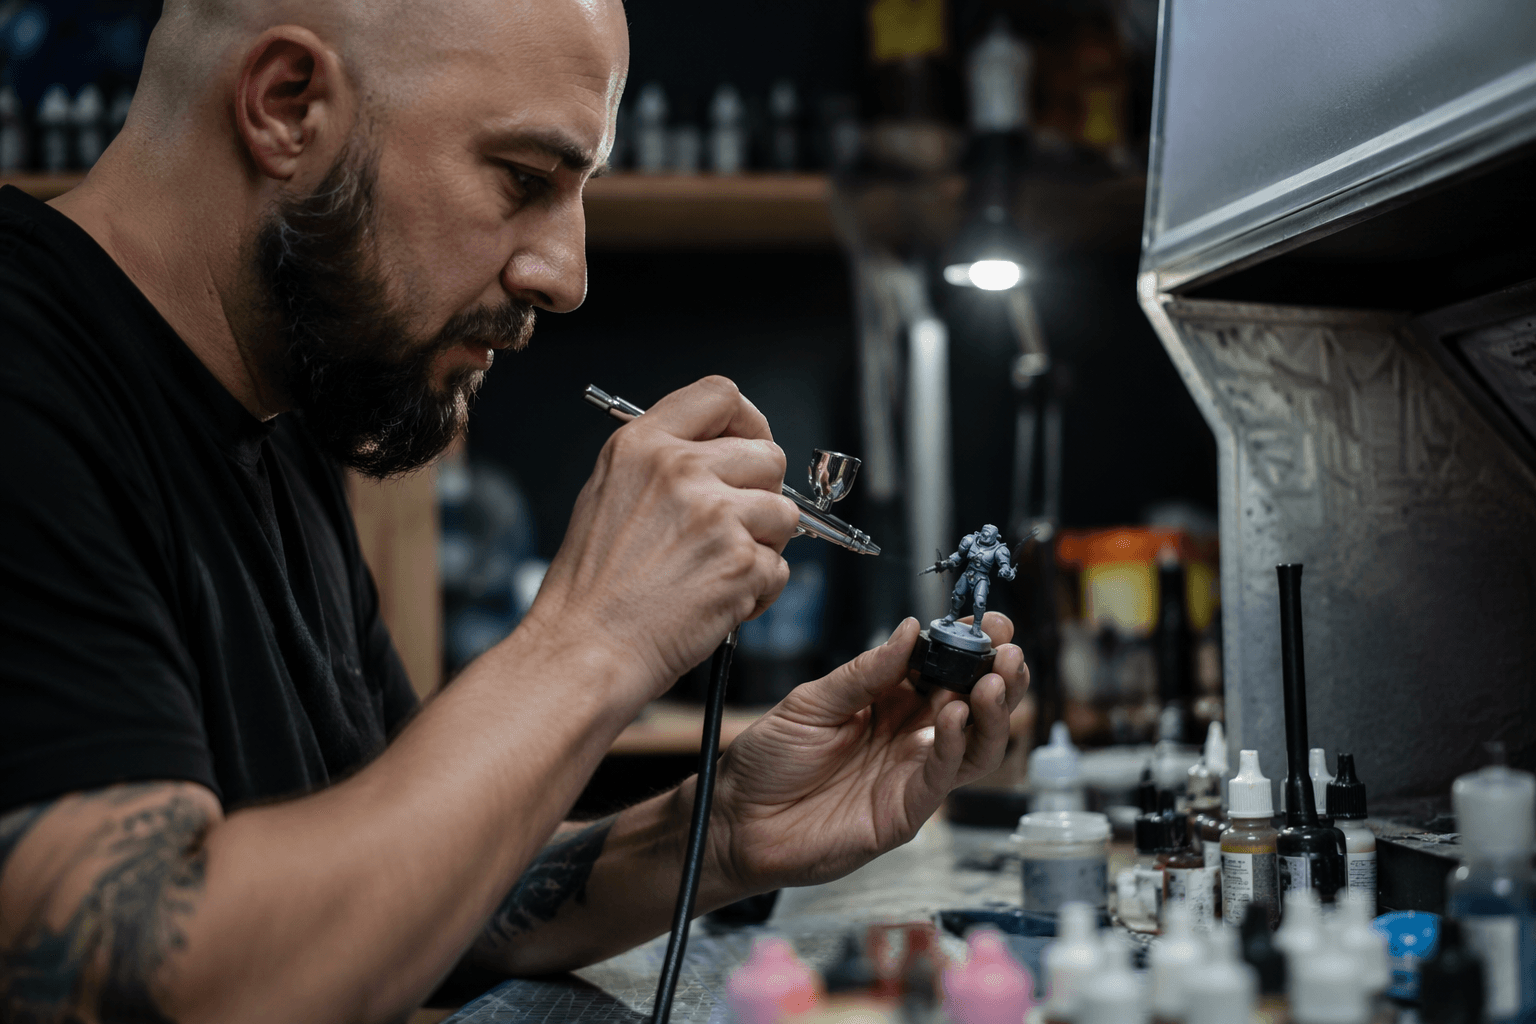
For miniature-scale work, the practical sweet spot is a dual-action airbrush with a 0.15 to 0.20 millimeter nozzle. The goal is not to buy the biggest compressor or the most complex tool, but to get a dual-action airbrush that gives you control at low pressure, then pair it with paint that is thin enough to move without flooding the model. That combination turns priming, basecoating, and smooth gradients into repeatable work instead of a string of clogged nozzles and patchy coats.
Start with the right airbrush body
That range gives enough precision for detail work while still letting you lay down the broad, even passes that minis need for basecoats and zenithal shading.
The body matters because the parts work together. The needle shapes the spray, the nozzle controls how the paint leaves the tip, the trigger gives you separate control over air and paint, the gravity-feed cup keeps paint close to the action, and the hose links the brush to the compressor. A dual-action, gravity-feed design is the most useful starting point because it lets you press down for air and pull back for paint, which is exactly the kind of fine control miniature painters need when they want to avoid pooling on curved armor, cloaks, and shoulder pads.
Iwata’s NEO CN is a dual-action, gravity-feed airbrush designed to deliver soft, effortless coverage at low air pressures. The Eclipse HP-CS goes a little further for hobby flexibility, with a 7 ml cup, a broad spray range, and a compression-fit nozzle useful for color mixing. It can handle both careful miniature work and wider passes on larger pieces.
Choose airflow for consistency, not brute force
A compressor that can hold steady at around 20 to 30 PSI is the other half of the equation. Miniature painters are not trying to blast paint across a panel van; they need stable pressure that keeps atomization predictable from the first pass to the last. Low pressure is what makes the brush feel controllable, especially when you are working close to the model and building translucent layers.
This is where many beginner setups go wrong. Oversized pressure and unstable output make the spray harder to predict, which in turn makes it harder to build smooth basecoats or soft transitions. A dependable compressor paired with the right nozzle size is worth more than a flashy feature list, because repeatability is what keeps the paint going where you mean it to go.
There is one place where bigger hardware does make sense: terrain and large flat surfaces. Airbrushes are especially useful for smooth coverage on larger models and broad flat areas, and that is where a 0.40 millimeter nozzle can be useful. For tabletop minis, though, that larger size is more about scenic work than the fine control you want on infantry, characters, and small kitbashes.
Thin the paint until it behaves like paint
Airbrush success depends as much on paint prep as on hardware. A useful starting point is a 1:3 paint-to-thinner ratio, adjusted until the paint reaches a skim-milk consistency. That sounds fussy until you see how much easier it becomes to spray a thin, even layer without stippling or spatter.
Thinning is not a one-size-fits-all formula, but the point is consistent flow. If the paint is too thick, it clogs or splatters; if it is too thin, coverage becomes weak and watery. For airbrush-specific work, Games Workshop sells acrylic paints formulated for airbrush use, which makes the first step easier because the paint is already tuned for spraying rather than straight-from-the-pot brush work.
The control technique is just as important as the mix. Press down for air, pull back for paint, and keep the spray moving so the color does not gather in one spot. That is what keeps translucent coats smooth and helps you build the kind of subtle tonal shifts that make zenithal highlights, weathering, and atmospheric effects look intentional instead of accidental.
Clean as part of the paint session
The most overlooked skill in airbrushing is cleanup. Iwata’s guidance for gravity-feed brushes is straightforward: flush between color changes and again at the end of the session. That is not an optional maintenance ritual. It is part of normal workflow if you want the brush to keep spraying evenly.
Cleaning overhead is one of the real costs of airbrush life, and it is worth budgeting time for it from the start. A dedicated cleaner, a rinse routine between colors, and a full flush at the end keep residue from drying in the nozzle and needle. The more disciplined the cleanup, the less time you spend chasing clogged passages and the more time you spend actually painting.
What is worth paying for, and what is not
For tabletop-scale work, pay for the parts that govern control. A good dual-action, gravity-feed airbrush, a compressor that can hold a steady 20 to 30 PSI, and a brush size in the 0.15 to 0.20 millimeter range will do more for your results than extra accessories. The bigger 0.40 millimeter path is useful when you move into terrain or larger scenic surfaces, but it is not the core purchase for miniatures.
Games Workshop’s ongoing painting tutorials feature the airbrush as a central hobby tool. In the Warhammer hobby, the airbrush makes primers, basecoats, and smooth gradients quicker and more consistent. Badger Air-Brush Co. was founded in 1963 and began manufacturing its airbrush designs in 1964.
This article was produced by Prism’s automated news system from verified source data, official records, and press releases, then run through automated quality and moderation checks before publishing. The system is built and supervised by the people who set the standards it runs under. Read our full AI policy.
Did this article answer your question?