Tidal Board Basing Guide: Dirt Layers, Failed Static Grass, Resin Tips
A January 20, 2026 project entry documents a tidal weathered board build that layers dirt and dark washes, abandons static grass for tufts, and plans a resin pour, practical tips for basing and scenic pours.

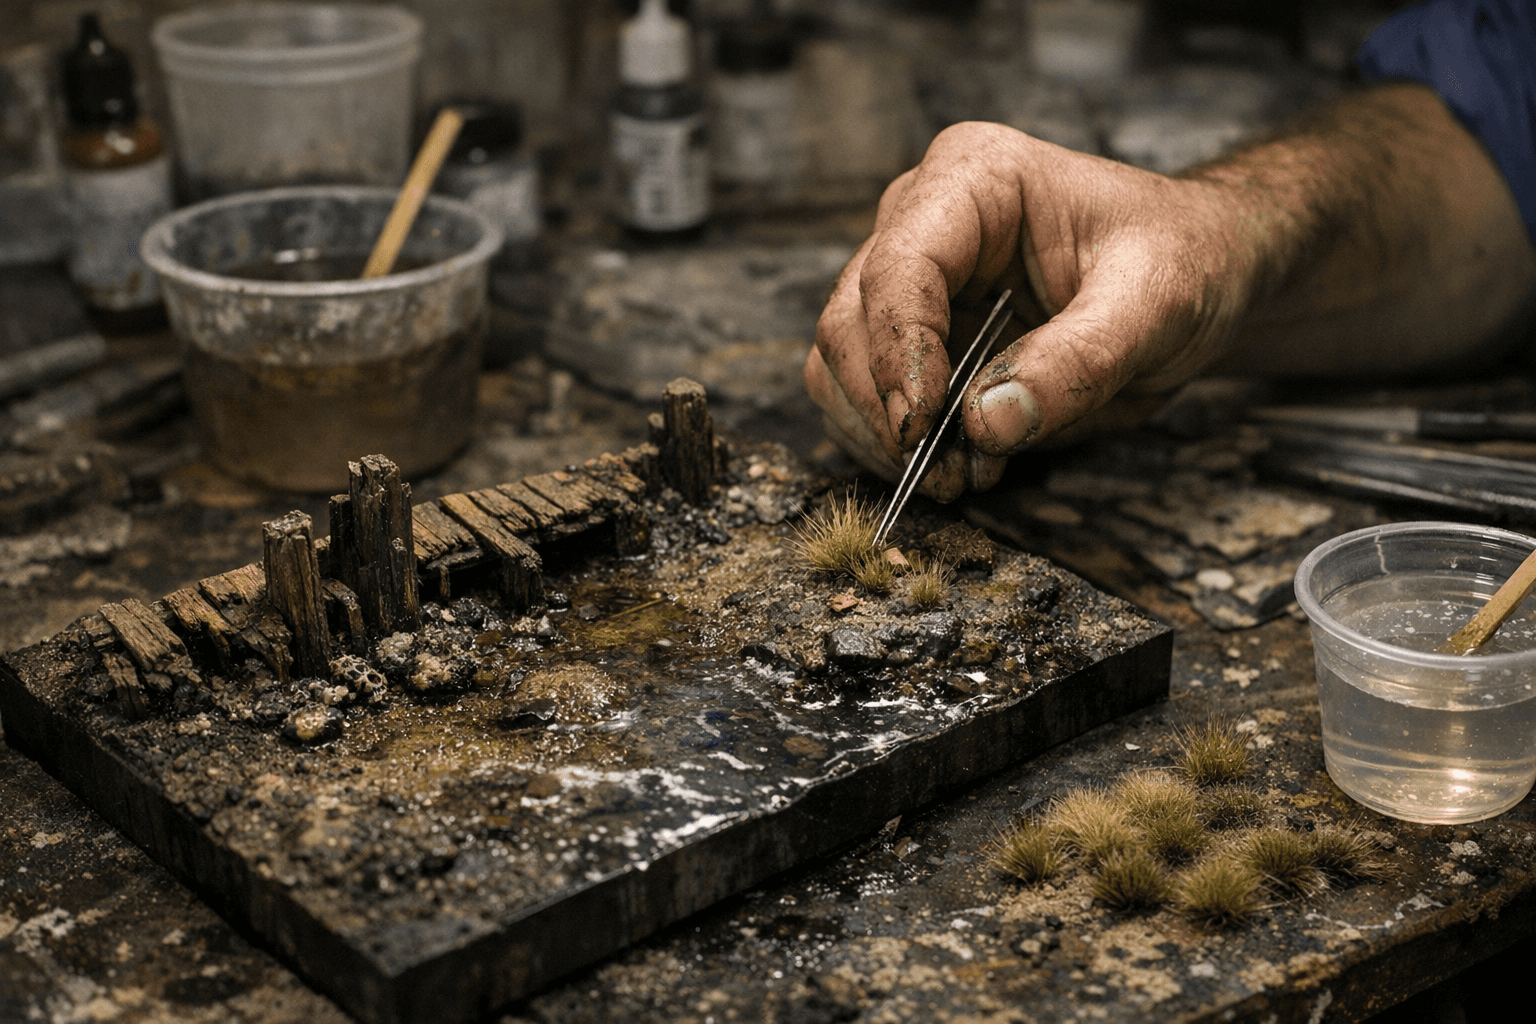
A recent project entry documented a tidal, weathered board diorama where basing choices and a planned scenic pour offered hands‑on lessons for display builders. The author focused on building layers of dirt and grime, blending those textures with dark washes to accent crevices and age the wood, then ran into a dead end with static grass and shifted to ready‑made tufts. The entry is useful because it records both what worked on the board and the common failures likely to affect anyone doing coastal or marsh basing.
Posted January 20, 2026, the entry lays out concrete basing and weathering techniques. The creator built up texture in stages, applying dirt and ground material in successive layers to create depth before using dark washes to pull out shadows and unify the surface. These washes were used strategically to make weathered planks read as damp and tide‑stained, rather than flat paint. The documentation notes careful blending to avoid hard transitions where the board meets the surrounding ground, a key detail for display bases that need to read as a single scene.
The project also recorded a practical failure point: static grass applications did not adhere or stand as intended, prompting the switch to tufts. The move to tufts resolved the immediate aesthetic and attachment issues while saving time on reworking failed static flocking. That swap illustrates a common tradeoff for basing: static applicators can give a natural look but add complexity, while tufts offer reliability and scale consistency for tight diorama corners.
Plans for a resin pour closed the entry, and community replies in the project thread weighed UV resin versus epoxy resin. Participants flagged the usual considerations: UV resin for faster surface cures and epoxy for deeper, longer pours and often clearer long‑term results. Those community exchanges centered on test pours, layering strategy, and controlling bubbles, practical concerns for anyone planning a scenic pour over textured basing.
For miniature painters and display builders the takeaway is straightforward: build dirt and texture in layers then use dark washes to sell depth, keep tufts on hand as a fallback when static grass fails, and test resin approaches on scrap before committing to a full scenic pour. If you plan a tidal board look, work in stages, expect to adapt materials mid‑build, and choose your resin method based on depth, cure time, and the amount of rework you can tolerate.
This article was produced by Prism’s automated news system from verified source data, official records, and press releases, then run through automated quality and moderation checks before publishing. The system is built and supervised by the people who set the standards it runs under. Read our full AI policy.
Did this article answer your question?


