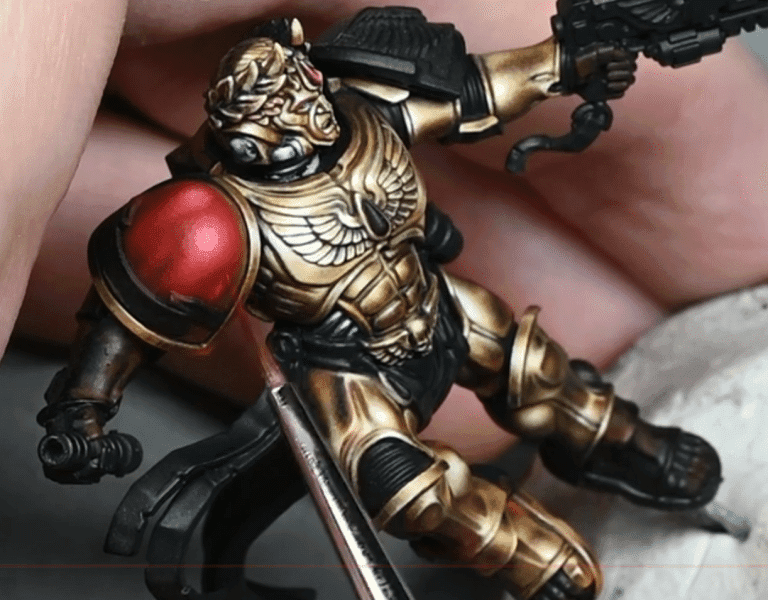
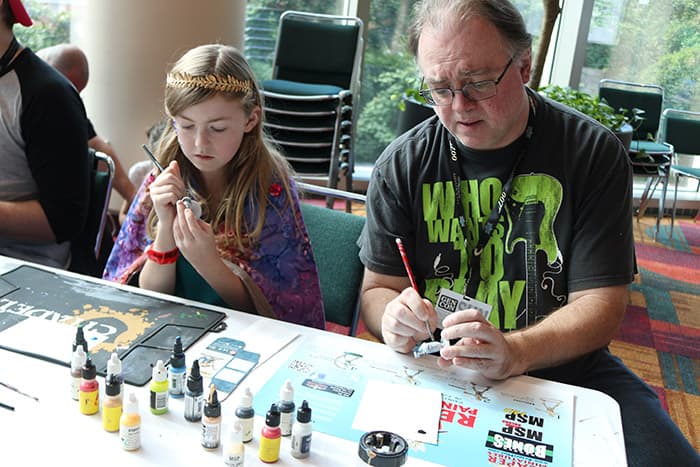
Warhammer Community explains miniature painting techniques for beginners
Warhammer Community’s lexicon turns paint jargon into a troubleshooting map: layer for shape, glaze for smooth transitions, drybrush for texture, edge highlight for tabletop clarity.
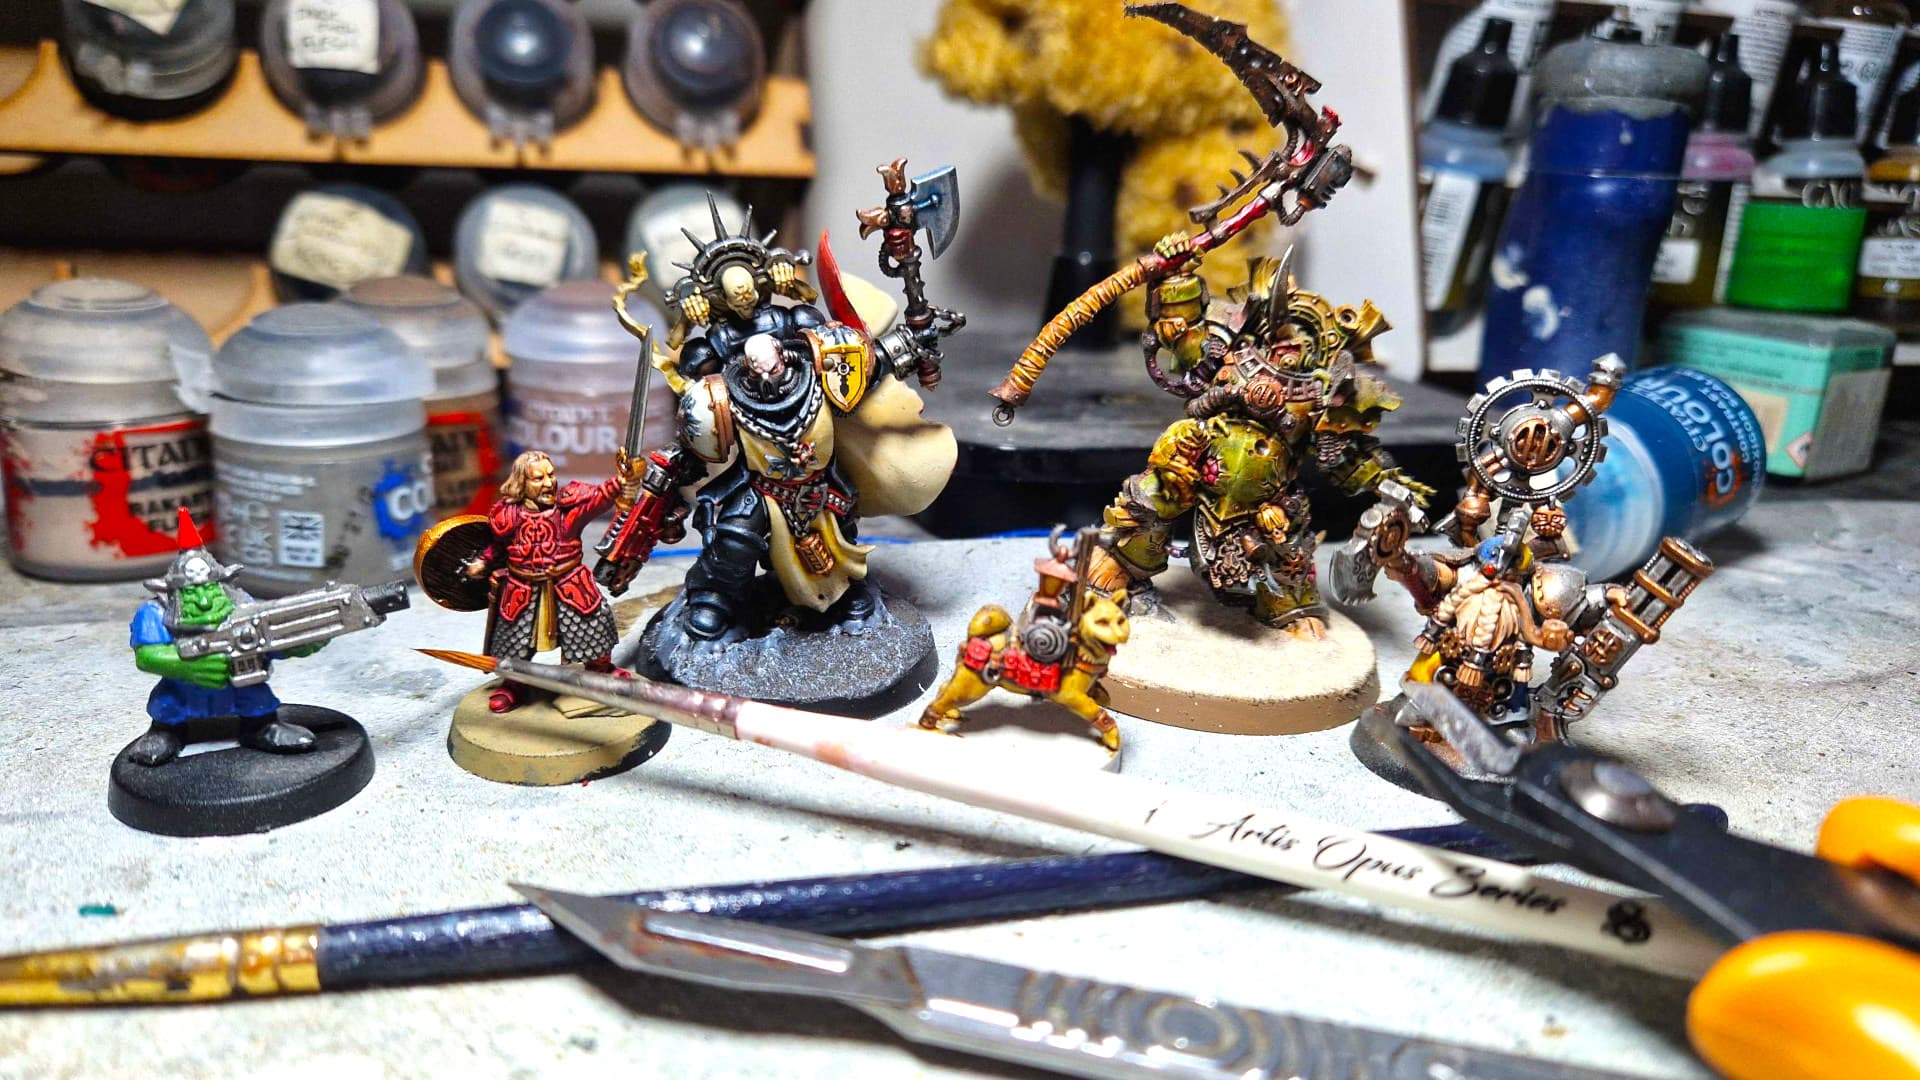
Warhammer Community’s Painting Lexicon is a PDF in the site’s assets area that says it shows “the painting techniques that are used for painting Warhammer models and the results they can be used to create.” The hardest part of following a paint guide is often not the brushwork, but decoding what the author is asking you to solve.
The lexicon is a translation tool, not just a list
The useful part of the lexicon is the way it frames painting as a toolkit. Alongside the better-known terms, it names coat, spray, stipple, and overbrush, which tells you the goal is to explain how different methods create different finishes, not to push every model through the same recipe. If a tutorial calls for a spray, a stipple, or an overbrush, the lexicon gives you a mental picture of what that move is doing before you commit paint to plastic.
Once the language clicks, the rest of the guide stops feeling like guesswork. Coverage, texture, and transition effects read as different instructions tied to different problems on the model.
Layering is the fix for flat color and lost detail
Layering builds opacity and shape with successive thin coats, which is why it shows up so often when a model needs color without becoming muddy. If a base coat looks thin, patchy, or too deadened by the undercoat, layering is the move that pushes the midtone forward while keeping the sculpt readable. It is the technique that helps a shoulder pad, cloak, or face gain form one careful pass at a time.
Layering is often taught to beginners who want better results without jumping straight into advanced blending tricks. It gives you control over where the color strengthens, and it lets you stop before detail gets buried under heavy paint.
Glazing smooths the step between colors
Glazing is different because it uses very thin translucent passes to shift color and smooth transitions. Where layering adds body and coverage, glazing softens edges between tones, which makes it the answer when a highlight looks too abrupt or a shadow needs to sink in without a visible repaint line. If your model looks chalky, striped, or too hard-edged, glazing is the correction pass.
Glazing is often the difference between a paint job that reads well up close and one that settles into the model’s surfaces. On robes, skin, and other surfaces where harsh borders can break the illusion, it shifts the temperature and depth of the area underneath.
Drybrushing is the fast route to texture
Drybrushing catches raised detail, and on the right surfaces it can save a huge amount of time. The lexicon lists fur, chainmail, rocks, and grimdark armor as especially effective targets, because those surfaces reward quick contact on the highest points. If a model has a lot of texture and you want it to pop without painting every recess by hand, drybrushing is the shortcut that makes the sculpt work for you.
Drybrushing is also one of the fastest ways to give terrain, rough armor, or organic surfaces immediate contrast, especially when the goal is a tabletop-ready finish rather than a studio-blended display piece.
Edge highlighting is about reading the model at arm’s length
Edge highlighting is more controlled than drybrushing because it emphasizes corners and hard edges directly. On sci-fi plates, angular armor, and vehicle panels, that extra line of light is what makes the silhouette readable from across the table, where small shape changes would otherwise blur together. It is a very practical answer to a very common miniature problem: the sculpt looks detailed in your hand, then goes visually flat once it sits under gaming light.
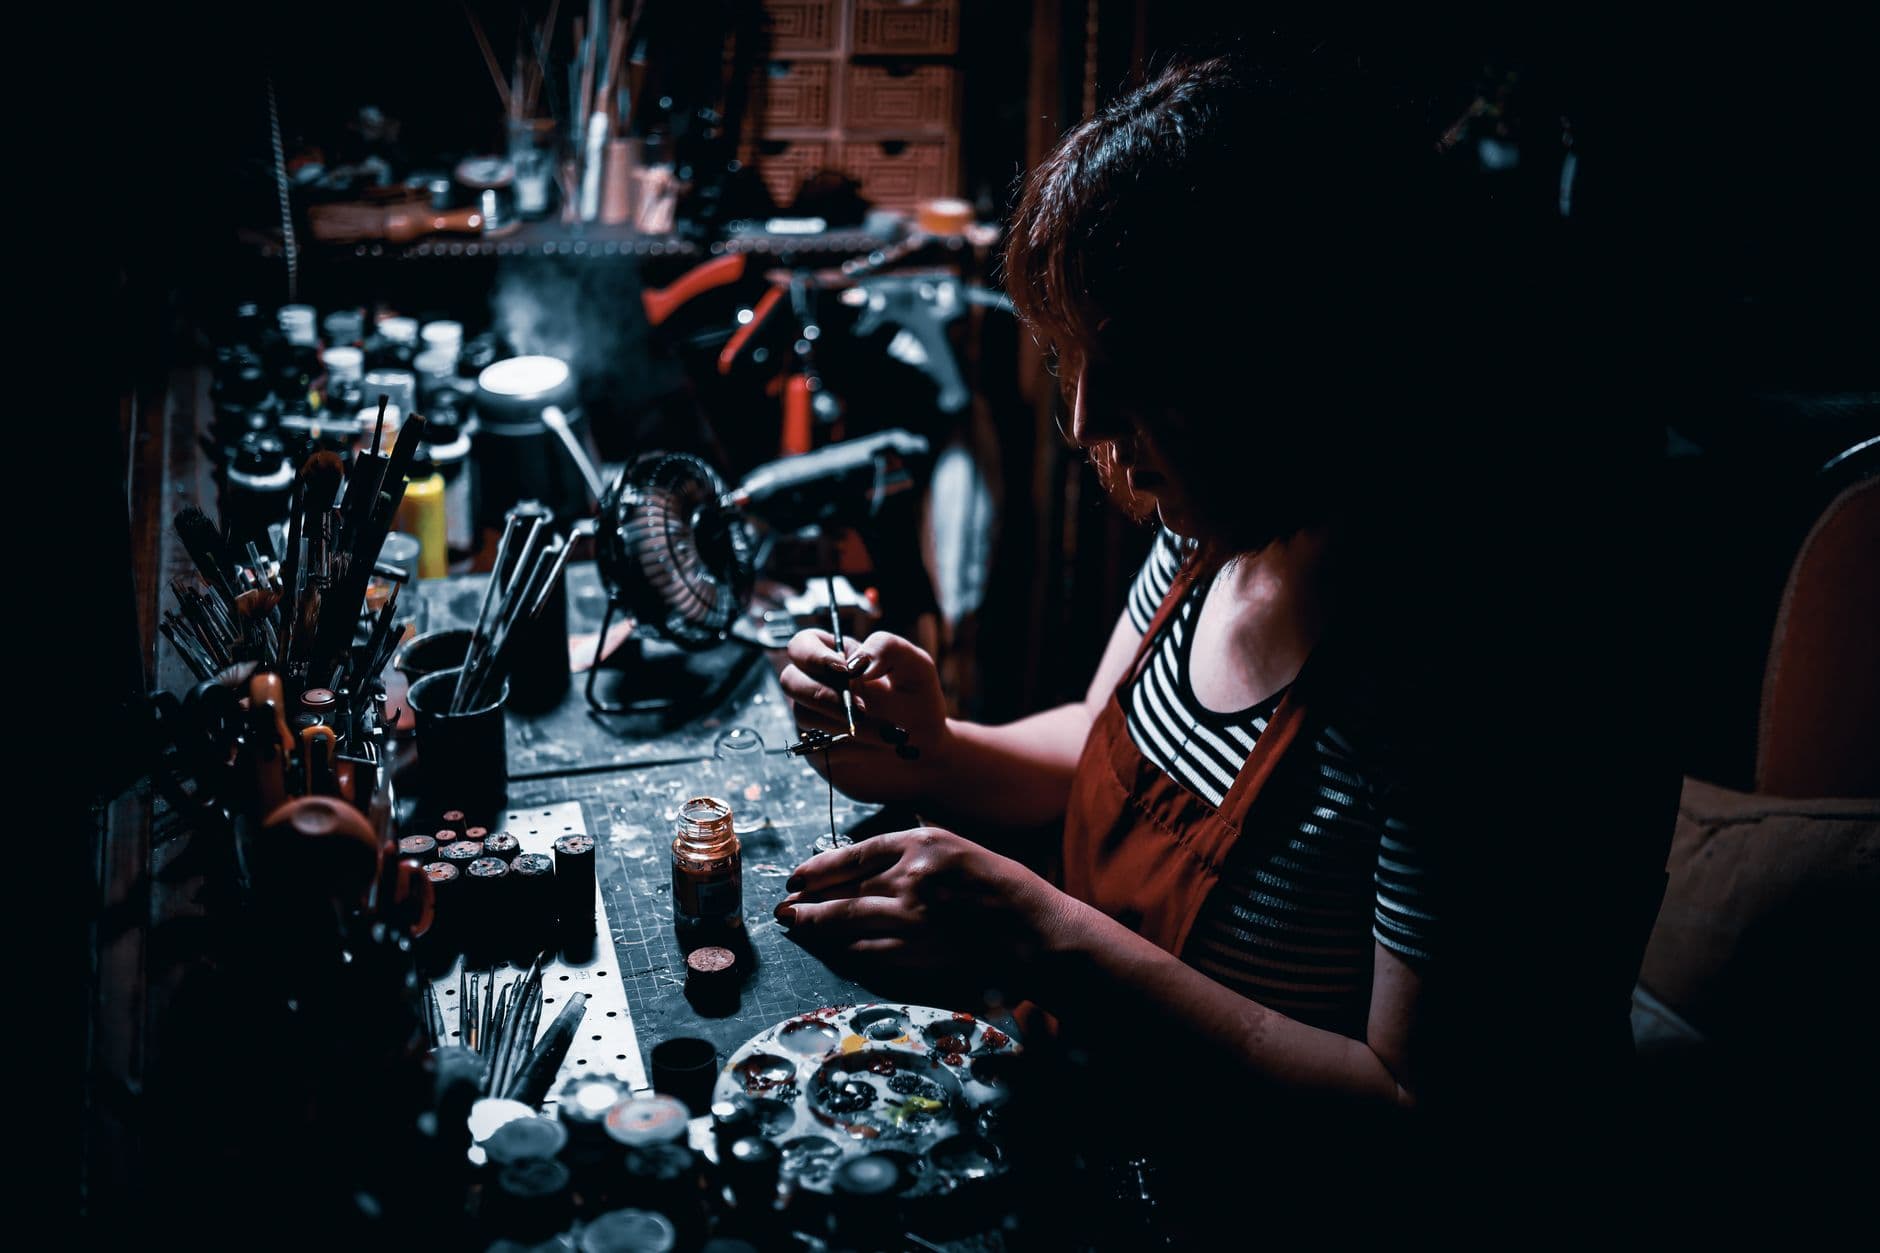
The technique shows up so often on Warhammer models with crisp geometry because it clarifies the edges the eye uses to understand the shape, especially when a model is supposed to look clean, hard-surfaced, and easy to read in play.
Zenithal highlighting tells you where the light should live
Zenithal highlighting can be done with a spray can, an airbrush, or even a drybrush, and its job is to brighten upper surfaces while leaving lower areas darker. That top-down value map is one of the clearest ways to understand a model before the color stages begin, because it gives you a black, grey, and white framework for volume. It is a practical answer to the problem of starting a model that feels visually blank.
Zenithal highlighting works on infantry, monsters, and display pieces alike. It speeds up value planning and makes later layers easier to place because the underpainting already gives the model a lighting direction.
Warhammer Community treats painting like a skill ladder
The lexicon sits alongside a painting topic hub, a building-and-painting section, and coverage in White Dwarf on Warhammer Community. The site has published tutorials and features such as “Learning to paint better and faster… by painting really slowly,” “How to Paint Warhammer: Expert Tips for Two Very Different Types of Painter,” and “Painting the Kroot – How ’Eavy Metal Brought These Carnivorous Hunters to Life.”
This article was produced by Prism’s automated news system from verified source data, official records, and press releases, then run through automated quality and moderation checks before publishing. The system is built and supervised by the people who set the standards it runs under. Read our full AI policy.
Did this article answer your question?