PSOC 6 Microcontroller Turns H0 Scale Locomotive Into Autonomous Self-Driving Train
An Infineon PSOC 6 microcontroller running MicroPython turns a standard H0 locomotive into a schedule-driven, autonomous train - no full DCC stack required.

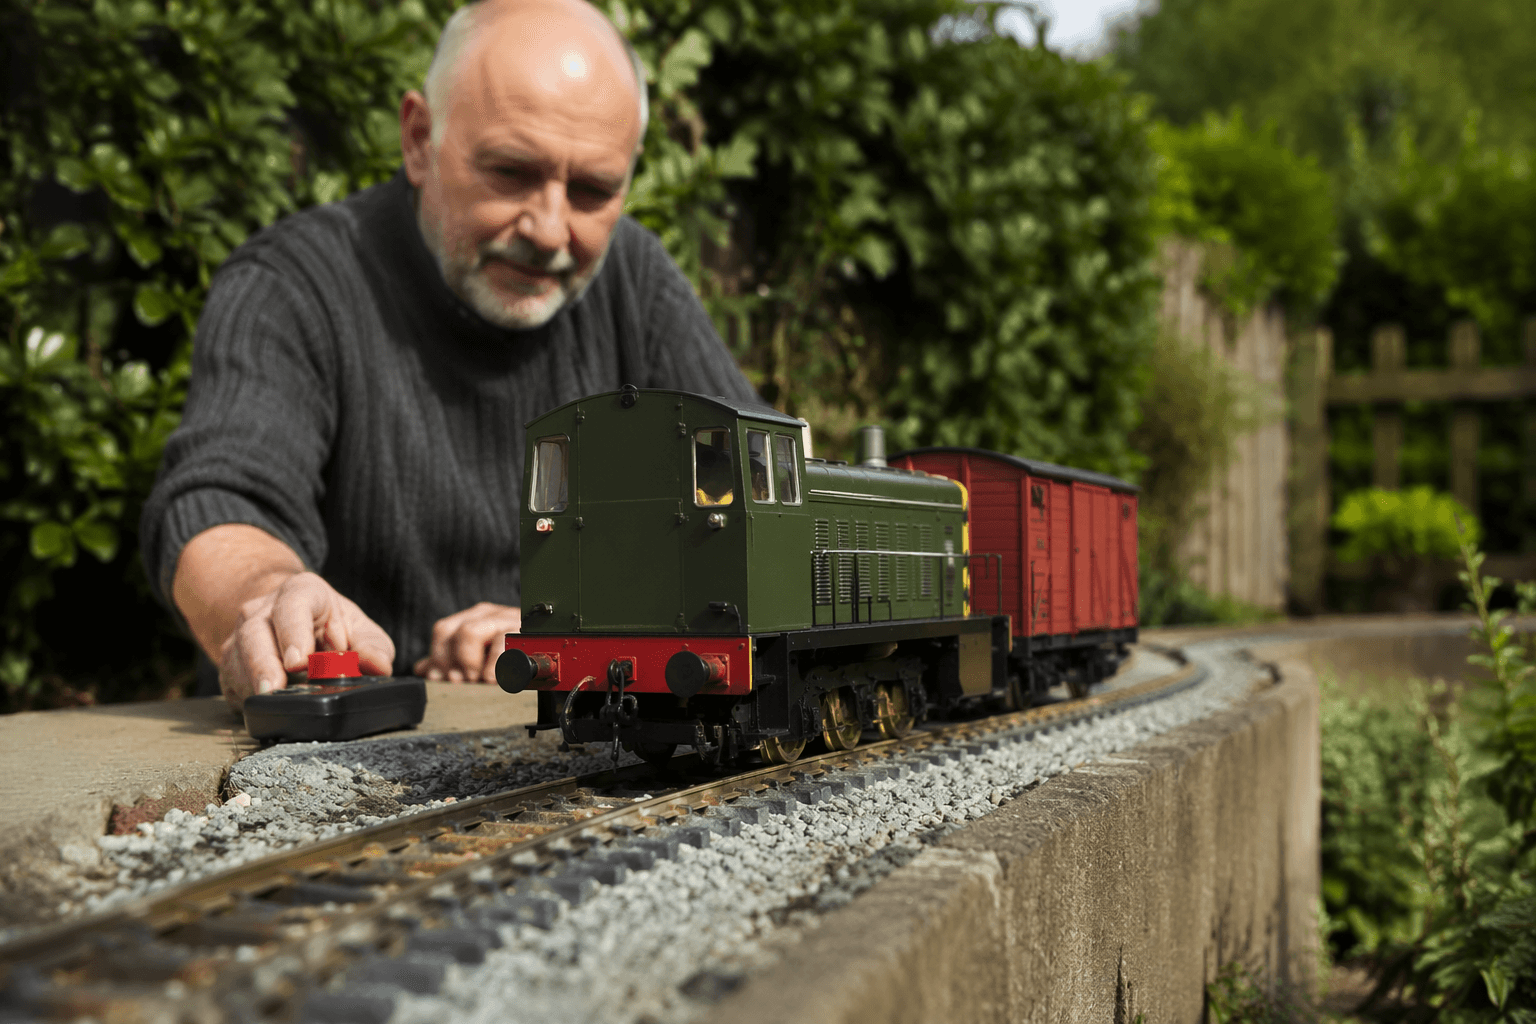
Model train controlled through the rails? - Lame! Why not make it autonomous with an onboard microcontroller?" That opening line from Infineon's engineering team on Hackster.io cuts straight to the point. The project it introduces is a fully replicable build that installs a PSOC 6 microcontroller inside an H0 scale locomotive, connects it to a local Wi-Fi network, and feeds it live schedule data from the real world, letting the train run, stop, and respond to arrival predictions entirely on its own. For layout builders who have been watching the makerspace and model railroad worlds inch closer together, this is the crossover project that actually ships working code.
Why H0 and Why Now
The Infineon team chose H0 gauge deliberately, not by default. H0 was selected as a compromise between "big enough to fit microcontrollers in the model train" and "small enough to fit on a table," though the authors note it turned out to be quite large anyway. That candid admission matters: H0 is the dominant scale in the hobby, and any technique that works here transfers directly to the layouts sitting in garages and club rooms worldwide. The project runs on a modest 160 cm × 80 cm plywood board, a footprint that fits a folding table and proves the concept doesn't demand a dedicated train room.
The Parts List: What You Actually Need
The build leans on two Infineon evaluation boards rather than custom PCBs, which keeps the barrier to entry realistic for an experienced hobbyist or maker with a weekend to spare. The core hardware list:
- CY8CKIT-062S2-AI (PSOC 6 AI Evaluation Kit): the on-board brain inside the locomotive
- CY8CPROTO-062-4343W (PSOC 6 Wi-Fi BT Prototyping Kit): a stationary controller used to display station information and estimated times of arrival at the layout's station
- H-Bridge Kit 2GO: motor driver module that translates PWM signals from the PSOC into actual wheel rotation
- Hall sensors: detect speed and position without mechanical contact
- Raspberry Pi: off-board server that handles geops API queries and delivers schedule data over the local network
- 3D-printed mounts: custom brackets to secure the electronics inside and around the locomotive shell
Power still comes from the rails, keeping the electrical simplicity of traditional analog track wiring. The intelligence, however, lives on the controller. This split architecture is one of the project's smartest design choices: you aren't ripping out your existing track wiring or buying a full DCC command station.
Building the Hardware
The general structure of the onboard system is the PSOC 6 AI Evaluation Kit acting as the brain, receiving commands from the server on the same network, while the H-Bridge Kit 2GO controls the motor by receiving the generated PWM signals. The hardware preparation section of the original guide covers wiring the components, 3D printing all the mounts, and assembling the parts in sequence. Hall sensors slot into the drivetrain to give the controller real-time feedback on speed, which is what enables smooth deceleration into stations rather than an abrupt cut of power.
The stationary PSOC 6 Wi-Fi BT kit sits at the layout's station board and handles the display side: showing arriving trains and ETAs sourced from the server. Wiring diagrams are included in the full Hackster guide, and the 3D-printable mount files mean no custom metalwork is required to seat the evaluation kit inside the locomotive body.
Skill level required is honestly intermediate. You need to be comfortable soldering pin headers, comfortable enough with Python to modify a script, and able to run a Raspberry Pi headlessly on your home network. No FPGA experience, no C++ firmware writing, and no DCC decoder soldering required.
The Software Stack: MicroPython Meets Real Transit Data
The software side is where this project earns its "self-driving" label. MicroPython is flashed onto the PSOC 6 controller, and from there the locomotive communicates over Wi-Fi with the Raspberry Pi server. A separate server device is used because of the complexity that the geops API poses; the Pi handles the heavy API lifting so the microcontroller only receives clean schedule commands.
The geops platform provides live positions of public transport vehicles worldwide, with positions calculated from timetable data or, where available, real-time feeds. In this build, that data is translated into arrival and departure predictions that drive the train's actual behavior on the layout. The locomotive watches the schedule, accelerates toward the station as an "arrival" approaches, holds, and departs on cue. An embedded video in the original guide shows this in action, with the train reacting visibly to scheduled events.
Three Use Cases to Copy on Your Own Layout
The project's architecture maps naturally onto three scenarios any layout operator can apply directly:
1. Autonomous point-to-point running. Set the locomotive loose on an oval or dogbone track and let the server's schedule data govern when it departs, how fast it runs, and when it pulls into the station.
No hand on the throttle, no PC-based automation software. The PSOC handles the loop independently once the server is running.
2. Hands-off shunting simulation. The same PWM motor control that governs mainline speed can be tuned for low-speed yard moves.
With Hall sensor feedback keeping position estimates accurate, the controller can execute a move-stop-move shunting sequence from a pre-written Python script, freeing the operator to work another part of the layout entirely.
3. Collision avoidance with sensor-gated blocks. Hall sensors placed at block boundaries report occupancy back to the Raspberry Pi server.
The server can then instruct a second PSOC-equipped locomotive to hold at a block entry until the first train clears, replicating the basic logic of a signaling system without wiring separate block detectors to a traditional control panel.
Time Investment and Realistic Expectations
A competent builder who has flashed firmware before and owns a Raspberry Pi can realistically assemble the hardware and get the server script running in a single weekend. The 3D printing is the longest single task if you don't already have parts on hand; the evaluation kits arrive ready to program. Code snippets are provided in the full Hackster guide, which means the software steps are closer to configuration than original development.
What the project doesn't do: it isn't a drop-in DCC replacement, and it won't retrofit into Z or N scale without a significant redesign. H0 is the practical floor for fitting the current hardware. But as an architecture for thinking about smart, networked layouts, the PSOC 6 approach is genuinely transferable. The combination of an on-board controller, local Wi-Fi server, and a live data API represents exactly the kind of modular, modern toolchain that model railroad automation has been waiting for someone to demonstrate cleanly. This build is that demonstration.
This article was produced by Prism’s automated news system from verified source data, official records, and press releases, then run through automated quality and moderation checks before publishing. The system is built and supervised by the people who set the standards it runs under. Read our full AI policy.
Did this article answer your question?