Scenery and Weathering Techniques Every Model Railroader Should Master
Clean, glossy freight cars can undermine even your best scenery — mastering weathering and terrain techniques is what separates a toy-like layout from a truly immersive railroad.

Building realistic scenery and learning basic weathering techniques are high-impact skills that elevate a model railroad from "nice" to immersive. That framing, drawn from proven methods consolidated across Model Railroader and NMRA beginner materials, cuts straight to what separates a layout people admire from one that stops them cold. Whether you're just getting your first boxcars on the rails or managing a full fleet across multiple staging yards, these are the techniques worth your time.
Why weathering matters more than you might think
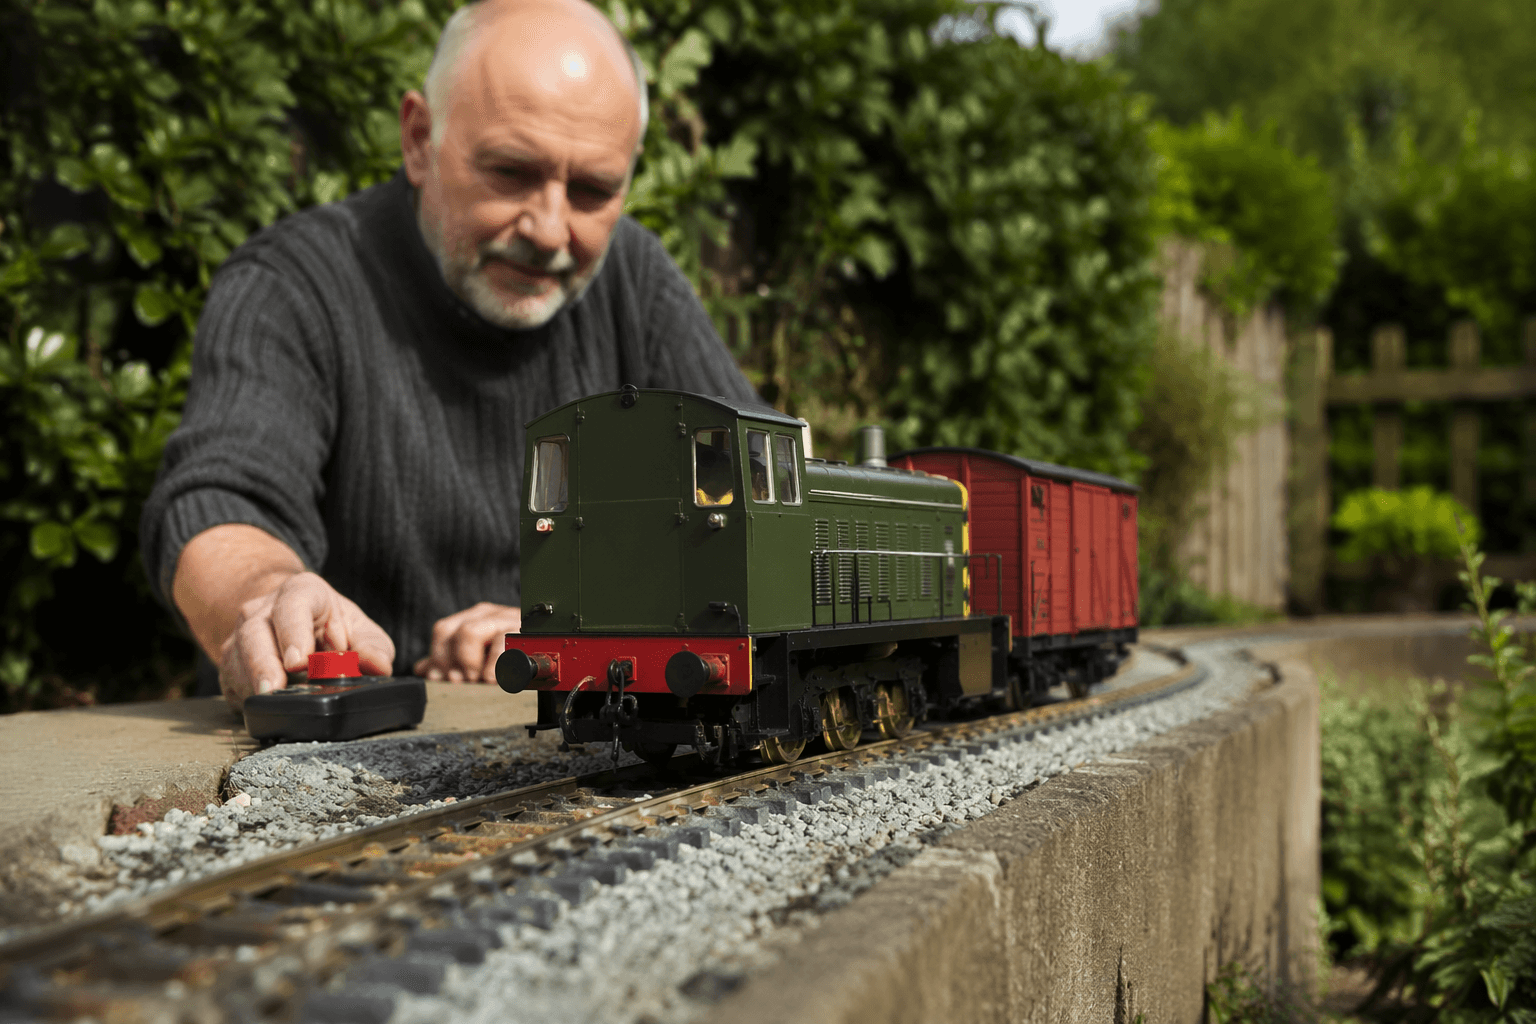
Rolling stock occupies a uniquely visible place on any layout. As Midwestmodelrr puts it: "This matters because rolling stock is constantly in the foreground — passing slowly through yards, sitting in sidings, and being switched right in front of operators." Unlike your backdrop or even your scenery base, cars are always moving through the viewer's eyeline, which means any unrealistic finish gets scrutinized over and over again.
The problem with out-of-the-box rolling stock is simple: "Clean, glossy freight cars look great in a display case — but on a working railroad, they can make even the best scenery feel 'toy-like.'" You might have hand-laid track, meticulously textured ground cover, and scratch-built structures, but a parade of factory-fresh hoppers rolling through will break the illusion every time. The goal is to turn that factory-fresh rolling stock into equipment that looks like it's earned its miles.
There's also a less obvious payoff: "Realistic weathering ties your cars to your layout's era and purpose, and it instantly improves photography." If you shoot your layout — and most serious modelers do — weathered rolling stock photographs dramatically better, with texture and depth that glossy models simply can't match.
Weathering is a scalable skill
One of the most encouraging things about weathering is that you don't have to commit to a museum-quality finish on day one. "Better yet, weathering is a skill you can scale: quick and subtle for beginners, or deeply layered for advanced modelers." A few passes with weathering powders and a light wash can transform a car in under an hour. Getting to full prototype fidelity with layered effects takes more time and practice, but the entry point is genuinely accessible.
The target outcome, whether you're working quickly or going deep, is a set of repeatable techniques that let you work through an entire fleet without every car looking the same. Variety is the point: prototype railroads don't have matching finishes across their equipment, and your layout shouldn't either.
What real railroad aging actually looks like
The weathering effects worth replicating are the ones that accumulate on prototype equipment through normal operations. Working from the Midwestmodelrr framework, the core effects to layer are:
- Sun fade: paint oxidizes and lightens unevenly, especially on roof panels and upper car sides exposed to direct sunlight
- Road grime: accumulated dust, exhaust residue, and general atmospheric dirt that builds up along lower car sides and trucks
- Brake dust: a distinct dark, metallic deposit concentrated around wheels and brake gear
- Rust: surface oxidation that appears at seams, corners, door hardware, and any area where paint has been chipped or worn through
- Spills: product-specific staining around hatches and loading points that varies by commodity type
- Patchy repairs: the maintenance reality of working railroads, where "cars get repainted in panels, stenciling gets updated, and repairs create 'new metal/old paint' contrasts"
That last point is worth dwelling on. Real freight cars don't get repainted wholesale when they take minor damage. A section of siding gets touched up, a reporting mark gets re-stenciled, a repaired patch gets a coat of fresh paint that doesn't quite match the sun-faded original. Replicating those "new metal/old paint" contrasts is one of the details that makes weathered models genuinely convincing rather than just dirty-looking.
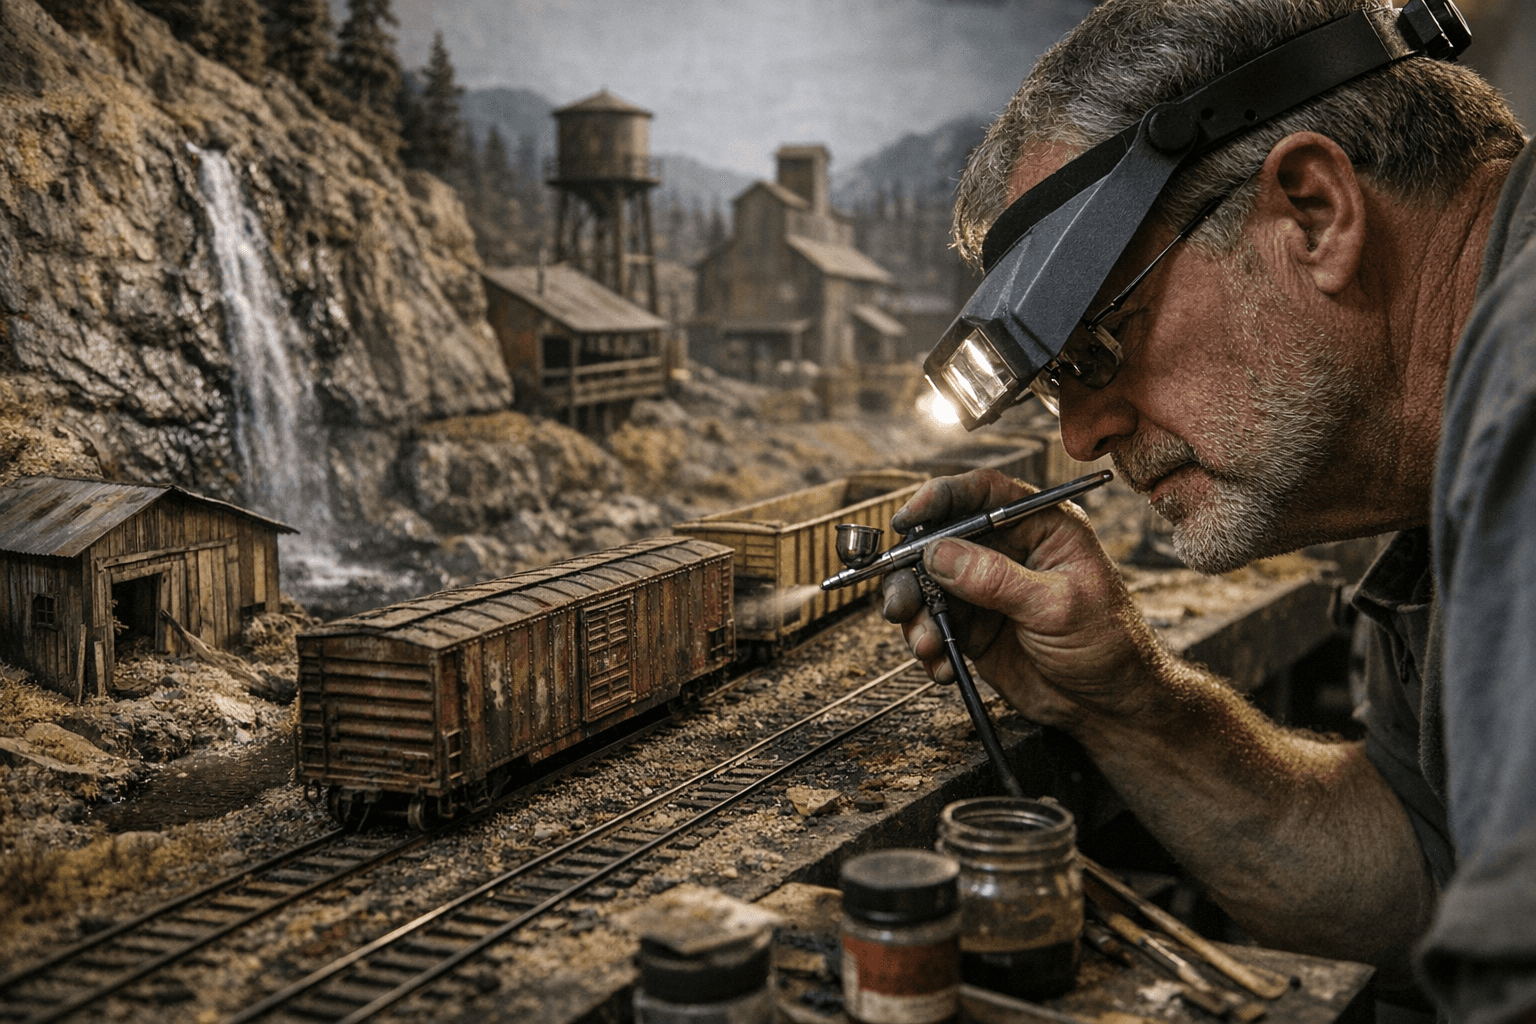
All of these effects work best when applied in believable layers, building from a base coat through progressively finer detail work rather than trying to apply everything at once.
Materials and tools to get started
For modelers looking for a practical entry point into weathering powders and dry pigment work, the Tamiya 87079 Weathering Master A Set is a widely available option. The set includes three tones: Sand, Light Sand, and Mud. These earth-tone pigments are well-suited to the road grime and dust effects that define lower car sides and trucks, and the compact, palette-style packaging makes them straightforward to control for beginners while still offering enough subtlety for more refined work.
Weathering powders like these work particularly well for building up the lighter, atmospheric dirt effects before committing to harder-to-reverse washes or paint-based techniques. Starting with pigments and powders, then adding washes and paint chipping, is a logical progression that gives you checkpoints to evaluate your work before pushing further.
Scenery, benchwork, and the broader layout picture
Weathering doesn't exist in isolation. The proven methods drawn from Model Railroader and NMRA beginner materials extend from planning terrain through benchwork construction, and the connection between your scenery base and your rolling stock finish matters more than most beginners expect. A well-weathered boxcar sitting on a rail joint surrounded by unfinished foam or uniform green ground cover will still look out of place. The terrain, structures, and vehicles all need to read as part of the same world.
Planning terrain before you build is worth the upfront investment. Foam benchwork, when approached with clear topographic intent, gives you the flexibility to carve realistic grades, river cuts, and embankments that you simply can't achieve with flat cookie-cutter subroadbed. Integrating your track plan with your scenery plan from the beginning, rather than backfilling scenery around existing track, produces a more coherent and convincing result.
Building toward a complete, immersive layout
The techniques covered here compound. A solid benchwork and terrain foundation supports convincing ground cover and structures. Convincing scenery makes your rolling stock the natural focal point. And properly weathered rolling stock, finished with layered effects that reflect how real railroads actually age their equipment, completes the picture. Each discipline reinforces the others, which is why investing time in any one of them pays dividends across the whole layout.
The practical ambition here is straightforward: develop a clear plan, build a set of repeatable weathering techniques, and work through your fleet systematically so that every car contributes to the era and purpose your layout is meant to represent. That level of cohesion, where the scenery, the structures, and the equipment all feel like they belong to the same time and place, is what moves a model railroad from an impressive hobby project to something that genuinely stops people in their tracks.
This article was produced by Prism’s automated news system from verified source data, official records, and press releases, then run through automated quality and moderation checks before publishing. The system is built and supervised by the people who set the standards it runs under. Read our full AI policy.
Did this article answer your question?