Keewa paints Armageddon Box Orks with fast Bad Moons techniques
Keewa’s Armageddon Box Orks guide turns a deadline-driven paint job into a repeatable Bad Moons roadmap, with skin first, yellow later, and fast tabletop punch.
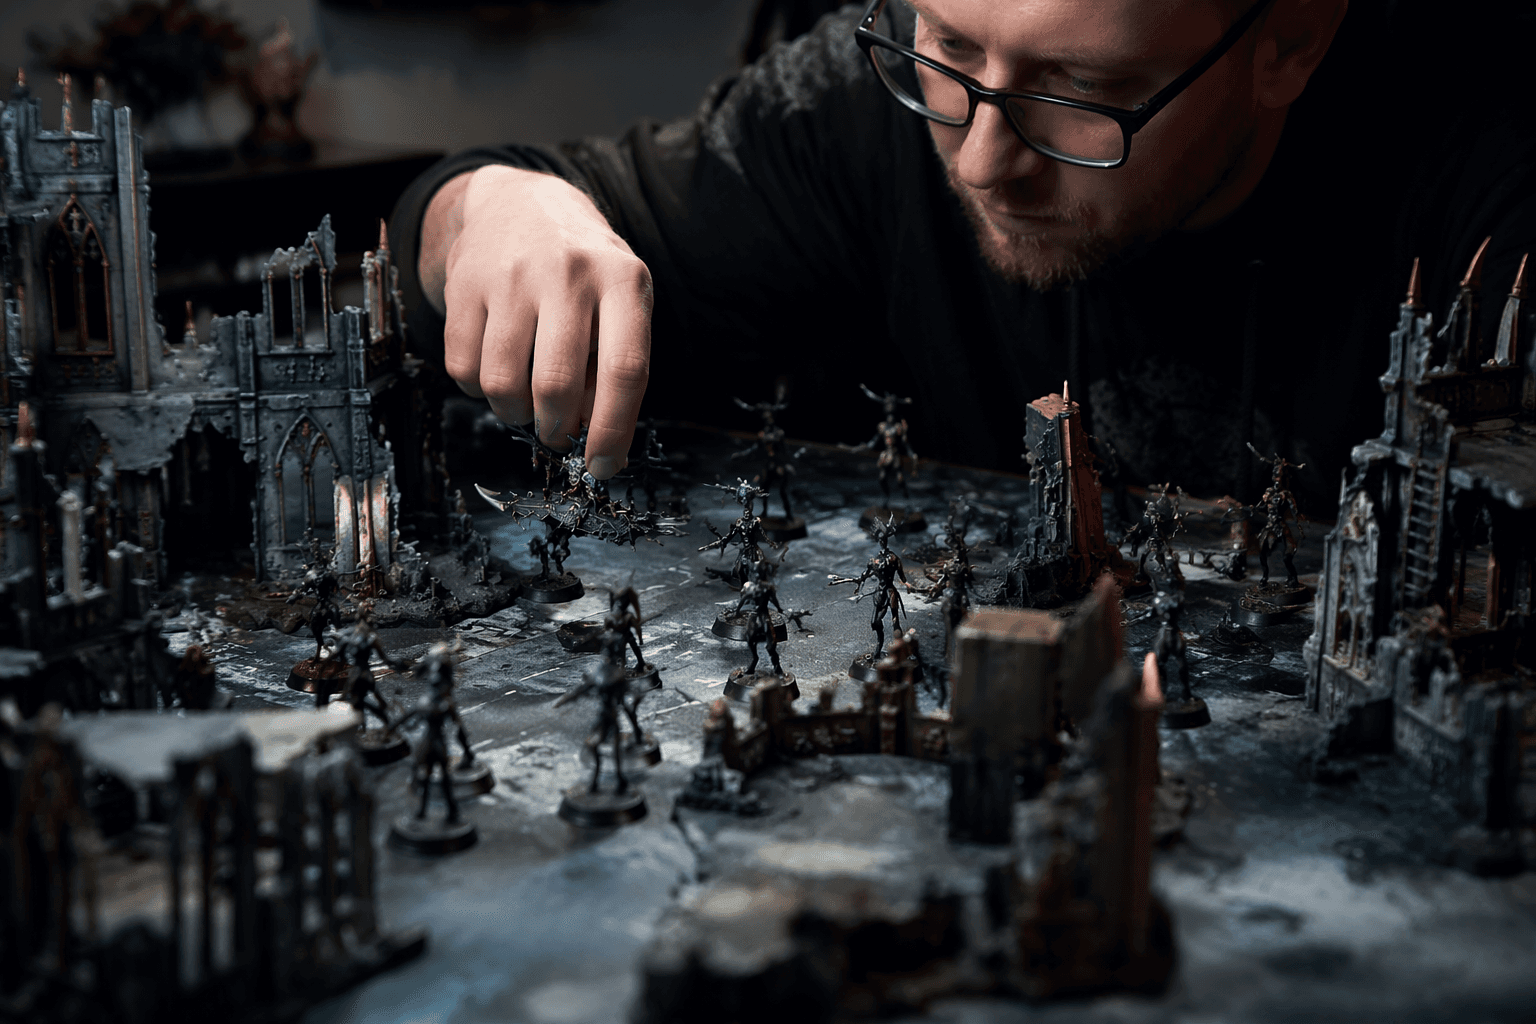
Keewa's Armageddon Box Orks guide is built for the exact moment a new launch box lands on the desk and you want the models on the table fast. He paints the Ork half as Bad Moons, but the real lesson is the workflow: lock in skin, volume, and contrast first, then bring in the yellow armor once the model already reads cleanly.
Speed first, but not sloppy
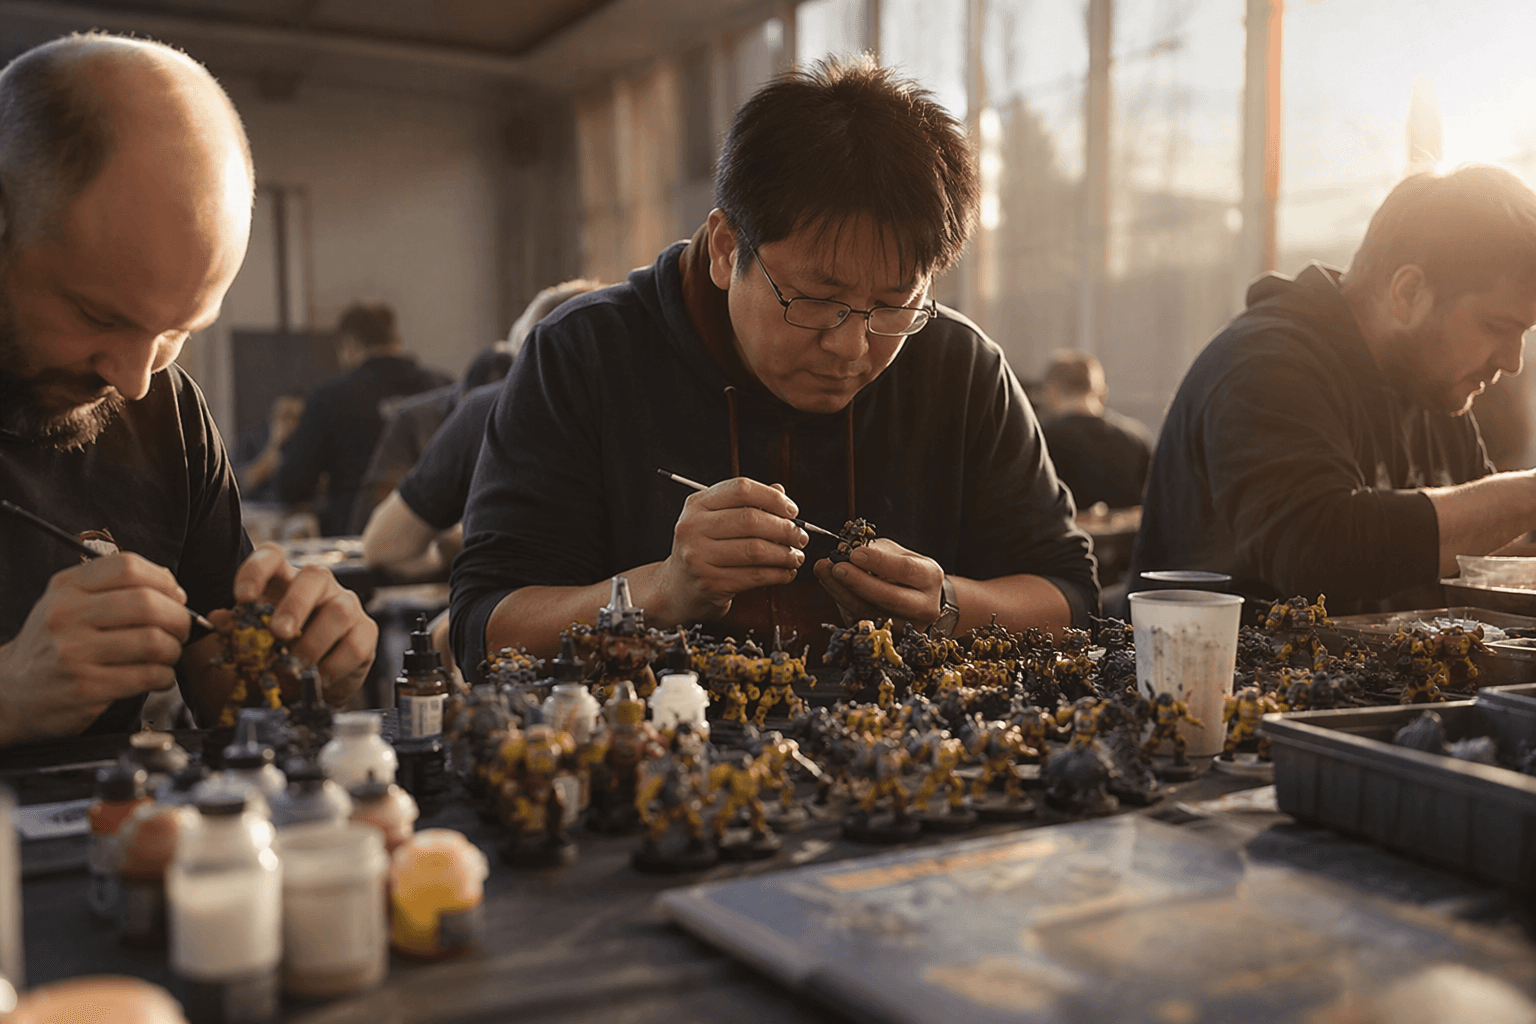
Keewa leans hard on the airbrush because he was painting against an embargo deadline, and that shapes the whole tutorial. It is not the most beginner-friendly route, but it is a practical one if you want multiple Orks finished quickly and still looking like a coherent mob. The useful part is that he does not pretend the shortcut is free, then he keeps pointing to simpler substitutes as he goes so the logic still carries if your setup is more basic.
That is what makes the guide worth copying for a starter-set project. You are not trying to win a single display piece here, you are trying to finish a pile of matched models without burning out halfway through the sprues. Keewa's approach is built around repeatability, which matters a lot more than cleverness when you are facing an entire Ork half of a launch box.
Build the skin before the Bad Moons yellow
The paint sequence starts with a black prime and then a solid green undercoat. That choice does a lot of work right away because it gives you a dark foundation to push highlights against, instead of trying to make yellow carry the whole miniature from the start. Keewa then layers different skin tones so the Orks do not all look cloned, which is exactly the sort of decision that stops a mass of green bodies from turning into one flat blob.
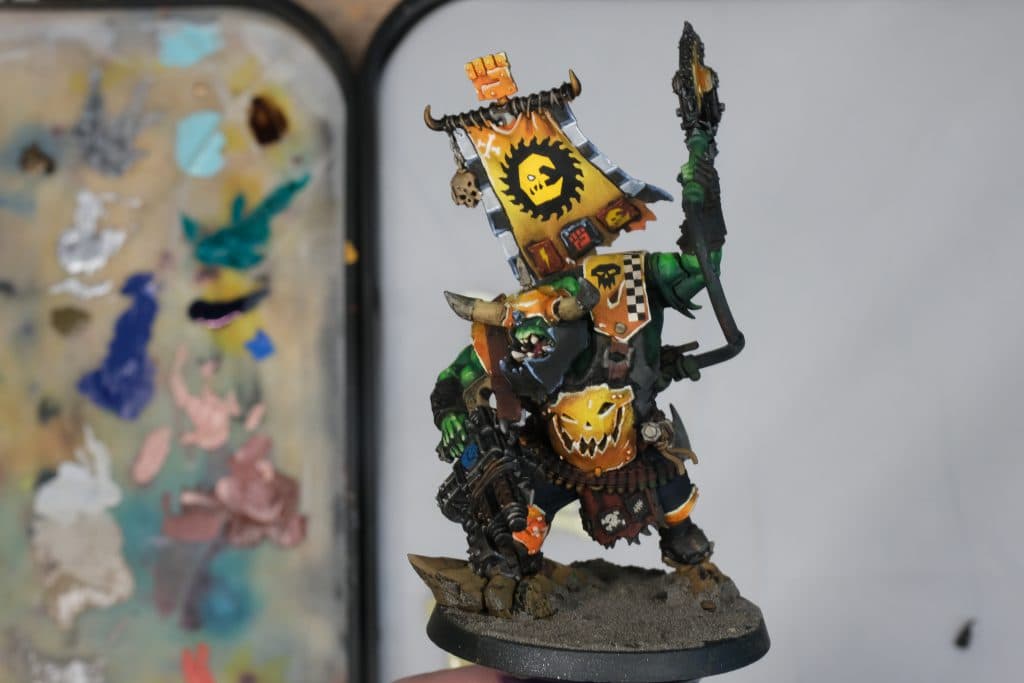
He specifically walks through a Warboss, a second Ork, a Painboy, and a Gretchin, and that mix is the smartest part of the tutorial. You can see how the same underlying method still leaves room for each miniature to feel a little different, even when they clearly belong to the same force. The point is not to give every model a totally separate identity, it is to create enough variation that the unit feels alive when you set it down across the table.
If you are starting an army project, this is the first decision that pays off: paint the flesh and the form before you commit to the armor. The skin is where you establish the volume, the values, and the rough read of the model, so when the yellow arrives later it has something strong to sit on.
Why the yellow comes later
Bad Moons yellow is the headline color, but Keewa wisely treats it as a late-stage move rather than the opening act. He explains that the early work is focused on skin and volume first because yellow can fight the rest of the scheme if you push it too soon. Leave it for later and it stops stealing attention from the face, the muscles, and the mechanical shapes underneath.
That sequencing is the real hobby takeaway. Yellow is a powerful color, but on Orks it can flatten the miniature if you have not already built the contrast elsewhere, and that is how a promising paint job turns chalky and lifeless. By waiting, Keewa preserves the punch of the model and keeps the armor bright without letting it overwhelm the rest of the kit.
For a full box, that matters even more than it does on a single character. When you are painting a batch, the last thing you want is a scheme that forces you to repaint the same surfaces three times because the brightness is out of control. This order keeps the work moving forward instead of sideways.
Glazes, inks, and controlled passes do the finishing
Once the base work is in, Keewa uses glazes, inks, and controlled airbrush passes to smooth transitions and keep the finished models punchy rather than chalky. That combination is doing the heavy lifting on the final read of the miniature, because it lets the skin and armor settle into one convincing surface instead of looking like separate paint stages stacked on top of each other. The result is not soft in the lazy sense, it is controlled, with enough edge and contrast to survive tabletop distance.
If you do not have an airbrush, the article still gives you a path forward. You can copy the idea with thinner brush glazes and careful layering, even if you lose some of the speed that makes the original method so efficient. That is the right kind of compromise for this kind of guide: keep the structure, simplify the tools, and accept that you are trading some pace for accessibility.
Why this matters for the Armageddon box
The timing around Armageddon makes Keewa's approach feel especially relevant. Warhammer 40,000: Armageddon was revealed at Adepticon Preview 2026 as the 11th edition launch box, and Games Workshop described it as the biggest Warhammer 40,000 launch set yet. The box contains 61 brand new miniatures split between Space Marines and Orks, plus the Core Rulebook, Operation: Imperator, Chapter Approved and Dominatus decks, datasheet cards, and a transfer sheet. The Ork side includes 10 Gretchin, each with two build options, and the Ork force also includes five Characters.
That is exactly the sort of release that rewards a fast, disciplined paint plan. A box this large is not just a pile of models, it is a project, and the more variation and character you can get from a repeatable workflow, the better the whole army feels when it hits the table. The Armageddon story line, with the Ork invasion swelling after Ghazghkull Thraka's return and the Imperial counterattack known as Operation Imperator, also gives the army a strong visual identity, especially when the lore keeps circling back to Ghazghkull, Commissar Yarrick, and Marneus Calgar.
The practical verdict
Keewa's Bad Moons method is a showcase project disguised as a speed guide, which is why it works so well for Armageddon. It is not the easiest path, but it is a very sensible one if you care about getting a vivid tabletop force finished without sacrificing character. The biggest launch box wants momentum, and this paint recipe gives you exactly that: skin first, yellow later, and a mob that looks like it belongs together instead of a tray full of half-finished Orks.
This article was produced by Prism’s automated news system from verified source data, official records, and press releases, then run through automated quality and moderation checks before publishing. The system is built and supervised by the people who set the standards it runs under. Read our full AI policy.
Know something we missed? Have a correction or additional information?
Submit a Tip