Painting Feathers in Warhammer 40k: Practical Techniques and Tips
Learn straightforward, hobby-friendly techniques to paint feathers on Warhammer 40k miniatures, from crisp white plumes to moody black feathers and bright tropical patterns. This guide walks through tools, brush control, basecoats, washes, layering, and placement so you can add convincing feather details without complicated blending.

1. Why feather details matter on your miniatures
Feathers show up everywhere in 40k models, banner adornments, plumed helms, characters and exotic conversions, and they read at tabletop scale as a quick storytelling detail. Spending a little time on feathers elevates the entire model by adding texture, silhouette, and colour contrast, making units and heroes stand out during games, events, and photos.
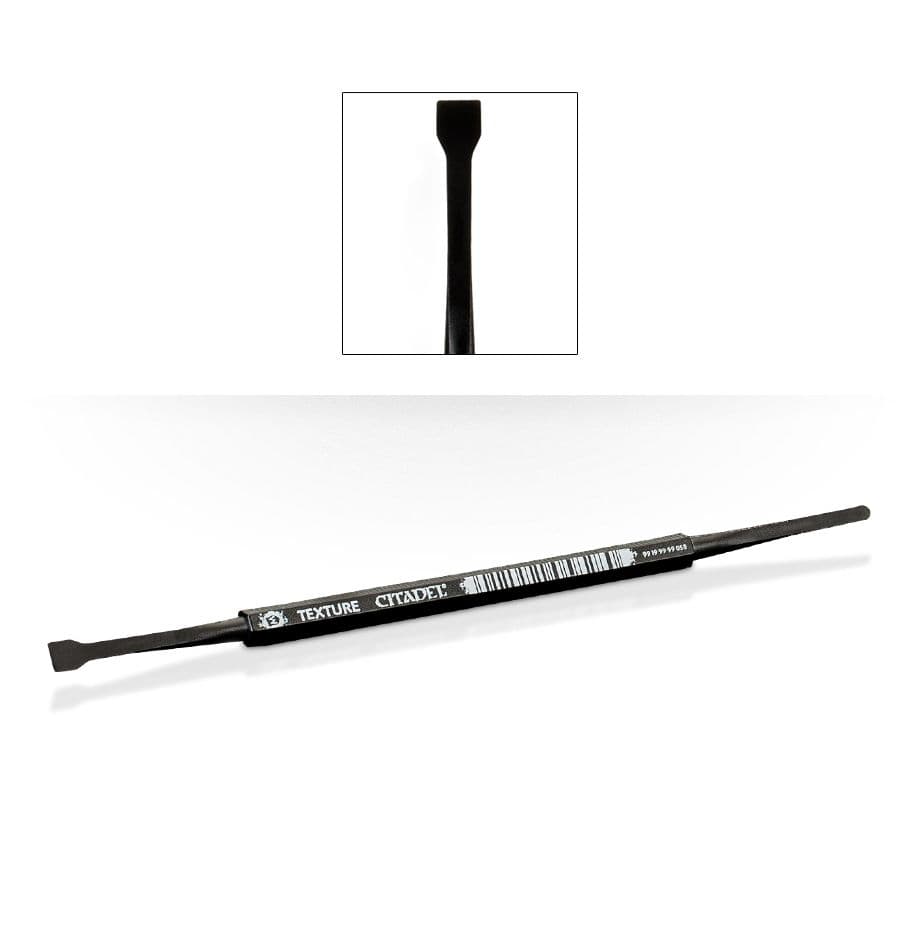
2. Tools and paint selection you’ll want to have
Good results start with the right, simple kit. • Brushes: a small detail brush (size 00 or 0), a slightly larger brush for basecoats (size 1 or 2), and a drybrush or flat for larger plumes. • Paints and liquids: a mid-tone base, lighter highlight shades, appropriate washes or shades, and a bright accent for tropical tips. • Others: wet palette, water pot, paper towel, and a steady hand rest. Choosing a wet palette and thin paints makes layering easier and prevents clumping on those tiny barbs.
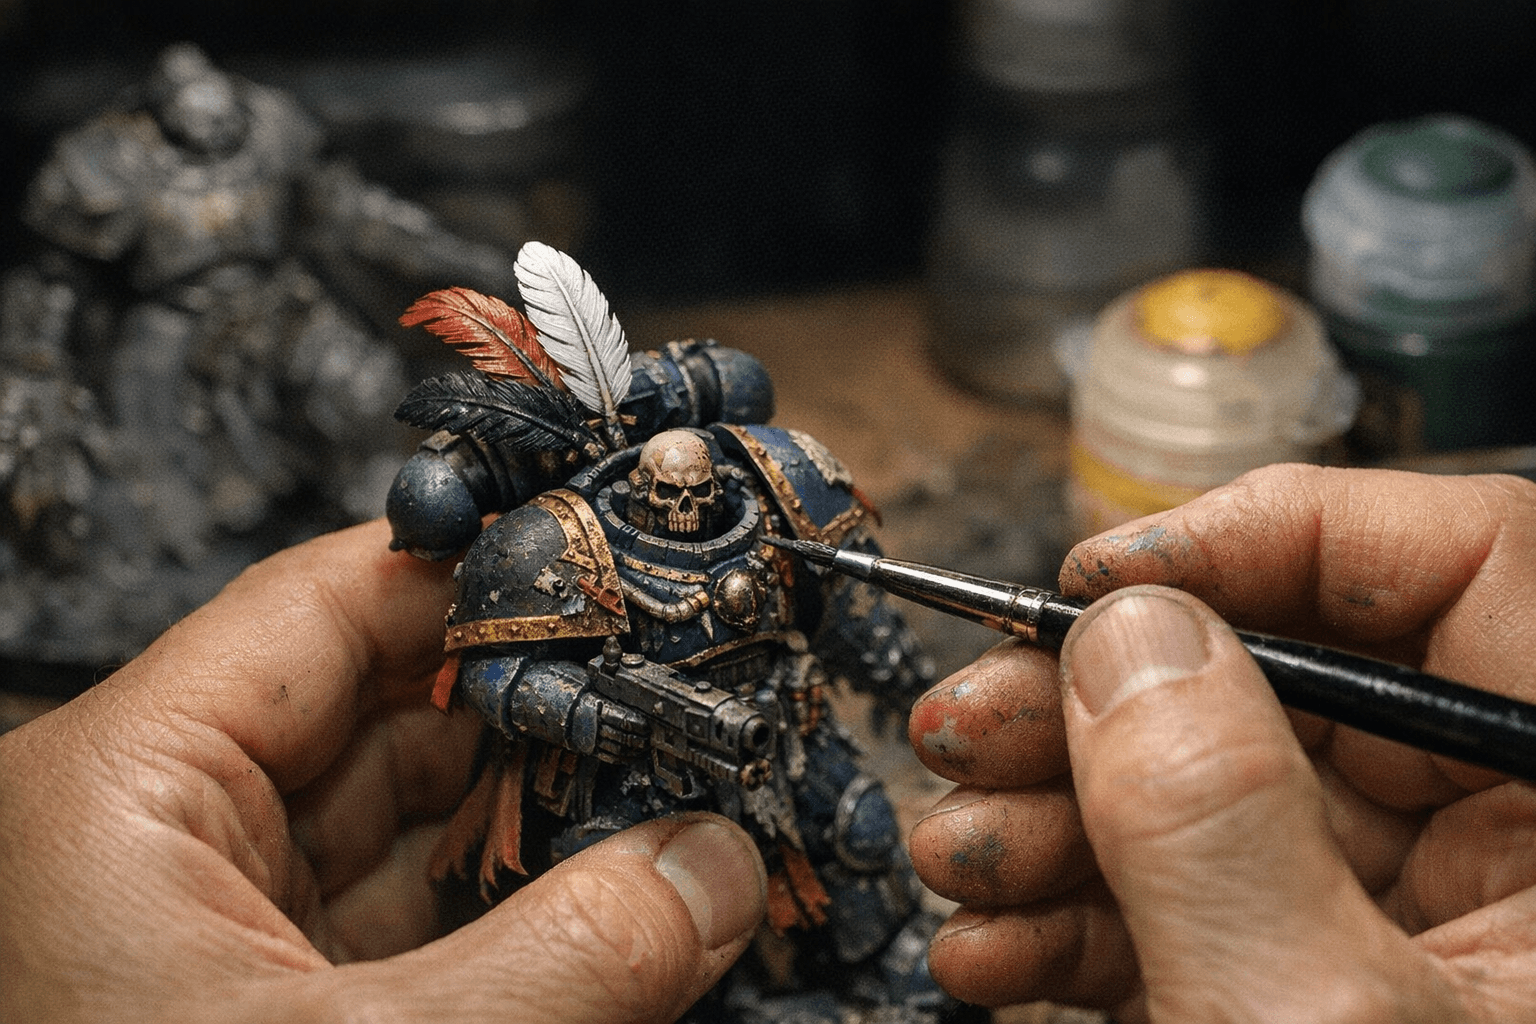
3. Brush control basics for feather painting
Feathering is mostly about precision and short controlled strokes rather than fancy blending techniques. Anchor your painting hand on the table or model to steady the tip, load the brush with a thin bead of paint, then use the very tip for delicate lines and the belly for softer strokes. Work from the feather shaft outward with short, tapered strokes to suggest barbs without overworking the surface.
4. Basecoat strategy for different feather types
Pick a basecoat that supports your final look, mid-grey for whites, true black or very dark grey for moody feathers, and a neutral mid-tone for colourful feathers. Apply thinned, even coats to avoid obscuring sculpted details; two thin layers are better than one thick layer. A consistent base makes subsequent washes and highlights predictable and faster.
5. Clean white feather technique
Start with a mid-grey or off-white basecoat to avoid excessive paint build-up and to give shadows something to cling to. Apply a very light wash in the recesses to define the shafts and overlap, then layer progressively lighter tones toward the tips with thin paint and short strokes. Finish with a final narrow edge highlight on the feather tips and shaft to sell the crisp, clean effect without needing wet blending.
6. Painting dark, moody feathers (Raven Guard style)
For Raven Guard or other dark schemes, begin with a true black or charcoal basecoat and use thin mid-grey highlights to suggest worn texture rather than bright contrasts. Add a subtle blue or cool grey edge highlight on selected feathers to create depth and character while keeping an overall shadowed look. Consider a very thin glaze of blue or purple if you want a subtle sheen without full metallic or reflective techniques.
7. Colourful and tropical feather approaches
Bright feathers start with a carefully chosen mid-tone base color rather than painting straight from black to bright, this makes highlights pop. Shade with a darker wash to settle into recesses, then apply thin, saturated highlights toward the feather edges and tips to mimic iridescence. Use small, contrasting accent strokes at tips or barbs to suggest reflective color shifts common in tropical birds.
8. Simple layering and wash techniques that work fast
The quickest way to get convincing feathers is a three-step approach: basecoat, wash, then layer highlights. Apply a targeted wash into recesses to define overlaps, wick away excess where it pools, and then build up thinner layers of a lighter color on raised areas. This method gives texture and depth at miniature scale without demanding advanced blending or glazing skills.
9. Creating convincing feather texture and stroke direction
Feather texture reads when strokes follow the natural direction of plumage, short strokes radiating from a central shaft and slightly staggered to imply overlapping barbs. Paint the shaft as a slightly darker or lighter line depending on the effect you want, and use staggered highlights to suggest layers. Small interruptions and breaks in stroke lines make feathers feel organic rather than overly mechanical.
10. Placement and scale considerations across models
Scale changes your approach: large banner plumes allow more deliberate barbs and layered highlights, while small helmet plumes require economy, fewer strokes and a stronger reliance on basecoat and wash. For banners and characters, treat larger feathers as focal points and invest time in highlights; for massed troops, use simpler two- or three-step methods to keep production efficient for armies and events.
11. Quick practice drills and community uses
Practice small feather drills on spare sprues or painting handles, do sets of five feathers using the three-step workflow until stroke rhythm and taper come naturally. Share your results at local painting nights, hobby clubs, or online communities to get feedback and swap palettes; feather techniques are one of those skills that improve rapidly with a few focused hours. The community values these quick wins because they raise the collective quality of displays, tournaments, and commissions without requiring elite blending skills.
This article was produced by Prism’s automated news system from verified source data, official records, and press releases, then run through automated quality and moderation checks before publishing. The system is built and supervised by the people who set the standards it runs under. Read our full AI policy.
Did this article answer your question?