Safe, Tournament-Legal Kitbashing Guide for Warhammer 40k Beginners and Intermediates
A practical kitbashing guide explains safe, tournament-legal techniques for Warhammer 40k conversions, with tools, pinning, sculpting, and rules tips that matter at events.

Good conversions survive transport, tabletop scrapes, and tournament scrutiny. Start by deciding whether you want a pose change, weapon swap, character conversion, or a unique unit and gather reference images before you cut. Verify scale and fit by dry-fitting parts multiple times; a torso from one kit may sit high or low on another and small misalignments show at first glance. Photograph and document unusual conversions so tournament organizers can confirm the model clearly represents the unit and its weapons.
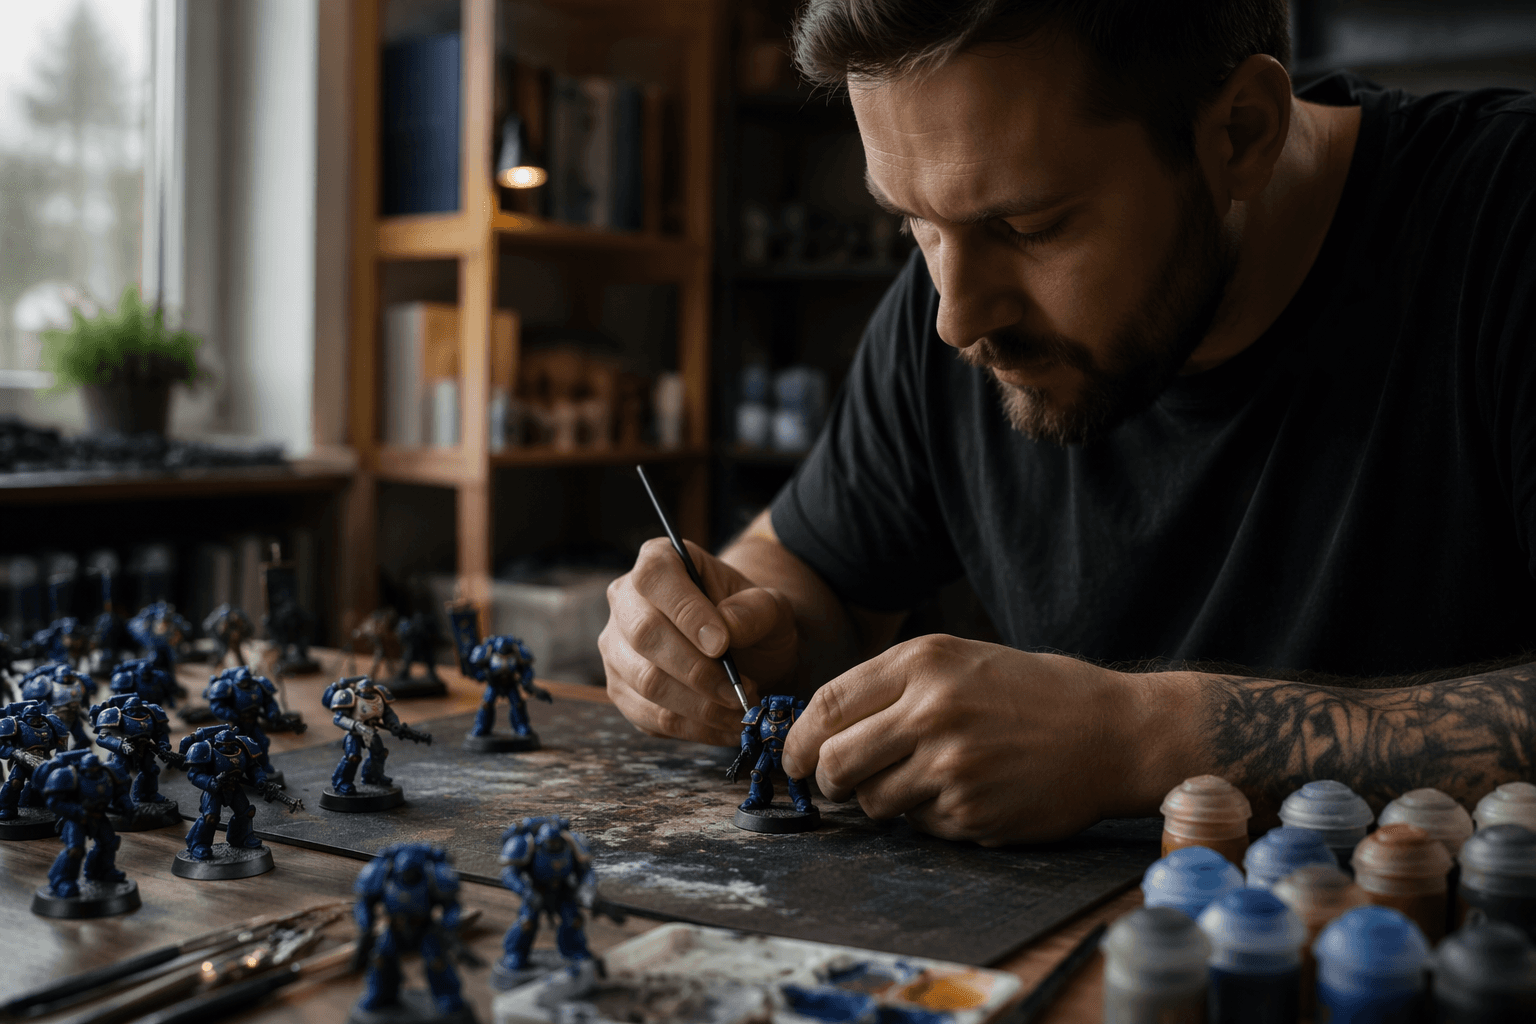
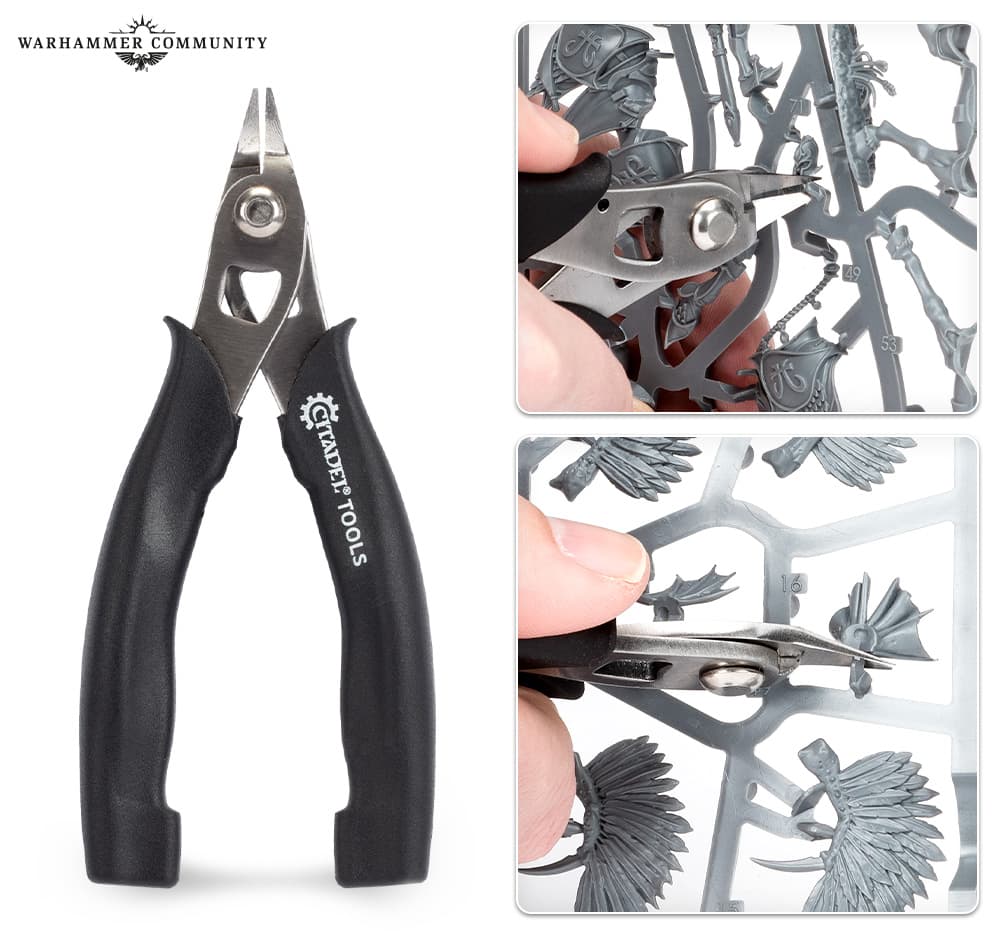
Keep safety and the right tools front and center. Use a sharp hobby knife such as an X-Acto #2, side cutters for sprues, and a small jeweler's saw or razor saw for thick resin or metal. For smoothing and finishing, use needle files, sanding sticks in varied grits, and micro-mesh. Adhesives matter: plastic cement welds polystyrene, cyanoacrylate works for mixed-media joins, and a gap-filling CA with activator speeds tough bonds. Two-part epoxy putties like Green Stuff or Milliput fill gaps and sculpt details. For pinning bring 0.8 to 1.6 mm brass or steel rod and a pin vise drill. Tweezers, rubber pads, toothpicks, small clamps, and a cutting mat round out the kit.
Practice safe cutting habits. Cut away from your body, keep fingers clear, and wear eye protection when sawing or drilling. Remove parts from sprue with side cutters close to the gate, trim remaining nubs with a knife, then file smooth. Score resin or metal cuts several times rather than forcing a single deep slice.
Pin heavy or stress-bearing joins. Drill matching holes about 3 to 5 mm deep into both mating surfaces, insert a cut length of rod, test fit, then glue. For angled fits drill opposing angles or bend the pin slightly to resist torque. Countersink one side a little and fill with putty later for a flush finish.
Use epoxy putty properly. Mix until you see an even color, then apply and smooth with water or a little petroleum jelly on your sculpting tools. Build armatures from foil or plastic card for capes, cloaks, or heavy hair to prevent sagging. Silicone-tipped tools, damp brushes, and toothpicks create cloth folds, seams, and bevels.
Check pose and balance on the intended base. Dry-fit and test center of gravity; add ballast to the base or adjust foot placement if the model tips. Trim joint pegs slightly and rotate fittings to create believable motion lines for dynamic poses.
Prepare for paint by cleaning with warm water and mild detergent to remove mold release and grease. Smooth joins, apply a thin layer of putty where needed, sand, then prime with a primer appropriate to each material after sculpting is complete.
Avoid common mistakes by working slowly, pinning heavy parts early, and allowing epoxy putty to fully cure before sanding. Start small with head swaps, weapon swaps, arm reposes, and adding purity seals or pouches. Use video tutorials, community forums, and local clubs for demonstrations and feedback. Practice clean, subtle conversions; tournament-legal models depend on clarity and durability more than grand gestures, and that approach keeps your army ready for both display and the next event.
This article was produced by Prism’s automated news system from verified source data, official records, and press releases, then run through automated quality and moderation checks before publishing. The system is built and supervised by the people who set the standards it runs under. Read our full AI policy.
Did this article answer your question?