Smartphone Warhammer 40k Photography Guide: Lighting, Staging, Quick Post-Processing
Smartphone and budget gear can capture studio-quality Warhammer 40k photos with a two-light setup, tripod stability, and quick post-processing to showcase paint and conversions.
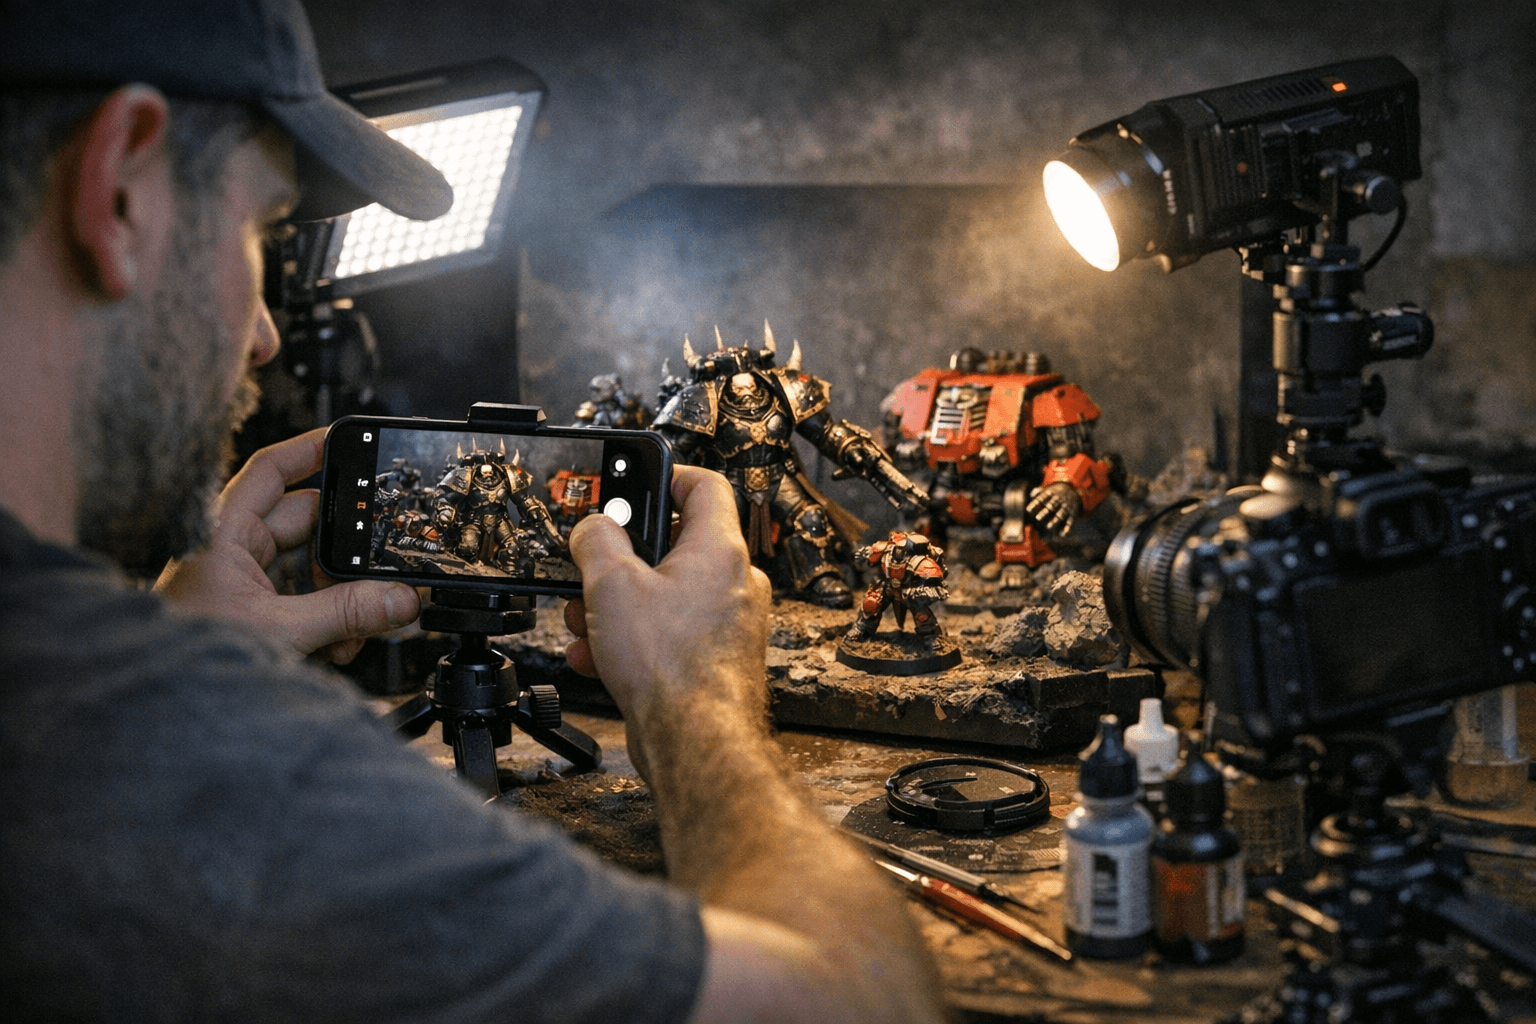
Good hobby photography makes your paintwork and conversions read at tabletop distance and online. Start with a simple plan: use a modern smartphone in pro mode or a DSLR/mirrorless with a 50mm or macro lens, mount it on a tripod, and trigger the shutter with a timer or remote to eliminate camera shake. That base delivers steadiness and allows low ISO and longer exposures for cleaner files.
Lighting is the next decisive step. Position two diffused lights at roughly 45-degree angles to the miniature for soft, even illumination. Softboxes, LED panels with diffusion, or daylight bulbs behind white cloth work well. Add a third hair light behind and above the model to separate edges from the background and create a rim-lit, heroic look. Match both lights to the same color temperature, typically 5,500 to 6,500K, and avoid direct on-camera flash, which flattens detail and causes glare on gloss varnish.
Staging and background choices control mood. Use seamless backgrounds like curved paper, foam board, or a small collapsible backdrop in white, gray, or black depending on your model colors. Introduce textured bases or shallow diorama elements for atmosphere, but keep those items out of focus with a wider aperture so the miniature remains the focal point. Choose a background that contrasts with your model to make colors pop; do not use a backdrop that matches the model’s dominant color.
Camera settings on smartphones and cameras mirror the same goals: clarity and correct color. Aim for an aperture of f/5.6 to f/8 on crop sensors for full-model clarity, or f/2.8 to f/4 for stronger background blur while watching depth of field. Keep ISO at 100 to 400 to limit noise and use a tripod so shutter speed can be as slow as needed. Set white balance manually to your light temperature or use a gray card for a custom white balance. For macro work, take multiple focus-shift shots and stack them in software to maximize depth of field.
Handle gloss and reflections proactively. Apply matte or satin varnish before photographing and spot-varnish glossy areas afterward. On interchangeable-lens cameras use a polarizing filter to reduce reflections. In post-processing, shoot RAW if available, adjust exposure, contrast, shadows, highlights, clarity, and correct white balance. Use HSL to nudge hues for color accuracy, selectively sharpen the model, and clean up backgrounds with masking. Export JPEGs in sRGB; aim for 1,200 to 2,000 px on the long edge for social media and 2,500 to 4,000 px for portfolio sites. Add a small unobtrusive watermark if you share widely.
Practice with projects: photograph one model in three lighting setups - high-key, low-key, and rim-lit - and create before/after edit comparisons to refine your style. Start with the two-light plus hair light setup and a tripod, learn white balance control, and build a consistent editing approach to make your Warhammer 40k work stand out on the tabletop and across the forums.
This article was produced by Prism’s automated news system from verified source data, official records, and press releases, then run through automated quality and moderation checks before publishing. The system is built and supervised by the people who set the standards it runs under. Read our full AI policy.
Did this article answer your question?