All-Grain Brewing for Beginners: Mash Techniques, Equipment, and Record-Keeping
All-grain brewing gives you control over flavor, body, and efficiency by converting starches to sugars yourself; practical steps, gear, temperatures, and record-keeping make the leap manageable.

All-grain brewing is the upgrade many homebrewers pursue when they want tighter control over their beer’s flavor, body, and efficiency. Instead of relying on malt extract, you convert starches to sugars during a mash, then lautering, sparging, boiling, cooling, and fermenting the full wort. That hands-on process rewards attention to technique and careful notes.
Start with the basics and the right gear. Expect to add a mash-lauter tun or a 3-tiered gravity setup, a boil kettle large enough to prevent boil-overs, and tools such as a malt pipe, hop spider or hop bag, and a reliable thermometer. Ballastpoint frames the common arrangement as a 3-tiered system and notes that “there are many different ways to do it” while naming industry touchstones like Charlie Papazian’s The Joy of Homebrewing and John Palmer’s How to Brew as useful reading. Kegland recommends practical items such as a malt pipe and a hop containment device to make transfers cleaner.
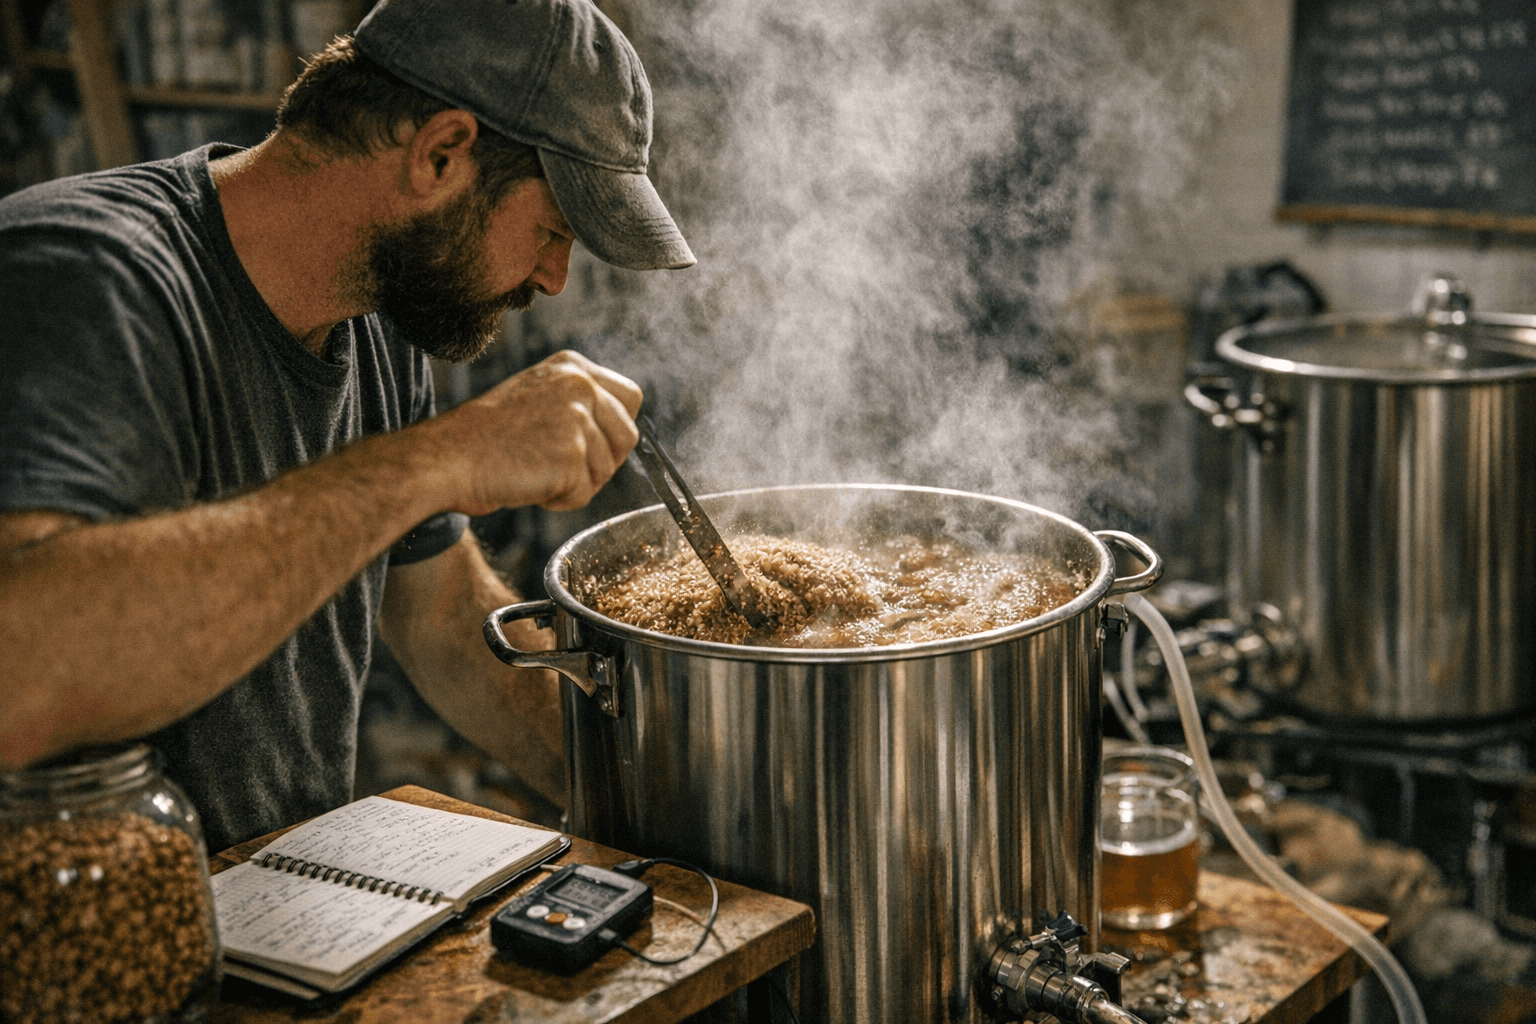
The core process is straightforward. Grain malts must be crushed to expose starches. Beerandbrewing summarizes the sequence: crush, mash, lauter and sparge, then collect the runoff and boil. For most beginners, a single-infusion mash works well: “Milled grain is soaked at a stable temperature for an hour in order to allow naturally occurring enzymes to convert the starches in the malt into fermentable sugars. Known as ‘single-infusion mashing,’ this” approach is where you’ll do most of the conversion work. Brewcabin gives a practical mash-temperature example of 150°F (65.5°C).
After conversion, lautering drains wort from the grain and sparging rinses remaining sugars. Kegland’s practical guidance is precise: sparge water at 75°C to 80°C and “keep an inch or two of sparge water above the grain bed at all times” to hit your pre-boil volume. Typical boil times are 60 minutes, though some brewers allow 60 to 90 minutes when they need extra evaporation to reach target volumes. Brewcabin outlines a common planning rule: to finish with a 5-gallon (19-litre) batch, start with roughly 6 to 7 gallons (23 to 26 litres) of wort before boil and reduce to about 5 to 5.5 gallons (19 to 21 litres) over the boil.
Post-boil technique and cooling are as important as the mash. Ballastpoint advises to “Cool down rapidly: This is the first step to separating the trub from your wort.” It also recommends a whirlpool to concentrate sediment and to let the kettle sit stable for 10-15 minutes so trub drops out: “Whirlpool: Vigorously stirring your wort in order to create a ‘whirlpool’ will suck the crud into the center and bottom of your kettle, making it easier to leave behind during the transfer to the fermentor.”
Sanitation and record-keeping matter more than fancy kit. Brewcabin puts it bluntly: “The only thing between you and brewing is a proper scrubbing. Of your equipment, that is, although you’re welcome to take a shower if it puts you in a brewing mood.” BYO urges you to treat knowing your setup as equal to studying theory and to track your work: “Most impor tantly, remember to record of all the relevant volumes, temperatures and times of your first all-grain batch in your notes. … write absolutely everything down for your first several beers.”
If you need gear or local support, Kegland lists a customer line at +61 3 9018 7935 and weekday hours of Mon - Fri 9:00AM - 5:00PM and offers fast nationwide shipping with click-and-collect in Melbourne. Take the first batch as a learning exercise, iterate from your notes, and share results. Ballastpoint’s practical rallying cry captures the community spirit: “Brew with friends, experiment, share your ideas, your success stories, and your abysmal failures. Every beer you brew contributes to the beer community!”
Know something we missed? Have a correction or additional information?
Submit a Tip