Axxis Studio publishes step-by-step workflow to paint Balrog-style resin titan
Learn a step-by-step airbrush-led workflow to paint a Balrog-style resin titan, from prep and priming through zenithal shadows, OSL, detailing and final sealing.

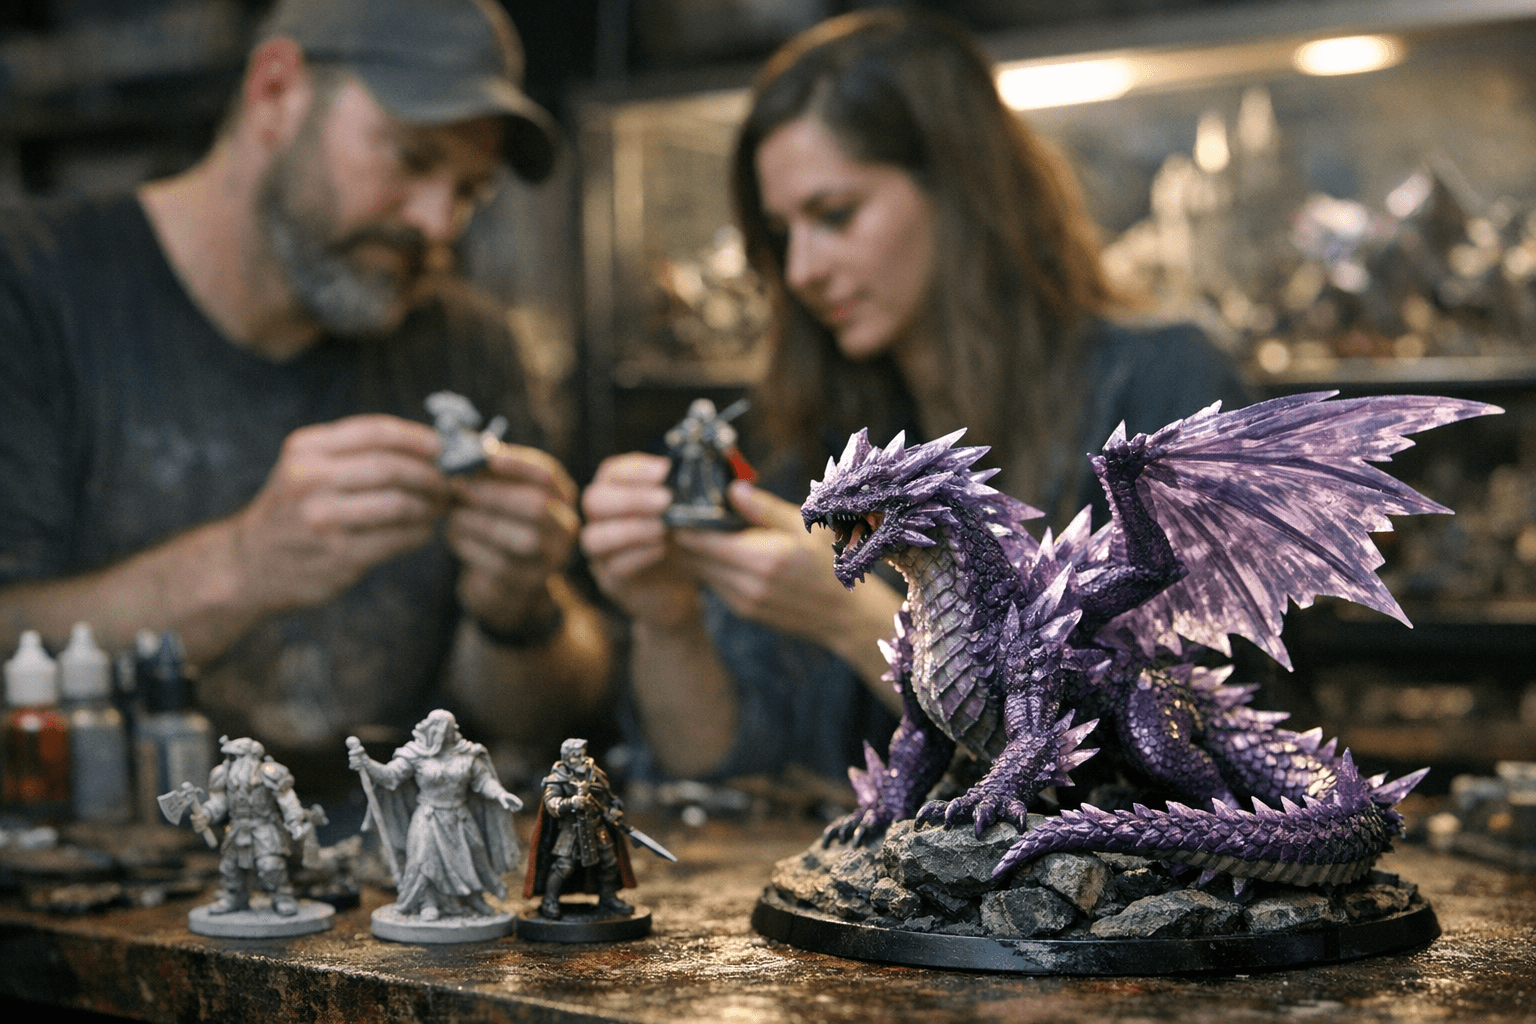
A large Balrog-style resin titan is a showstopper on the shelf, but it’s also a great way to practice scale, light, and texture. This guide walks you through a full, sequential workflow focused on airbrush foundations, building deep shadows with zenithal and OSL techniques, and finishing touches that sell heat and scale. Expect practical tips for handling resin, managing large surfaces, and getting that molten, ember-lit look without losing crisp detail.
1. Preparation: cleaning, assembly and mechanical prep
Start by fully inspecting parts for mold lines, flash, and thin casting fins; large resin pieces often hide seams in folds and between armor plates. Remove flash with a hobby knife and fine files, pin heavy joins with brass rod or paperclips for structural integrity, and fill gaps with two-part epoxy or putty; robust pinning prevents breaks during airbrushing and handling. Wash all parts in warm, soapy water or use an ultrasonic cleaner to remove mold-release agents, this step is essential because paints and primers won’t adhere well to oily resin. Finally, plan sub-assemblies that balance access to recesses (for zenithal and OSL work) with the need to mask and protect already-painted areas.
2. Priming: choosing and applying a base coat
Prime with a thin, even coat designed for resin; whether you use an airbrush primer or a spray can, thin, multiple passes beat heavy single coats that obscure detail. Consider starting with a mid-to-dark grey or black for a pre-shaded foundation, this helps later by giving natural shadow depth under translucent glazes and thinned layers. For a Balrog look, you’ll later use zenithal highlights, so a darker primer gives more range when you reintroduce light with the airbrush. Let primer cure fully and lightly scuff overly glossy spots with fine sanding sponge to ensure subsequent layers bite.
3. Airbrush base layers: blocking in color and form
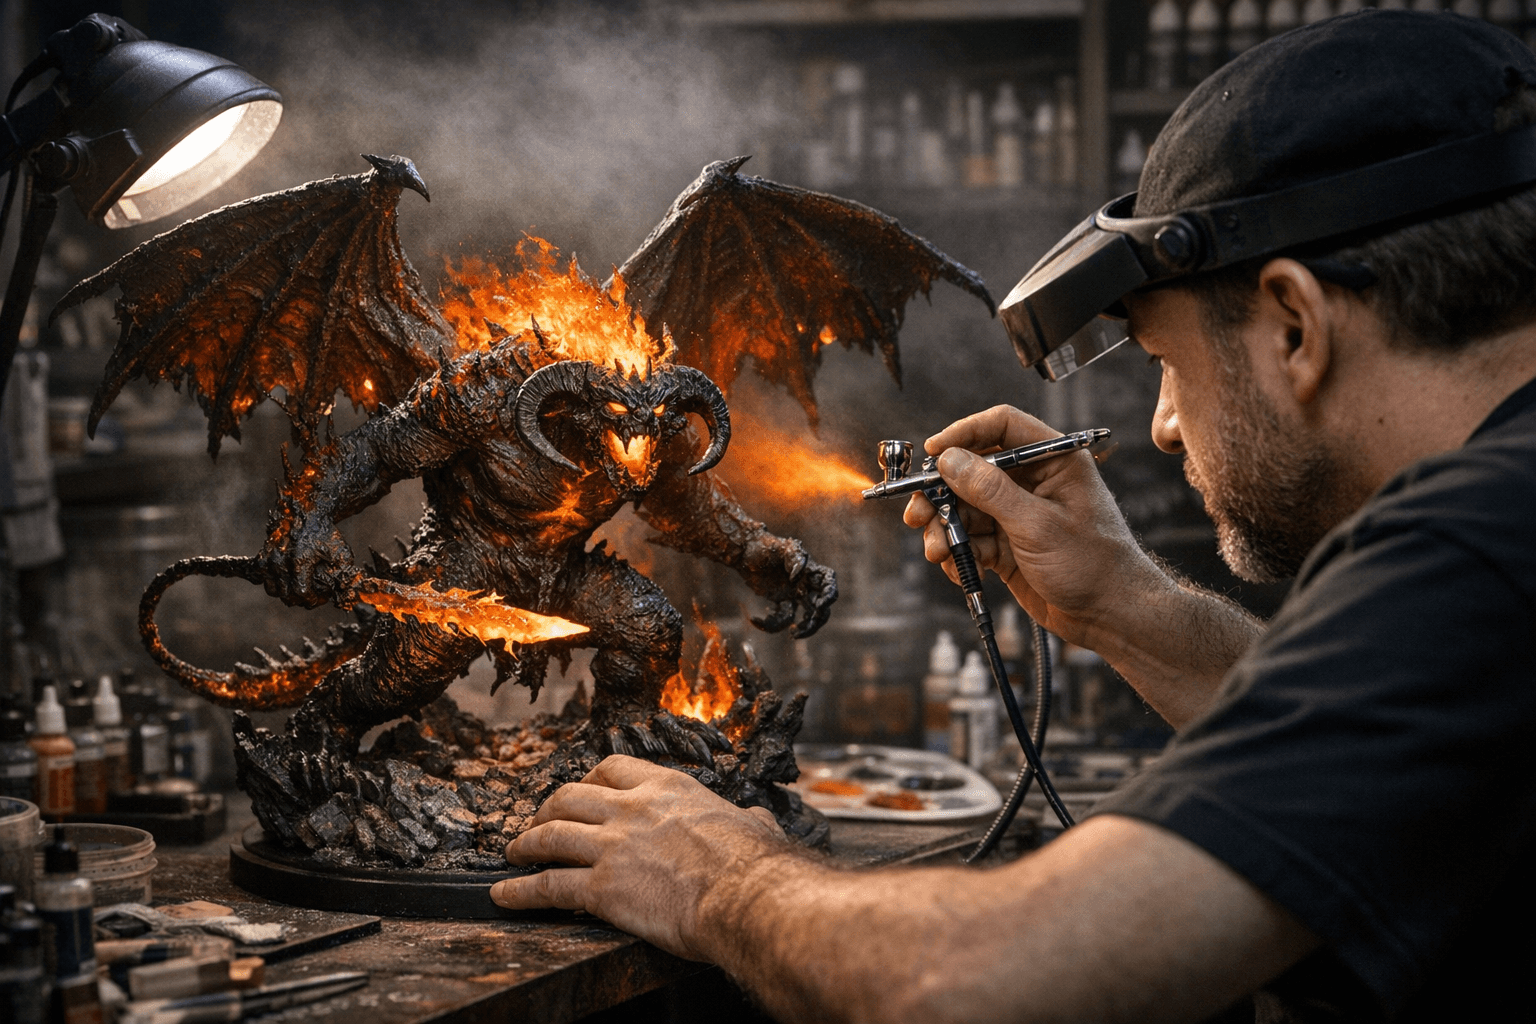
Use the airbrush to block in large color zones, skin, horns, wings, molten veins, and armor, keeping paints thin (typically 1:1 or more paint to thinner depending on brand) and working in multiple passes. Airbrushing at low pressure for large areas and slightly higher for edges gives you control over smooth gradients without puddling; for a deity-sized miniature, maintain distance to avoid heavy buildup. Think in values first: establish darker local values and lighter areas where heat or light will occur, because later glazing will adjust hue without needing to repaint base value. Use masks or masking putty to protect finished sections when switching colors on adjacent panels.
4. Zenithal pre-shading and creating deep shadow
Zenithal pre-shading is your best friend for dramatic depth on big anatomy: with the figure mounted, spray a soft highlight from above using a lighter spray (neutral grey or bone) to simulate top-down lighting. The pre-shade sculpts form visually and saves hours of brushwork when you want deep recesses and crisp ridges. For very deep shadow, add an undercoat of near-black in recessed areas before zenithal, then reintroduce the light with gradual airbrush passes, this layered approach keeps the silhouette bold while preserving subtle midtone transitions. Position your “zenith” light angle deliberately: a high central light sells bulk, while a lower, off-axis zenithal will create long dramatic shadows if you want a more sinister feel.
5. OSL foundations: planning glow and ember sources
Identify and mask the object-source lighting points, molten veins, mouth, eyes, or exposed magma pools, before pushing glow effects. Start with the airbrush to lay down soft, radial glows: bright yellows or whites at the source, fading to orange and deep red as you step outward; thin layers build believable falloff without streaks. Keep the brightest point small and concentrated; large over-bright areas read flat. Remember that OSL is both additive (light colors layered on top) and subtractive (darkening surrounding areas to increase contrast), so dial in surrounding shadows to sell the glow.
6. Midtones, glazing and color modulation
With foundation and glow mapped, use glazing to shift color temperature and blend transitions, thin glazes of transparent red, orange, or even purple warm or cool areas without obliterating detail. Use a wet palette and glazing medium to keep brushwork consistent and translucent; multiple thin coats produce saturation control far superior to single heavy layers. For flesh or scale variation, alternate between warm glazes near heat sources and cooler desaturated washes where the skin is scorched or ash-covered. Use selective saturation to pull attention: the eye is always attracted to the warmest, brightest spot, so keep your hottest oranges very controlled.
7. Brushwork details: textures, edge highlights and micro-contrast
Switch to fine brushes for edges, horns, teeth, and micro-textures once major airbrush passes are stable; drybrushing or angled edge highlights create crispness on ridgelines without overworking the piece. For scales and skin texture, use stippling and tiny directional highlights to suggest roughness; thin your paints slightly to avoid clogging sculpt detail. Add micro-contrast, tiny reflected highlights, pits, and scratches, to read scale at normal viewing distance. Keep a consistent light source in mind so every highlight and specular mark reads as part of the same environment.
8. Ember speckles, soot and weathering
Create ember speckles with a toothbrush or stiff brush flicked with thinned bright paint, then tone them down with a thin glaze to integrate them into the surface. Apply soot and char using powdered pigments, acrylic washes, or sponged-on mattes in black and grey tones; use stippling to break up uniform edges and suggest blowback from flames. For convincing char, layer darker soot first, then add subtle ash highlights with pale greys lightly drybrushed or airbrushed at extreme low pressure. Balance is key: too much soot will kill the vibrant glow you worked to create.
9. Basing and integration: scale, support and light reflection
Build a base that reinforces the narrative, lava cracks, scorched basalt, or collapsed ruins, so the titan feels grounded. When you have OSL, paint subtle reflections on base rocks and debris closest to glow sources; this small step ties the model to its environment and elevates realism. For large resin figures, ensure the base and foot pads are reinforced and aligned; use epoxy, heavy pins, and a resin-friendly adhesive to prevent stress fractures. Consider modular bases or magnets if you plan transport for shows.
10. Sealing, varnish and finish strategy
Protect the model with a staged varnish approach: gloss or satin on molten areas to sell wet heat, and matte elsewhere to control shine and reduce spray glare in photos. Use light coats and build up, spot-varnishing with a small brush is preferable to masking whole areas for weird gloss lines. Let every layer cure fully before handling to avoid fingerprints or bloom from trapped solvents. Finally, photograph under neutral lighting to evaluate whether additional micro-adjustments are needed before calling it finished.
- Pace the project into sessions: large resin titans eat time and focus, set goals per session (assembly, base layers, one OSL pass).
- Share work-in-progress photos to get targeted feedback, other painters can spot value issues or color balance from images you’ll miss up close.
- Use the model as a learning platform: practice glaze control, airbrush gradients, and OSL on test pieces before committing to prime surfaces.
Practical tips and community relevance
Finish with confidence: big models teach scale, patience, and lighting like nothing else. Take the time to build value first, then color and effects; with a steady airbrush hand and deliberate glazing, you’ll turn that Balrog-style titan from raw resin into a furnace-lit centerpiece that teaches you techniques you can reuse across the rest of your army.
Know something we missed? Have a correction or additional information?
Submit a Tip