Beginner Woodturning: Safe, Step-by-Step Guide to Turning Your First Bowl
Learn safe workshop setup, essential tools, step‑by‑step turning and finishing techniques to make your first bowl with confidence and even walls.

1. Safety & workshop setup
Wear a full face shield and hearing protection every time you mount the lathe; the face shield protects from chips and the hearing protection reduces fatigue from extended turning sessions. Control dust with a dedicated dust extractor or a good respirator, wood dust is a real hazard and your lungs are part of your toolbox. Set the toolrest tight and close to the work, secure long hair and loose clothing, and always check the lathe speed chart for your blank diameter before you start. Before switching the lathe on confirm all chuck keys are removed, tailstock is secure, and no fastenings are loose, those simple steps eliminate the most common shop accidents.
2. Tools & materials
Start with a compact, reliable set: a 3/8" spindle gouge, a 1/2" bowl gouge (or 3/8" for very small lathes), a 1/2" round‑nose scraper, a parting tool, and a roughing gouge for turning between centers. Add a pair of calipers for wall thickness checks and, optionally, a digital tachometer to verify RPM when you’re working different diameters. You’ll need a good faceplate or screw chuck and a tailstock live centre to support the blank during roughing; a 6"–10" blank of dry or green hardwood (maple, cherry, walnut are forgiving choices) is perfect for your first bowl. Quality of steel and comfortable handles matter, buy tools you’ll enjoy using, and match gouge sizes to your lathe’s swing and motor.
3. Preparing the blank
Mark your blank square, face it true, and mount it between centers to establish a clean, flat reference face, getting the faces true makes every later step easier. Use the roughing gouge to turn the blank round and create a flat end for a secure faceplate or screw-chuck mounting, and cut a tidy tenon for later reverse‑chucking. Decide rim orientation now: bark edge or natural edge gives rustic character, trimmed rim is cleaner; your choice affects how you approach the rim profile and final sanding. Transfer the work to your chosen chuck or faceplate, leaving that tenon long enough for reliable grip during hollowing and finishing.
4. Rough outside shape
Set a medium speed, roughly 600–1200 RPM depending on blank size, and, with the centre supported, establish a solid tenon profile your chuck can bite into. Use the bowl gouge to shape the outside profile, working downhill on the rim cuts to avoid catches and uphill around the foot for control; keep the bevel rubbing to stabilize each cut. Create a slightly concave foot or tenon for secure chucking and good aesthetics, refining the outside until the profile balances form and material economy. Stop frequently to feel for vibration, check for tool chatter, and reassess the profile, roughing is structural work, not polishing.
5. Reverse and hollow
Mount the blank in the chuck using the tenon you made, and use the tailstock live centre for extra support if the blank is heavy or the walls are thin. Hollow with a bowl gouge using long, sweeping inside cuts while maintaining bevel contact; take light, controlled passes to reduce the chance of catches and to keep the gouge stable. Clear chips frequently so the tool can find clean wood, and use calipers to check wall thickness, aim for an even 6–8 mm wall for a medium bowl as a comfortable beginner target. If vibration or odd noises appear, stop the lathe, tighten the setup, or slow the speed, hollowing safely beats hurrying to finish.
6. Finishing the inside & outside
Progress sand through grits 120 → 240 → 400 → 600 while gradually slowing the lathe; sanding at too-high RPM or with aggressive pressure can create heat and burn marks. Consider a sanding sealer or a thin CA application for a quick, durable surface, then buff to the sheen you prefer, many turners like a silky hand that still shows grain. For final finishes, choose oil (e.g., walnut oil), shellac, or wipe‑on polyurethane depending on use and look, and allow each coat to dry between applications for a durable finish. Keep sanding and finishing minimal on natural edges and bark areas, they’re fragile and often left more raw for character.

7. Removing from chuck and final base work
Decide whether to part off or reverse-mount to finish the foot, the tenon can be cut away and the base refined by remounting the piece in a jam chuck or on a vacuum chuck. Round corner edges on the foot to remove sharp transitions, burnish and sand the base for a clean hand feel, and refine the foot profile to sit flat without rocking. Sign and date the piece in an unobtrusive spot, your maker’s mark is part of community connection when you share or sell work. Final balance and feel matter as much as looks; a bowl that sits well on the table shows you turned it with care.
8. Practical tips and techniques
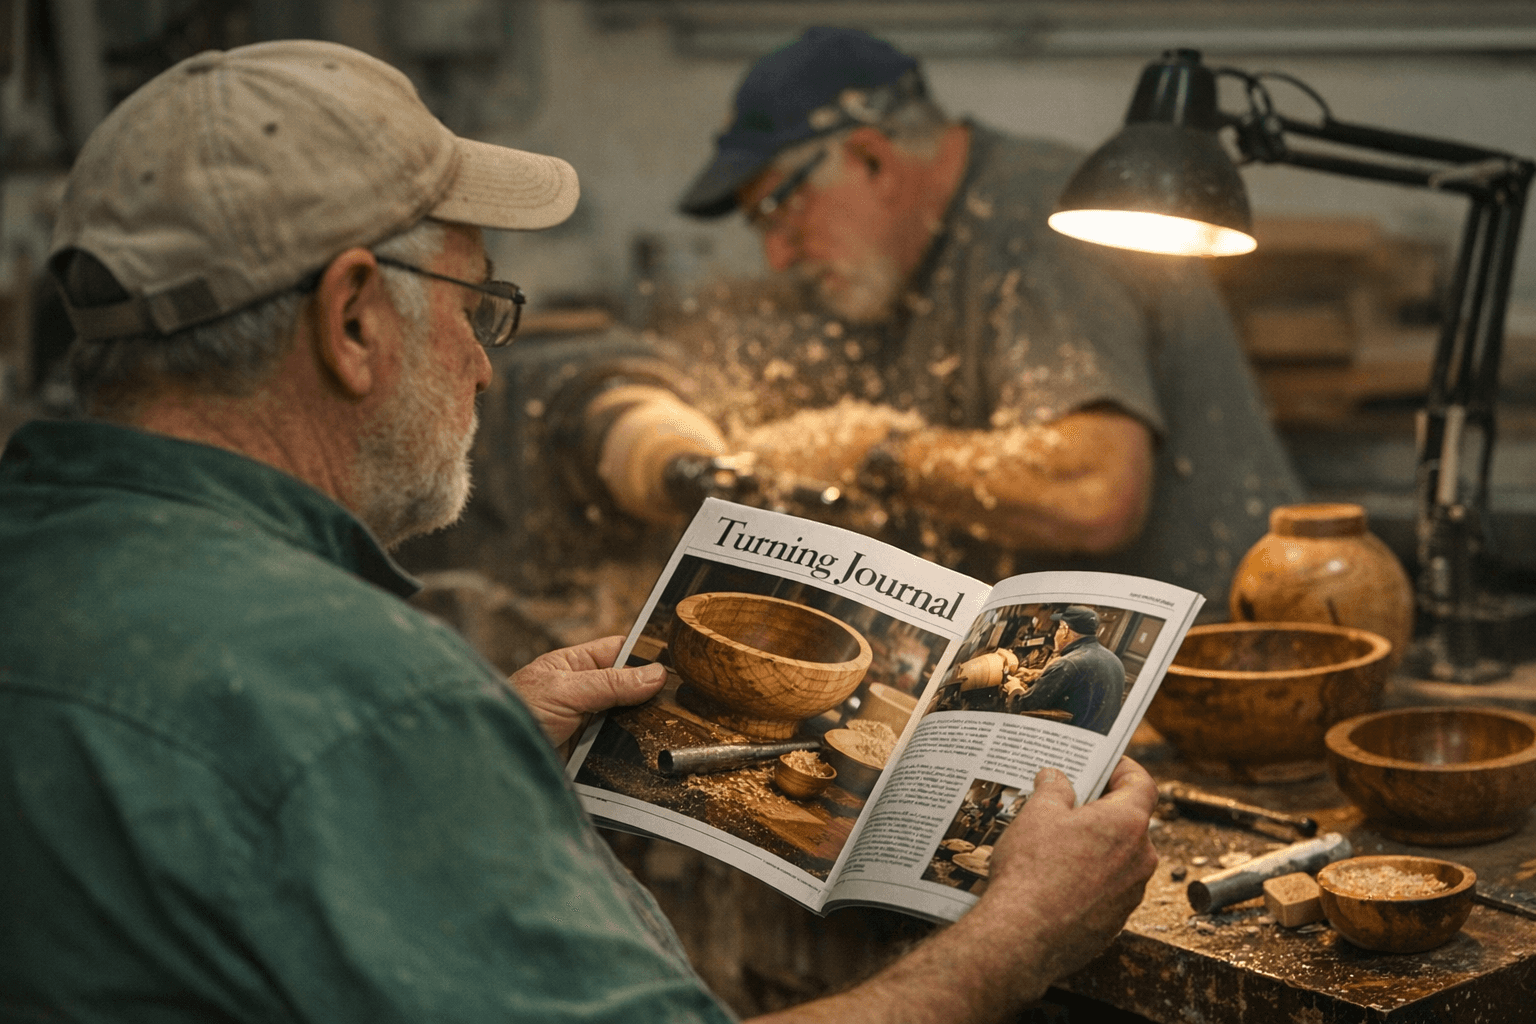
Practice bevel rubbing on scrap to build muscle memory, this small contact point stabilizes the tool and prevents catches more than aggressive force ever will. Keep cuts light when learning hollowing technique and consider a spindle steady if you’re turning tall, thin forms to reduce vibration. If the lathe starts vibrating or making unusual noise, stop and re-evaluate the mounting and speed; most problems are setup issues, not tool faults. For hands‑on development, take a local club class or a stepwise video from a trusted instructor, community mentoring accelerates safe progress and trade secrets.
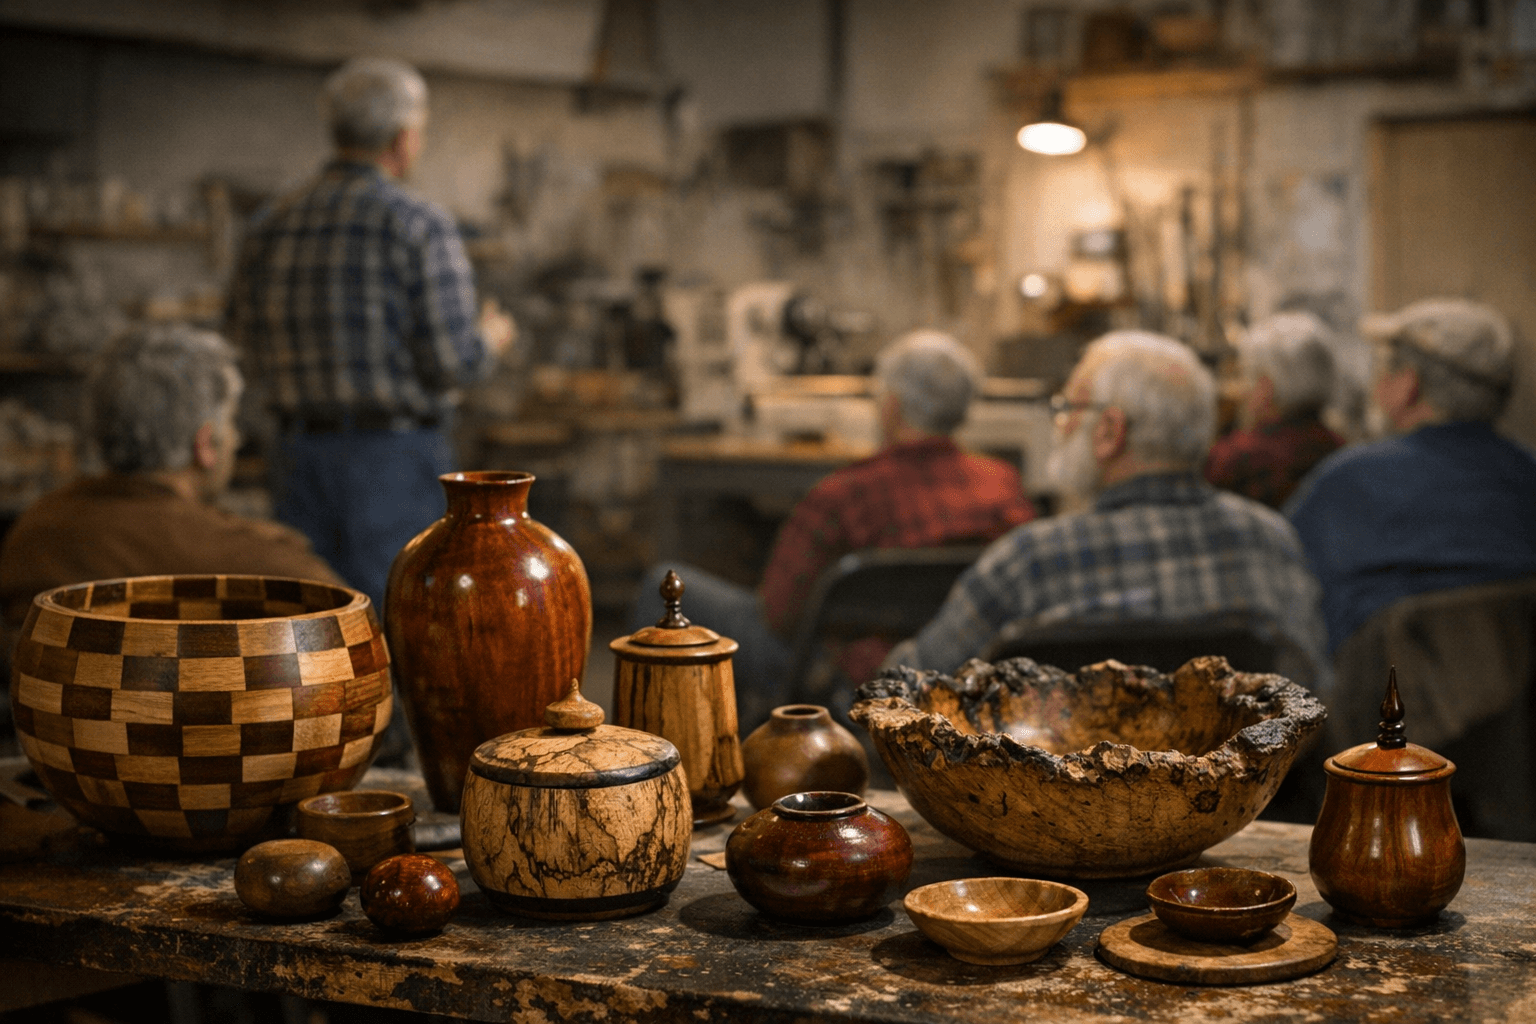
9. Community relevance and next steps
Joining a local turning club or online forum connects you to tool swap meets, demo nights, and critique sessions that sharpen technique faster than solo practice. Share your first bowls at community shows and be open to feedback, turning is as much about craftshare as craft. Keep practicing tenons, hollowing, and finish choices; each bowl you make teaches material behavior and build confidence for larger or more complex projects.
Closing practical wisdom Start small, respect the bevel, and practice mounting and chucking until it’s second nature, those foundational skills keep your cuts smooth and your shop safe. Keep learning from hands-on mentors and take each catch as a lesson, not a failure; with steady practice your bowls will go from shaky to silky and you’ll have pieces both useful and proud to show at the next club meeting.
Know something we missed? Have a correction or additional information?
Submit a Tip