Complete DIY bath bomb guide with recipes, tips, troubleshooting
Learn a tested bath-bomb recipe, step-by-step technique, molding and drying best practices, plus humidity, binding, and color troubleshooting.

1. Tested bath-bomb recipe and ingredient ratios
This is a reliable beginner-friendly recipe that balances fizz, hardness, and skin feel. Use 1 cup baking soda, 1/2 cup citric acid, 1/2 cup cornstarch, and 1/2 cup Epsom salt (or more cornstarch if you prefer firmer bombs). Add 2–3 tablespoons carrier oil (sweet almond, fractionated coconut, or olive oil), 2 teaspoons liquid oil like jojoba if you want extra slip, and 10–20 drops of essential oil for fragrance. For color, use mica powder or cosmetic-grade pigments in small amounts (start with 1/8–1/4 teaspoon per batch) and a few spritzes of witch hazel in a spray bottle to bind.
2. Equipment and mold choices
Pick molds that are sturdy and give you consistent shapes: metal or hard plastic sphere molds, silicone molds, or candy-style molds all work well. Metal and hard plastic give a crisp seam and are great for selling or teaching; silicone is forgiving for beginners and yields easy release. Have a scale or dry measuring cups, mixing bowls, a whisk, spray bottle, and gloves for handling pigments and essential oils safely.
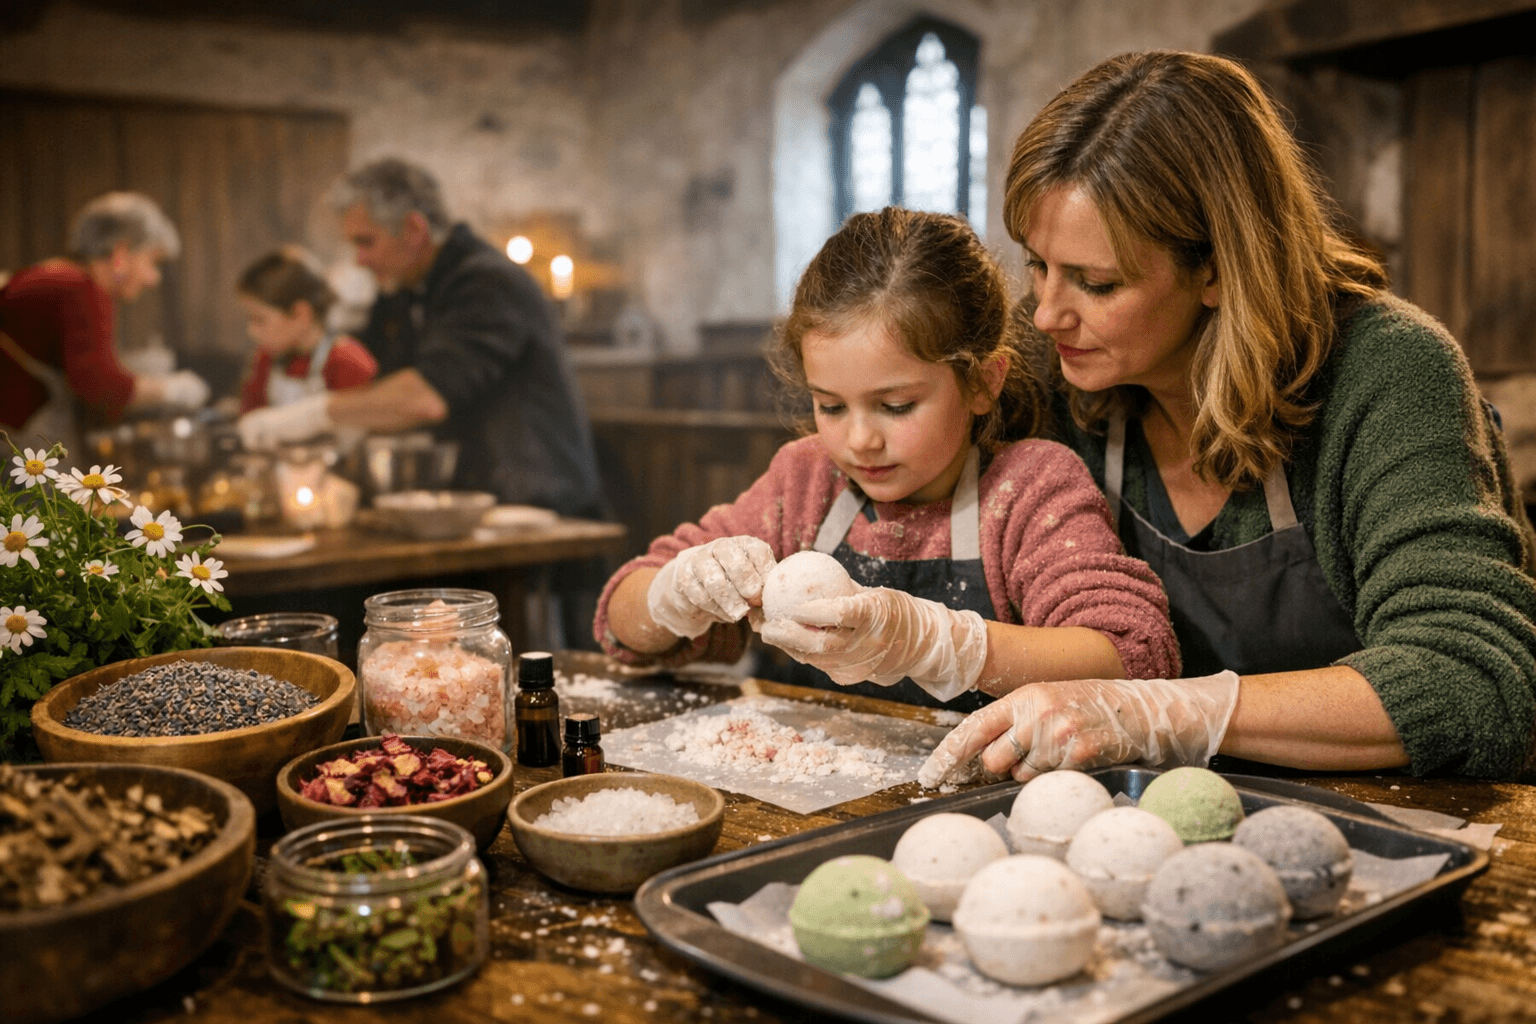
3. Step-by-step mixing method
Whisk the dry ingredients first to break up clumps and distribute the citric acid evenly, then sift if needed to avoid grainy texture. Combine oils and fragrance in a small cup, then add to the dry mix a little at a time, whisking between additions to prevent local wet spots that trigger fizzing. Spritz the mixture lightly and evenly with witch hazel while stirring until the mixture holds shape when squeezed; work quickly because over-spraying causes premature reaction. Pack into molds firmly, overpacking gives a smooth finish, underpacking leads to crumbling, then tap to remove air pockets.
4. Techniques to avoid premature fizzing
Humidity and uneven wetting are the usual culprits for early fizzing; keep ingredients well-sealed and your workspace dry. Add liquids in very small amounts, use a spray bottle for witch hazel or rubbing alcohol to control moisture and avoid hotspots in the mix. Move quickly but calmly: too much handling warms the mixture and invites fizz; if you’re teaching, prepare dry mixes ahead of time so students only do light spraying and packing.
5. Molding and packing best practices
Firm, even packing prevents crumbly bombs and creates a clean release from the mold. For spheres, overfill both halves slightly, press together and leave intact for the first few minutes to set; for silicone molds, press the mixture in firmly and smooth the back. Tap molds on a towel to settle the batter and remove air pockets, and if using two-piece molds, invert and gently separate after a minute to inspect seam integrity.
6. Drying and curing advice
Let bombs dry undisturbed for 24–48 hours in a cool, dry place; humid or warm spots drastically increase drying time and risk shape collapse. Use a rack or tray with airflow beneath each bomb, direct sunlight or heaters can cause cracking or fading of colors. After demolding, cure bombs for another 24 hours before packaging to allow residual moisture to equalize; this improves hardness and shelf life.
7. Troubleshooting humidity problems
High humidity will make your mixture act wet and fizz prematurely, and low humidity can make it crumbly and hard to pack. If humidity is above about 50–60%, work in an air-conditioned room, use a dehumidifier, or wait for drier conditions; for classes, schedule sessions during cooler, drier parts of the day. Store finished bombs in airtight containers with desiccant packs if your climate is damp to preserve fizz and fragrance.

8. Troubleshooting binding wetness (too wet vs. too dry)
If your mix foams or fizzes while you work, you’ve added too much liquid, reclaim the batch by stirring in a few teaspoons of dry citric acid or extra cornstarch gradually until fizzing stops and texture firms. If the mix crumbles and won’t hold shape, add a few spritzes of witch hazel or a teaspoon of liquid oil, mix, and test by squeezing; stop once it holds. Keep a small test mold handy to check consistency before committing large batches to molds.
9. Troubleshooting color mixing and staining
Powdered mica and oxides are easiest to use, start with very small amounts and build color slowly because pigments concentrate in wet spots and can stain skin or tubs if overused. Mix pigment into the oil first for more even dispersion, or dry blend into the powders for marbling effects. To avoid staining tubs, use skin-safe pigments and test a small bomb in water first; if concerned, add a protective bath mat or use sachets that limit direct pigment release.
10. Packaging, storage, and community sharing tips
Store bombs in airtight containers away from moisture and sunlight; cello wrap, shrink-wrap, or sealed tins work for gifting and sales. Label with scent notes, allergens, and a short use instruction, this helps when you teach classes or swap batches at markets. Share small “trial” bombs at meetups so others can test scents and colors before buying larger quantities.
11. Teaching classes and practical DIY approach
When you teach, break the process into manageable stations: dry mix prep, oil + pigment mixing, wetting & packing, and drying/packaging. Prepare pre-measured dry mix packets for attendees to reduce mistakes and speed the session while you demonstrate spritzing technique and safety. Encourage students to experiment with scent blends and molds but reinforce core rules: control moisture, pack firmly, and mind humidity.
Our two cents? Get comfortable with the basic recipe and technique, then play with color, scent blends, and molds, practice makes consistently fizzing bombs. Start small, keep a simple troubleshooting checklist on hand, and swap tips with local makers; you’ll be turning out beautiful, bath-ready bombs and teaching others in no time.
Know something we missed? Have a correction or additional information?
Submit a Tip