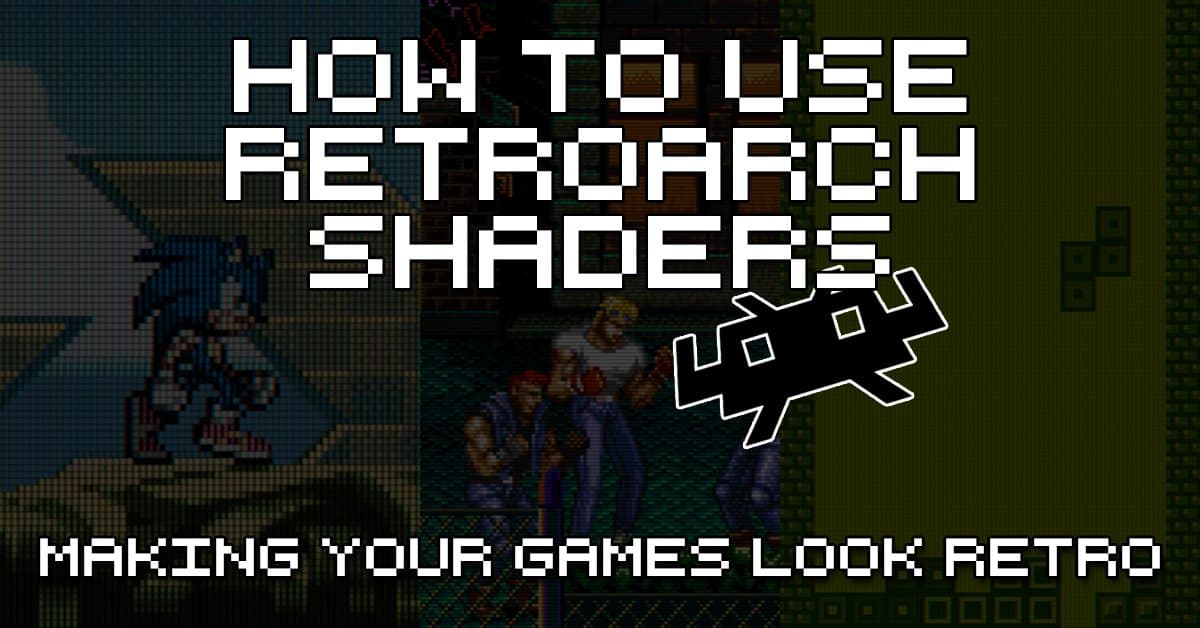
Configure RetroArch Shaders and CRT Effects for Authentic Retro Graphics
Make pixel-perfect CRT visuals in RetroArch by loading presets like zfast-crt or crt-geom, previewing parameters live, stacking effects (e.g., kawase_glow + zfast_crt_geo_svideo), and locking Integer Scaling for consistent results.
Why shaders matter and what RetroArch gives you Shaders are efficient graphics filters that can greatly improve the rendering of old games. They can also be used to replicate the look and feel of old CRT monitors, and RetroArch was one of the first emulator programs trailblazing the use of shaders back in 2010—“and we still hold a significant edge over other programs.” That combination of historical fidelity and modern flexibility is why shader work is the single most effective way to move a pixel-perfect ROM screenshot into something that looks, moves, and breathes like the hardware it emulates.
RetroArch ships with a huge library of shader presets, supports multiple shader languages, and lets you download or upgrade the shader packs for the 3 types in Main Menu->Online Updater. Depending on platform and configuration you’ll use one of the supported shader types (menus commonly show GLSL and SLANG). You can stack shaders — “You can even stack them to create your own effect. The possibilities are infinite.” — and many of the included CRT families (zfast-crt, crt-geom, crt-consumer, crt-1tap bloom, crt-royale/CRT-Royale, and others) cover a wide range of filmic bloom, geometry distortion, scanline, and mask behaviors.
Prerequisites and quick UX tips before you start Two practical rules before you touch a preset: RetroArch requires a game running to enable a shader preset, and for live parameter editing set Settings → User Interface → Menu → Menu Shader pipeline = OFF and Background Opacity = 0. That exact UI tweak — “In this example, we have set the Menu Shader pipeline to OFF and the Background Opacity to 0 in the Settings->User Interface->Menu to be able to preview the parameter changes in live.” — lets you see changes on-screen immediately. Also disable on-screen overlays when stacking shaders; overlays can conflict with some shader setups.
Minimal quick start: apply a CRT shader Follow these steps to get a CRT look on any core: 1. Start a game (a running game is required to enable presets). 2. Quick Menu → Shaders → Load Preset → GLSL/SLANG → CRT → choose a preset (example: zfast-crt or crt-geom). 3. To preview/tweak: Quick Menu → Shaders → Preview Shader Parameters (after switching Menu Shader pipeline OFF and Background Opacity to 0). 4. When satisfied: Shaders → Save Preset → Save Core Preset to store it for that core; then Quick Menu → Overrides → Save Core Override to lock core-level settings like Integer Scaling.
That last pair of saves is essential if you want repeatable results: Save Core Preset keeps the shader choices, while Save Core Override locks core settings (for example, whether Integer Scaling stays ON).
Integer-scaling workflow for pixel-perfect output If you're chasing block-perfect pixels rather than a stretched TV look, Integer Scaling is your friend. Set Settings → Video → Scaling → Integer Scaling = ON to ensure the core scales by whole pixels only. A common, robust workflow is: enable Integer Scaling, apply an integer-friendly shader (examples often used: crt-geom), then save the Core Preset and Save Core Override to lock both shader and scaling behavior. Retrogamecorps uses this exact sequence in multiple examples to preserve pixel alignment across sessions.
- Shaders → Load Preset → Blur → kawase_glow
- Shaders → Append Preset → crt → zfast_crt_geo_svideo
- Shaders → Shader Parameters → Scanline Amount: 12.00
- Shaders → Shader Parameters → Mask Amount: 0.40
- Shaders → Shader Parameters → Convergence X-Axis: 0.50 (set to 0 for sharper image)
- Shaders → Shader Parameters → Convergence X-Axis: −0.20 (set to 0 for sharper image)
Stacking and a concrete glow + CRT example
Want bloom plus a CRT mask and geometry? Retrogamecorps lays out a tested sequence you can reproduce:
Note: the example lists Convergence X-Axis twice with different values; that appears to be a source duplication and should be treated as a likely typo. Do not assume the second line is Convergence Y-Axis without checking your shader UI; flag this if you reproduce screenshots or recommend numeric defaults.
Tweaking parameters and saving your work When a preset supports parameters, use Quick Menu → Shaders → Preview Shader Parameters to tweak sliders live and immediately judge motion artifacts or shimmer. Typical parameter targets in community examples include Scanline Amount (e.g., 12.00) and Mask Amount (e.g., 0.40). After fine-tuning, use Shaders → Save Preset → Save Core Preset to keep the exact shader stack for that core, and then Quick Menu → Overrides → Save Core Override so integer scaling and other video-level tweaks stick.
- On desktops: you can run HDR-compatible shaders if you have an HDR-compatible display. HDR support exists, but the display is required for it to matter.
- On handhelds / SBCs: prefer optimized shaders (zfast-crt, sharp-shimmerless, crt-consumer are commonly used) and test performance in motion — still screenshots don’t show flicker or motion blur costs.
- Disable bilinear filtering when you want crisper 4:3 pixel aesthetics; Thingsiplay’s notes set Bilinear filtering off and output image to 4:3 to mimic CRT aspect.
Performance and device considerations — what to watch for
Not all shaders are equal in performance. Thingsiplay’s comparative setup used a desktop at 2560 × 1440 and noted that such a resolution “allows me to use basically any Shader. Some Shader require high resolution and won’t work on lower. 4k is probably the optimal resolution, but I don’t have such a screen.” That means some shaders that look gorgeous on a modern desktop will be too heavy for handhelds or low-power SBCs. Practical guidance:
Learning resources and follow-up checks To dive deeper, consult Libretro/RetroArch documentation and community pages covering crt-royale and crt-geom, and the Emulation General Wiki pages for CRT Geom and CRT-Royale. There are also long video showcases — one nearly hour-long Street Fighter Alpha 3 clip dated 06.08.2021 demonstrates a broad sweep of CRT shaders in motion, which is invaluable because motion reveals shader behavior static images hide.
Final checklist and parting note Before you close a session, run this checklist: game running, Menu Shader pipeline OFF, Background Opacity = 0, chosen shader(s) loaded, preview parameters live, Save Preset → Save Core Preset, Quick Menu → Overrides → Save Core Override, and overlays OFF if stacking. Remember that some shaders demand high resolution or modern GPUs; test in motion, and if you plan distribution or screenshots, document the core and preset names (zfast-crt, crt-geom, kawase_glow, crt-consumer, crt-1tap bloom, crt-royale/CRT-Royale are good anchors).
Shaders let you translate code-level emulation into a living, breathing screen that echoes real CRT hardware. Use the steps above to lock down repeatable results across cores and devices, and lean on the included presets and Online Updater for the latest shader packs while watching performance on your specific hardware.
Know something we missed? Have a correction or additional information?
Submit a Tip