Dora shares method to lengthen crochet rows without joining yarn
Dora demonstrates a simple, photo-backed way to add stitches at the start or end of a row without cutting or joining yarn, keeping edges tidy and reducing tails to weave in.
1. Technique overview
Dora, from her UK-based craft blog Dora Does, published a step-by-step tutorial on February 26, 2026 explaining "a really useful technique that I use in many of my crochet patterns to extend the length of crochet rows." The core idea is to add stitches at the beginning, end, or both edges of an active row while working with the uninterrupted working yarn, so you don’t have to cut and join a fresh tail. The method focuses on controlled increases that preserve pattern flow and produce a clean edge suitable for garments and blankets.
2. Why you’d choose this method
Dora frames the technique as a time-saver that reduces visible tails and finishing work; for many garment and blanket patterns, that finish matters. By avoiding separate join steps you eliminate extra tails to weave in and reduce the chance of visible join lines along edges. That neatness is especially valuable when pieces will be seamed, blocked, or displayed with exposed edges.
3. What Dora shows in the tutorial (photos and worked examples)
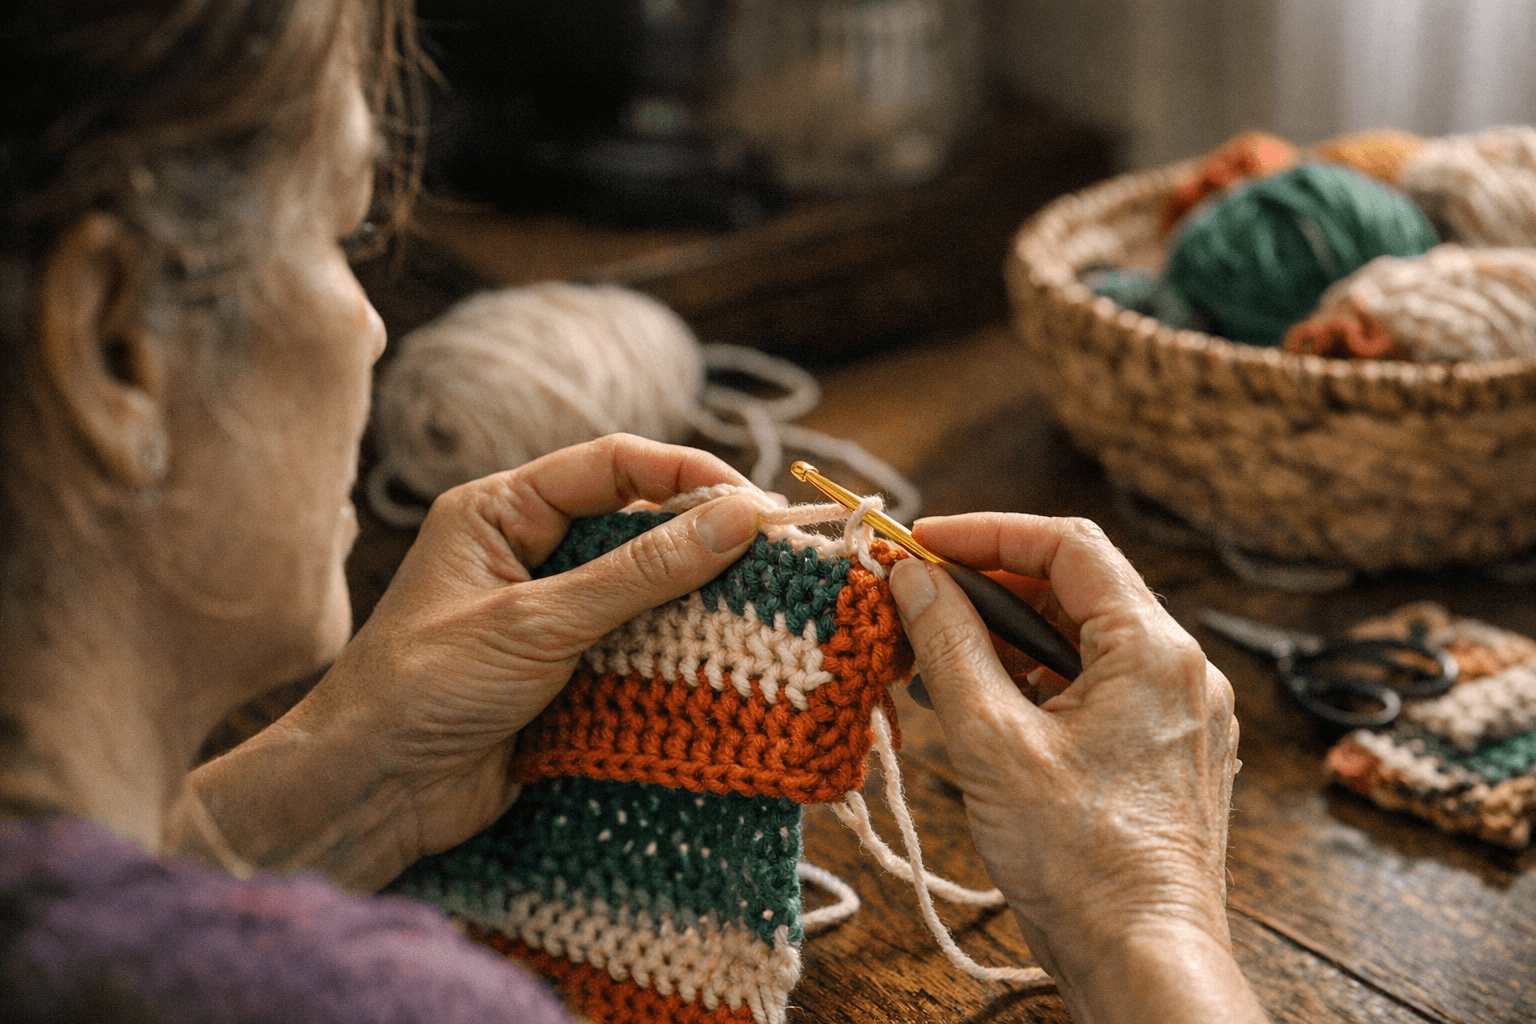
The post includes detailed photographs and worked examples that illustrate where to place the hook, how to pull up new loops, and how to convert those loops into the stitches needed to extend the row length. Dora’s photographic sequence walks readers through each change in loop height and stitch conversion, so intermediate crocheters comfortable with standard stitches can follow visually. The photos are paired with captions that clarify hand position and the relationship between the working yarn and the new loops.
4. Basic sequence of the move (conceptual steps)
Dora’s step-by-step explanation keeps the working yarn attached while you form additional loops at the edge, then shows how to complete those loops into the desired stitch. The tutorial emphasizes getting the loop height right for the stitch you want (so a loop intended as a single crochet will be shorter than one intended as a taller stitch). After converting the pulled-up loops into finished stitches, Dora demonstrates how to resume the established pattern repeat so stitch counts remain predictable.
5. Where to put the hook and how to pull up loops
In the photographs Dora pinpoints the insertion points along the edge where the hook should go to form the extra loops without disturbing the existing fabric. She shows pulling up loops in sequence — first creating one or more loops from the working yarn, then turning them into the target stitch — so the operation reads as an extension of the existing row rather than a separate join. Those visual markers are intended to help you avoid accidentally catching far-edge loops or creating uneven edge tension.
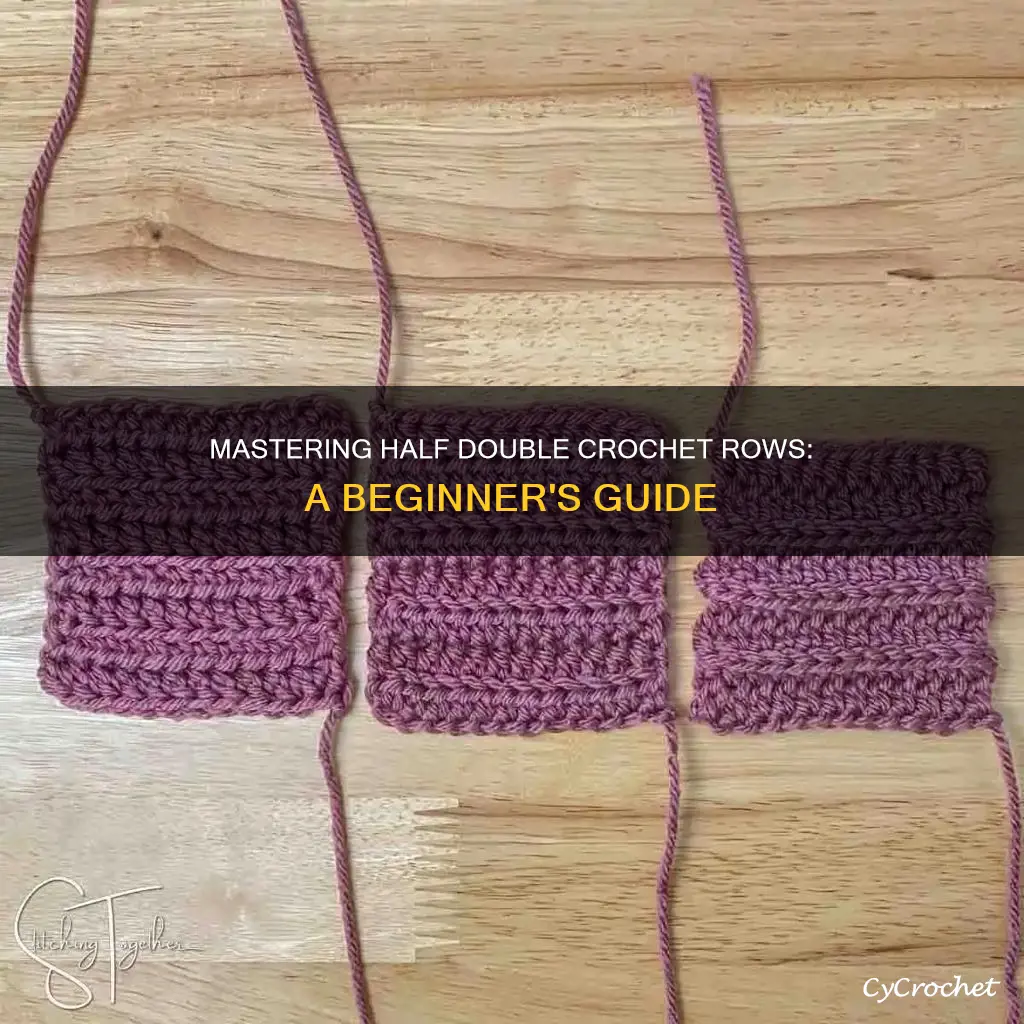
6. Converting loops into stitch heights (single crochet through taller stitches)
Dora demonstrates the method across stitch heights, from single crochet up to taller stitches, so you can apply it whether your pattern uses sc, hdc, dc or other heights. The photographic examples show the relative loop height you should aim for before converting into a stitch, and how that conversion looks when set alongside the rest of the row. That coverage makes the technique useful across sweaters, scarves, blankets, and other projects with mixed stitch textures.
7. Increasing at one edge, both edges, and mixed increases
The tutorial includes worked examples for increasing at only one edge, increasing at both edges, and combinations where you alter the width on just one side of a band or panel. Dora shows how to mirror the move on the opposite edge to maintain symmetry, and how to stagger increases when you need asymmetry. Each example is photographed and annotated so you can compare before-and-after stitch counts and visual balance.
8. Preserving texture and pattern repeats
When rows include texture or motif bands, Dora explains how to maintain the pattern’s visual rhythm after adding stitches: place new loops so they fall into the established repeat and convert them into the correct stitch within the motif. The tutorial demonstrates specific cases where textured rows are extended while keeping the motif alignment intact, reducing the need to frog back or rework pattern repeats later. That attention to texture is what makes the move suitable for designers who must preserve lace charts or ribbed bands.
9. Gauge, stitch count, and maintaining symmetry
Dora emphasizes checking gauge and stitch counts after you extend a row. She recommends measuring against the pattern’s stated gauge and noting the increase amount so shaping remains symmetric across a garment piece. The post’s worked examples show how an added set of stitches changes both width and row density, and how to compensate in later rows if needed to restore pattern proportions.
10. Practical benefits for designers and advanced makers
For pattern designers, the technique reduces finishing complexity and creates neater edges without introducing join lines or visible tails, which simplifies writing and testing. Advanced hobby crocheters gain a time-saving tool that improves the final look of garments and blankets by avoiding extra tails and messy joins. Dora’s tutorial positions the method as both a maker trick and a pattern-writing best practice: include notes in patterns so makers know you may use this extension technique instead of instructing a cut-and-join.
11. Teaching applications and CAL-friendly notes
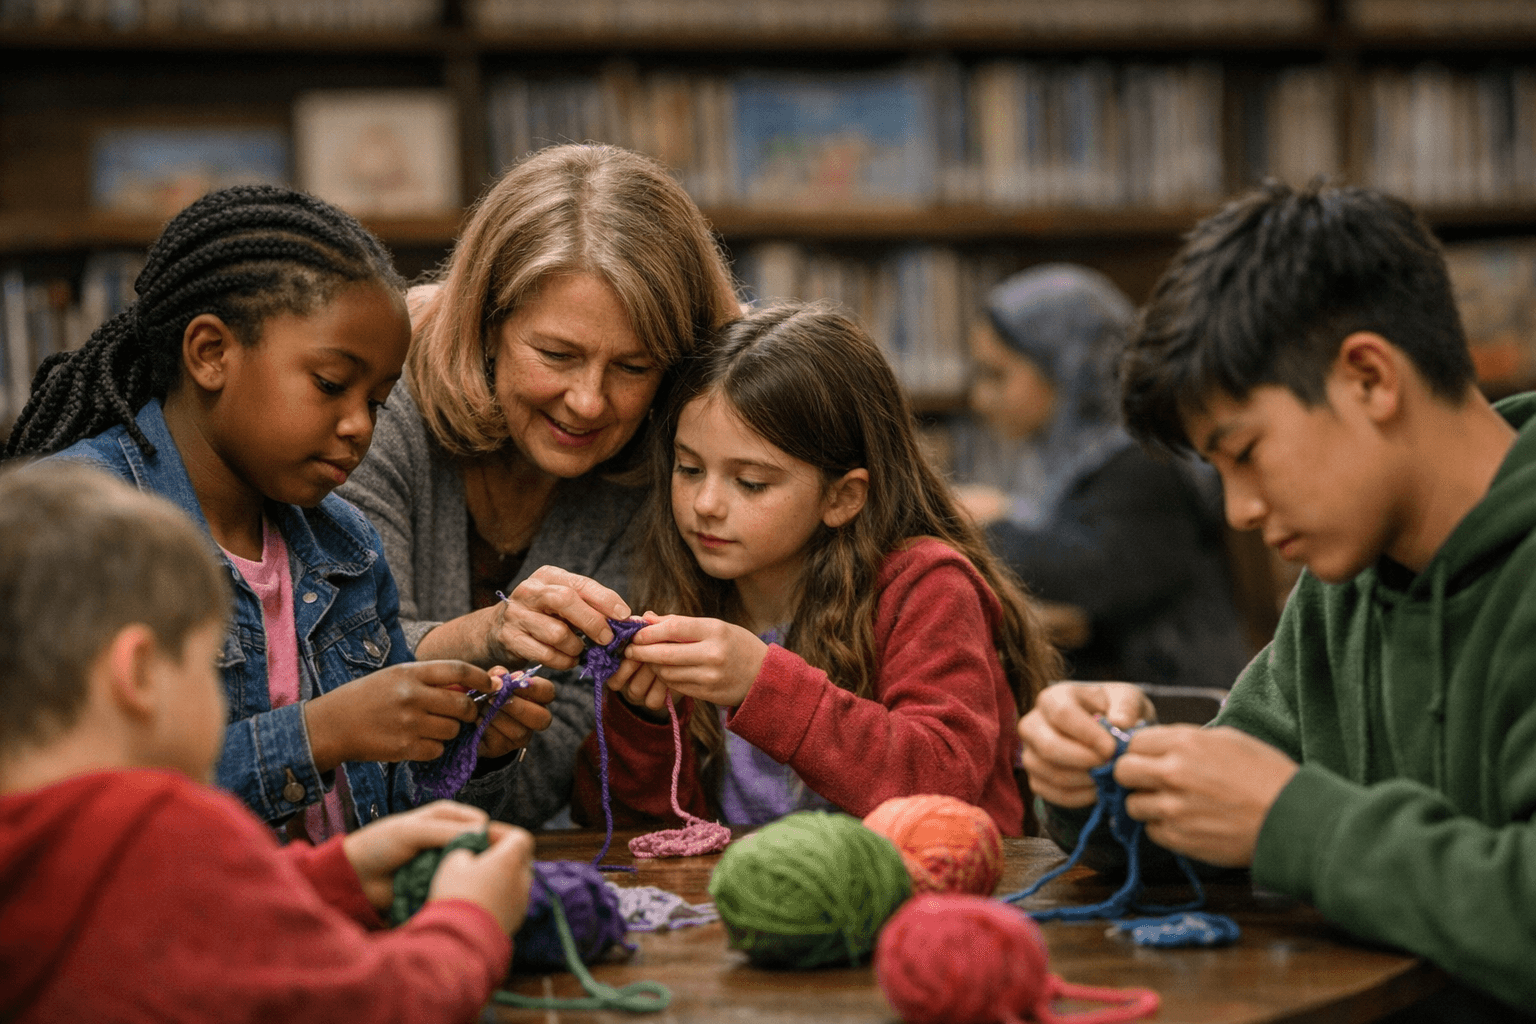
Dora addresses the tutorial to intermediate crocheters and frames the photographic sequence to be CAL-friendly; the visual step-through is intended to make the move accessible during live demonstrations. CAL leaders and teachers can use her photos and worked examples to show alternative shaping without rejoins, helping learners see both the mechanical move and the effect on edge appearance. The clarity of the images supports group learning where students can compare their loops and conversions to Dora’s examples.
12. Limitations and things to watch for
While Dora promotes the method’s neatness, she also shows where makers can go wrong: uneven loop heights, accidentally working into fabric loops rather than the edge, and losing track of stitch counts when multiple increases are introduced at once. Her photographed troubleshooting tips show common missteps and how to correct them without ripping back large sections. Those cautions keep the technique practical for real-world projects, especially garments that require precise shaping.
13. How to adopt this in your patterns and notes
Dora’s tutorial functions as a pattern-writing best practice: if you use this method in a published design, include a short note explaining that row-length alterations may be made using this technique and point makers to the photographic tutorial. That transparency helps testers and makers reproduce the cleaner edges and reduces confusion about nonstandard increases. Dora’s own use of the move in multiple patterns underlines its repeatable utility in pattern libraries.
14. Final perspective
Dora’s February 26, 2026 walkthrough on her UK-based blog turns what many makers consider a fiddly finishing problem into an active shaping option you can do while keeping the working yarn attached. The combination of step-by-step photos, worked examples for different stitch heights, and explicit notes on symmetry and gauge makes this one of those small technical moves that pays off in neater seams and fewer ends to weave in. If you want cleaner garment edges and fewer finishing headaches, Dora’s method gives you a practical way to lengthen rows without the usual join.
Know something we missed? Have a correction or additional information?
Submit a Tip