Essential Step-by-Step Guide to Painting Warhammer 40k Miniatures for Beginners
Learn the core steps and kit you need to paint Warhammer 40k miniatures, from prep and priming to highlights, basing, varnish, and a simple practice plan to build skill.
1. Tools & materials
Start with a compact, reliable toolkit: flush cutters, a sharp hobby knife, small files, plastic glue for models, superglue for mixed materials, and a primer spray in black, white, or neutral grey. Get a palette (a wet palette speeds work but a dry one will do), a water pot, and a varnish (satin or matte is best for game use). For brushes, bring a large base brush for broad coverage, a 1.5–3 mm basecoat brush, a 0 or 1 detail brush, and a 3/0 or 000 for tiny highlights. Use water-based acrylics from Citadel, Vallejo, or Army Painter and keep a selection of shades/washes to hand — they’re the hobby’s quick win for depth.
2. Preparation
Remove flash and sprue marks cleanly with cutters and a knife, then file any rough edges smooth; neat joins make paint sit better and reduce frustration. Wash resin, metal, and plastic parts with mild detergent to remove mould release — this helps primer adhere and prevents flaking. Assemble in sensible sub-assemblies so you can reach recessed areas for painting, and pin or use green stuff to fill and reinforce gaps on heavy or dynamic poses. Prime from a consistent distance in thin passes to avoid drips; full, even coverage is more durable than thick globs.
3. Basecoating
Block in your main colours using thinned paint — aim for the consistency of milk so layers flow and don’t obscure detail. Multiple thin coats beat one thick coat: they dry faster, preserve detail, and give you a smooth surface for subsequent work. Use the large brush for broad areas and the 1.5–3 mm brush for limbs, weapons, and tight spaces; keep a damp palette to control paint hydration. Think of basecoating as map-making: you’re defining territories of colour that will receive depth and highlights.
4. Shading & washes
Apply a wash or shade to recesses to give instant depth — use premade shades or thin a darker tone with medium to avoid staining highlights. Let washes settle naturally into recesses; capillary action does most of the work, so resist the urge to overwork them. Once the wash is dry, tidy raised areas with the base colour to restore clean edges and remove accidental pooling. The community leans on shades as a time-saver for tabletop-ready squads — they do heavy lifting without needing advanced blending.
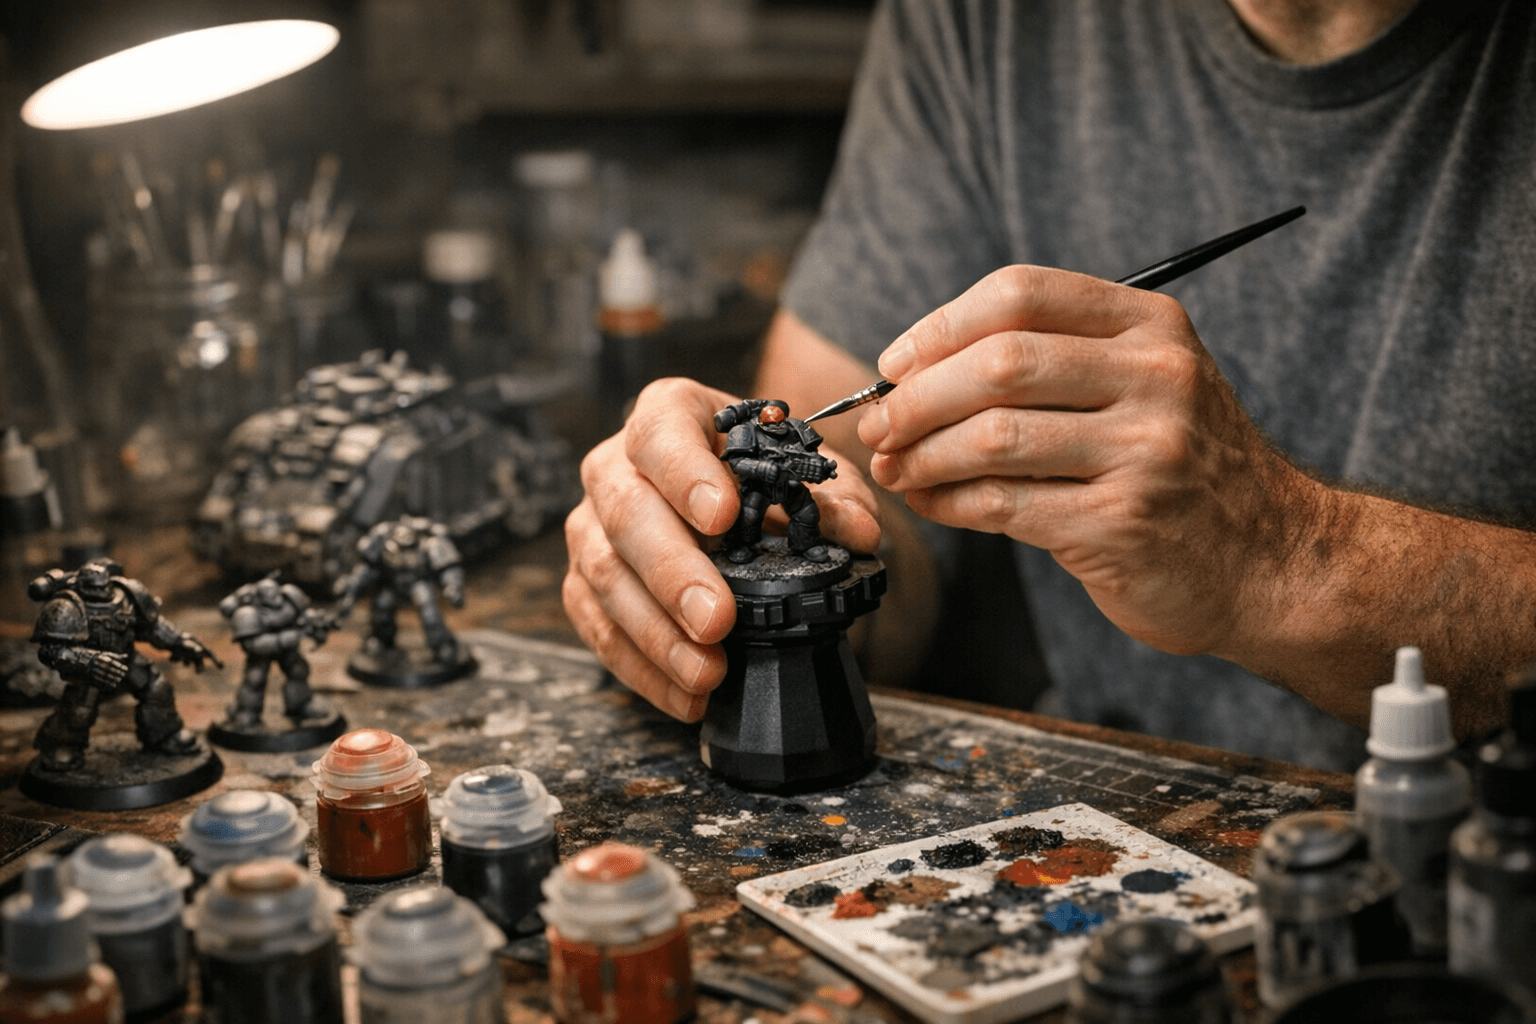
5. Layering & highlights
Build highlights in successively lighter tones on raised surfaces and edges to sell form — don’t skip gradual steps, because subtle transitions read better at tabletop distance. Use edge highlights on armour plates and weapons to make them pop; thin your paints for smoother lines and practice feathering for transitions. Employ glazing (very thin paint layers) to tone down harsh jumps between layers and unify colour shifts. These techniques move a model from “painted” to “eye-catching” and are staples in competitive hobby lists and casual game tables alike.
6. Details & finishing touches
Save lenses, metallics, insignia, and freehand for last so base and shade layers don’t interfere with crisp detailing. For small icons, decals and masks are quick alternatives to freehand if you want speed or consistency across a squad. Pick out rivets, wires, and scuffs to tell a story — those tiny marks are what separates a toy from a narrative mini. Finish basing with texture paints, flock, and tufts that match your army’s lore; a well-suited base helps the model read clearly on the tabletop and ties your force together visually.
7. Varnish & protection
Protect models with a matte varnish for gameplay models; it cuts glare, hides brushstrokes, and stands up to handling. Use gloss varnish only on areas meant to look shiny (lenses, wet effects) and spray varnish in thin, even layers to avoid blooming or pooling. Allow full cure before heavy use — a rushed varnish can turn a good paintjob into a sticky regret. Proper protection keeps your time investment on the table instead of in repair sessions between matches.
8. Practice plan
Start with a three-figure test unit to build repeatable habits without burning time on an entire army; that small set becomes your lab for techniques. Tackle one new technique per model (drybrushing, glazing, non-metallic metal, edge highlighting) and document progress with photos so you can measure improvement and diagnose issues. Use step-by-step video tutorials and community walkthroughs to shortcut learning — most gamers are happy to point out tricks that saved them hours. Commit to steady, focused practice and you’ll see tabletop-ready results far faster than you expect.
Closing paragraph: Pick one squad, one technique, and a single evening — that focused loop of practice, review, and repetition is the fastest route to consistent colour on the board. Keep your kit compact, thin your paints, and let washes do the heavy lifting while you practice highlights; in the Warhammer 40k hobby, steady habits trump heroic sprint sessions. Get models painted, get them on the table, and let your army tell its story match by match.
Know something we missed? Have a correction or additional information?
Submit a Tip