Pour-Over Guide for Home Baristas: Equipment, Ratios, Troubleshooting
A concise pour-over checklist for home baristas with equipment, ratios, technique and troubleshooting to dial in consistent 300 ml brews.
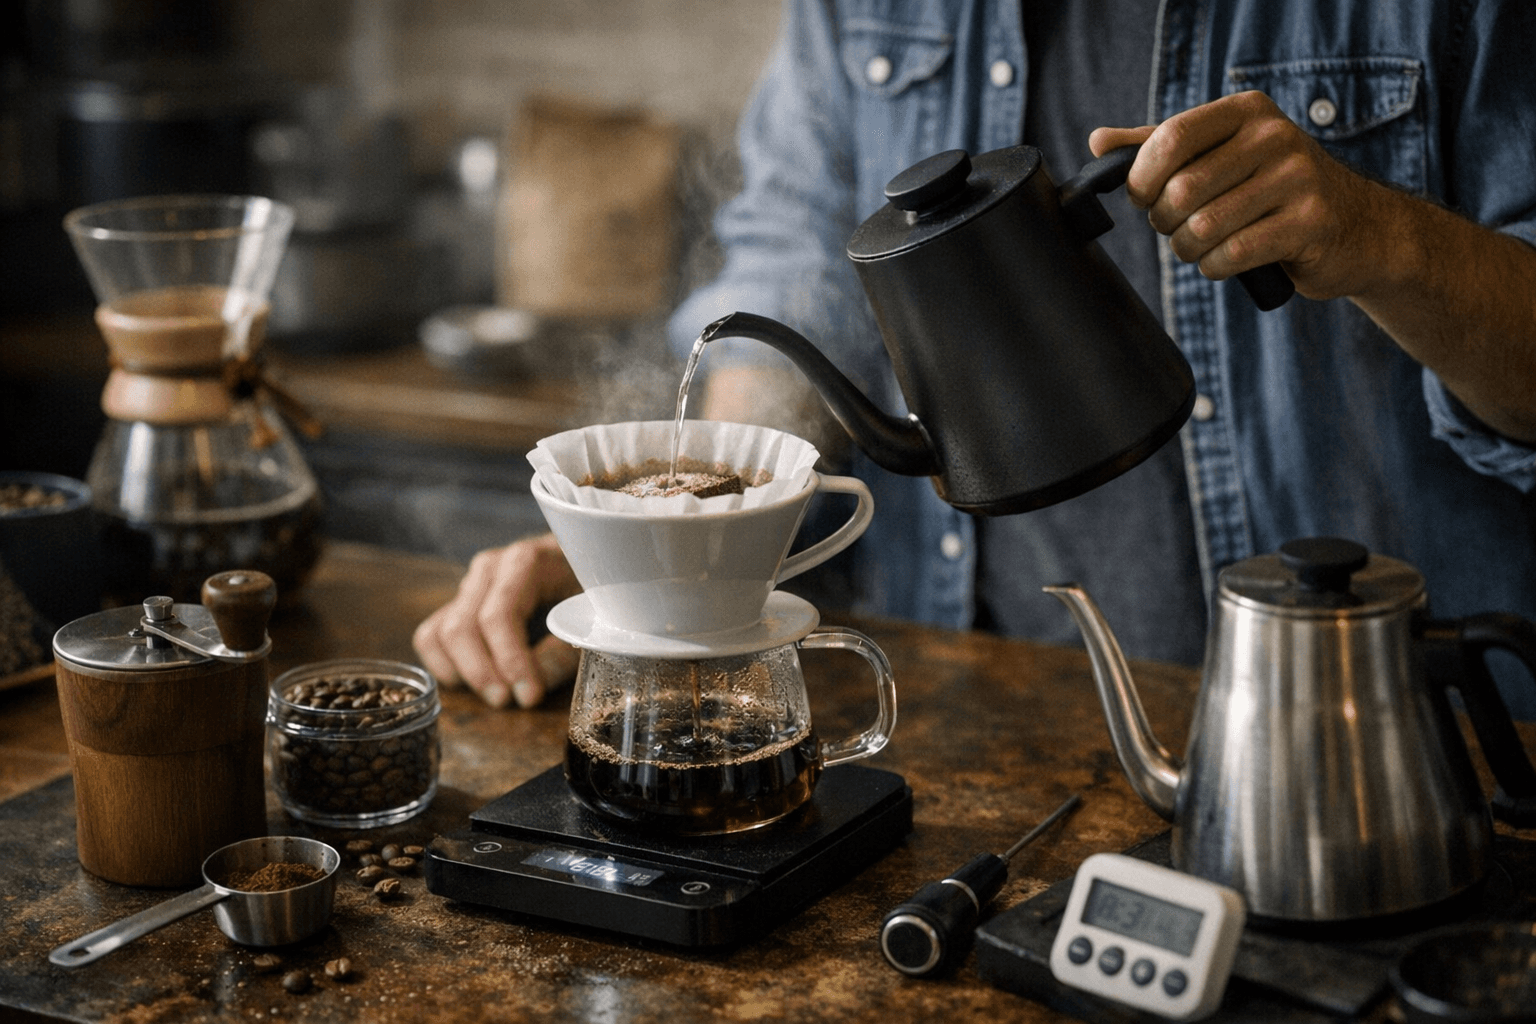
Consistent 300 ml pour-overs start with three simple commitments: good equipment, reliable measurements, and a single-variable approach to adjustments. Use a cone dripper such as a V60 or Kalita Wave, a scale, a gooseneck kettle, paper filters, a quality grinder and fresh whole beans, and brew into a preheated mug or server for best results.
Dose 18-20 g of coffee for a 300 ml cup, aiming for a brew ratio of about 1:15 to 1:17. For strength preference, adjust the dose by plus or minus 0.5 g. Grind to medium-fine; if your grinder has stepped settings, note the step number for repeatability. Heat filtered water to 92-96°C (197-205°F) and weigh both coffee and water on the scale to hit the target 300 ml total brew water.
Begin by rinsing the paper filter with hot water to remove papery flavors and preheat the dripper. Add the grounds and settle them flat. Pour roughly 60 ml of water for a 30-45 second bloom to degas the coffee bed, then continue pouring in slow concentric circles from the center outward and back until the scale reads 300 ml. Aim for a total drawdown time of about 2:30-3:00 minutes; expect the Kalita Wave to finish faster because its flat‑bed design promotes even extraction and shorter contact time.
If the cup tastes sour or under-developed, move to a finer grind, raise the brew temperature, or lengthen the brew time. If the cup is bitter or over-extracted, coarsen the grind, lower the water temperature, or shorten the brew time. Make only one change at a time and record grind setting, dose, time, temperature and tasting notes so you can isolate which variable produced the desired change in balance, clarity and body.
Practical habits that improve day-to-day results include preheating equipment, consistently weighing water and coffee, and using a gooseneck kettle for controlled pours. Light roasts typically benefit from slightly higher water temperature and a finer grind to coax more sweetness and clarity. Keep a brewing log and treat each roast as a separate dialing-in session.
For home baristas looking to make better coffee without overcomplicating the process, these steps provide a reliable baseline and a road map for iteration. Follow the checklist, track the numbers, and expect steady improvements as you fine-tune grind, temperature and timing for your preferred flavor profile.
Know something we missed? Have a correction or additional information?
Submit a Tip