Home Vintage Synth Repair Guide: Safety, Soldering, Cleaning, When To Stop
Home vintage synth repair guide outlines safe starter steps for cleaning, soldering, and troubleshooting, and explains when to stop and hire a pro.

Vintage synths are fragile instruments of character and value, and knowing safe first steps can keep them playable and out of the repair shop. Start with safety: always unplug the instrument before opening it, discharge capacitors, and work with basic ESD precautions such as a grounded wrist strap and a grounded work surface. Those steps protect you and the circuitry and set realistic expectations for what you can do at home.
Once the unit is powered down and safe, begin with cleaning and contact maintenance. Pots, sliders, and jacks collect dust and oxidation that cause crackle, intermittent signal, and unreliable connections. Use a dedicated contact cleaner and short, deliberate sprays while exercising the pot or slider; clean jacks with a contact cleaner swab and insert a known-good plug several times to work the cleaner in. Keybed and switch cleaning often restores playability without parts replacement. Remove keybed covers where practical and wipe away grime with isopropyl alcohol on lint-free cloths; for stabilized work, remove keybed screws and document screw locations and connector orientations so reassembly is exact.
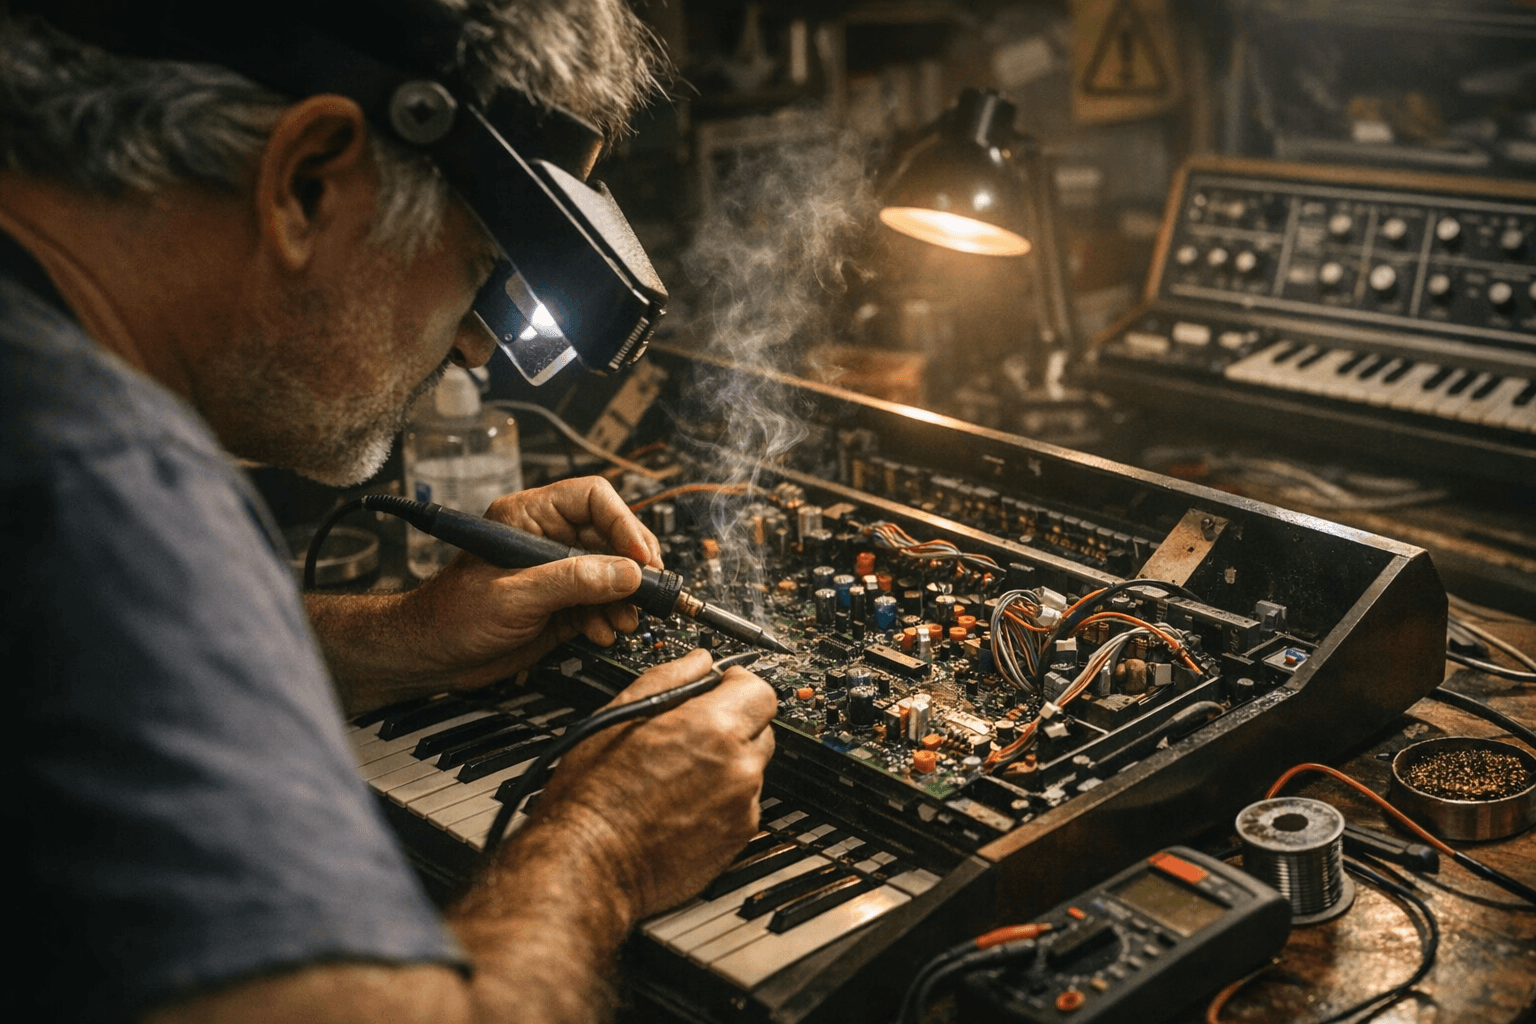
Soldering and basic board work are common home repairs but require practice and the right gear. Learn to solder and desolder on scrap boards before touching a beloved synth. Use a temperature-controlled iron, rosin-core solder, and desolder braid or a pump to remove joints cleanly. Replace bad buttons and cracked knobs with compatible parts; label ribbon cables and take photos before unplugging to avoid reassembly mistakes. Replacing internal batteries is often straightforward; remove the battery holder or clip carefully, dispose of old cells safely, and use the correct replacement to avoid leaking corrosion.
Follow a troubleshooting workflow: verify power and fuses, check for obvious damage or loose connectors, isolate subassemblies such as voice boards or power supply, and swap in known-good cables and modules where possible. Document symptoms, steps taken, and results so you avoid repeating work and can give a clear brief to a technician if needed.
Know when to stop. Consult a trained restorer for faulty power supplies, visible capacitor leakage, surface-mount IC failures, severe PCB corrosion, failed LCDs that require board-level repair, or any work that risks high voltages or irreparable damage. Professional techs preserve calibration, alignment, and original parts when necessary.
Learning these skills reduces GAS for gear you can fix, keeps your patch cables in motion, and makes the community stronger by keeping classic instruments playable. Start with safety, practice soldering on junk boards, tackle cleaning and simple part swaps, and call in a pro when the job risks expensive damage or skills you do not yet have.
Know something we missed? Have a correction or additional information?
Submit a Tip

