How to magnetize 40k models for quick weapon swaps
A practical how-to that walks you through magnetizing miniatures so weapon and upgrade swaps are fast and durable. Useful for conversions, tournaments, and adaptable armies.
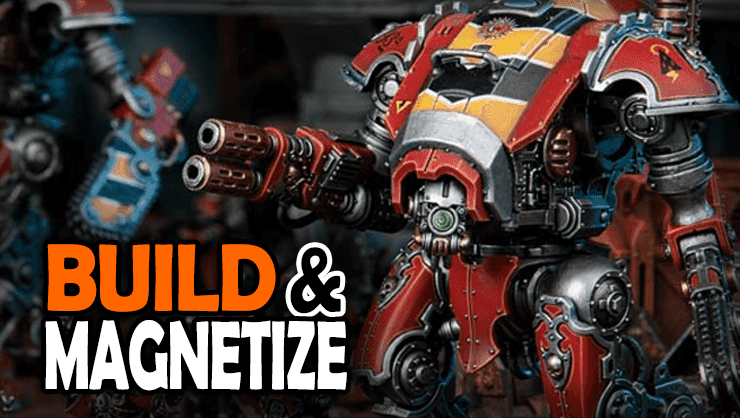
Magnetizing models is one of those small investments that pays off every time you need a different loadout for a game, display, or conversion. This guide explains tools, magnet sizes, drilling and glue technique, and vehicle-specific tricks so swaps are quick, secure, and reversible.
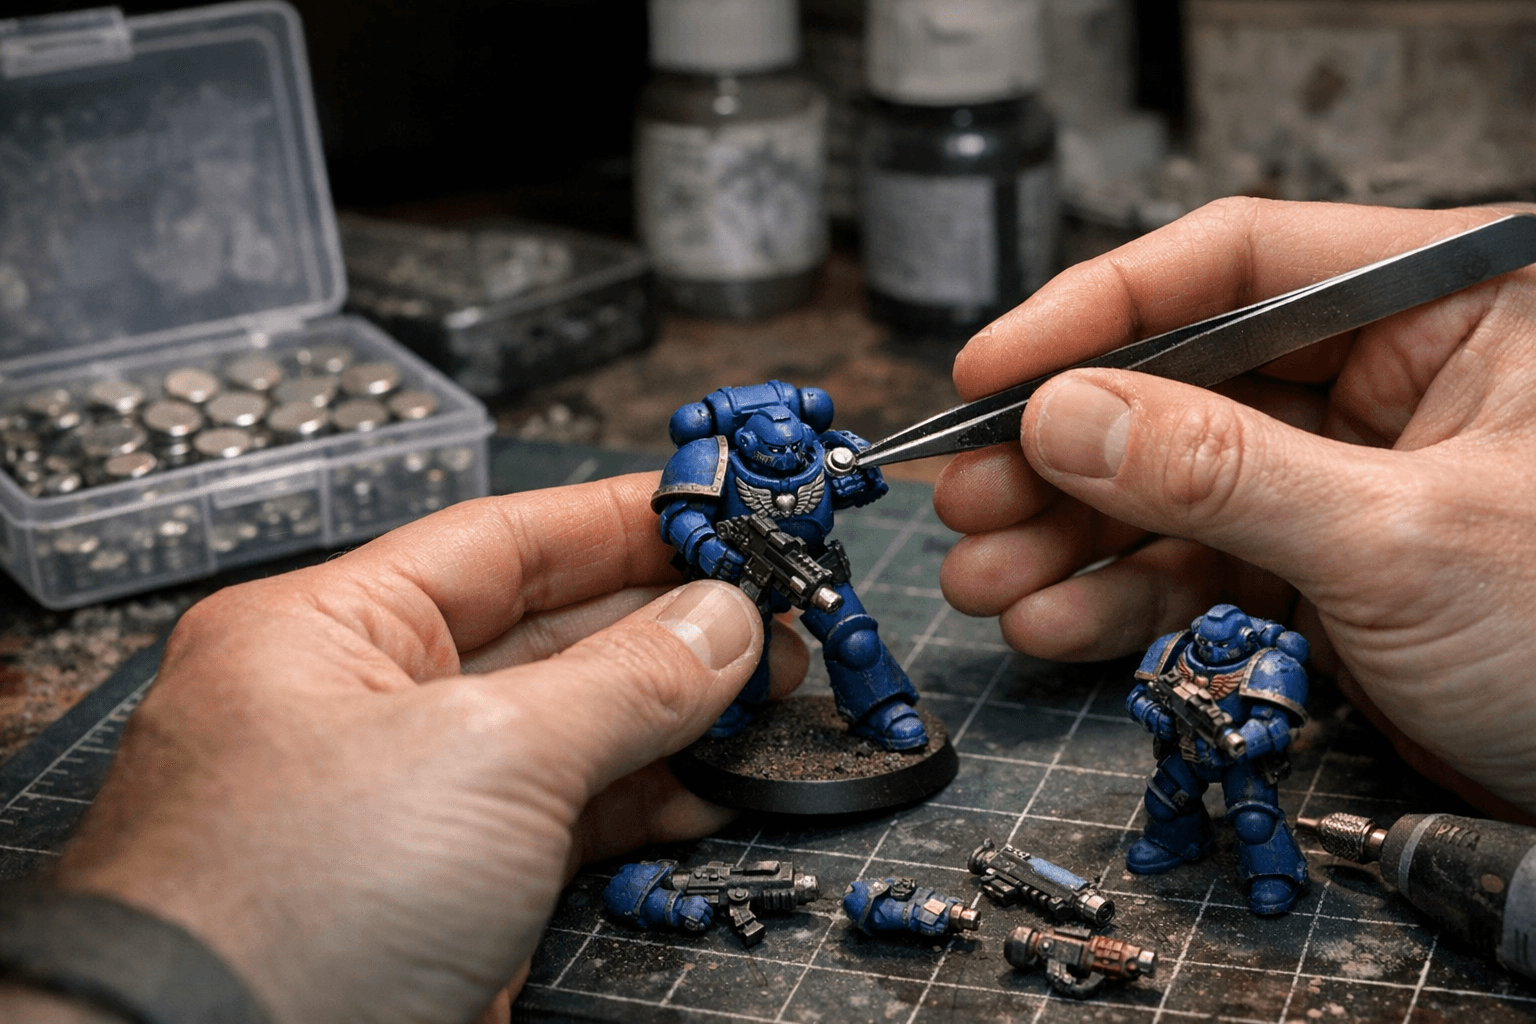
Start with the right kit. Small neodymium round or cylinder magnets in common sizes 1×1mm, 2×1mm, 2×2mm, 3×2mm, and 5×2mm cover most infantry and vehicle needs. A pin vise with drill bits from about 0.8mm-2.5mm, super glue (cyanoacrylate), optional PVA for temporary alignment, fine files or a hobby knife, and a little green stuff or gap filler for flush finishes are all you need. A small magnet or polarity tester is useful to check orientation before final gluing.
For single-model weapon swaps, decide orientation and polarity before you drill. Small weapon swaps use 1×1mm or 2×1mm magnets: mount one magnet in the weapon and the mating magnet in the arm or shoulder pad. Dry fit parts first and mark mating faces with a pencil to avoid drilling in the wrong place. Drill pilot holes with the pin vise at low speed, holding the model steady and keeping the drill perpendicular to the mating face. Start with a smaller bit and widen to the magnet diameter. Press-fit magnets with a tiny drop of super glue, seat them flush, and verify polarity with your test magnet before gluing the mate on the opposing part. If the magnet sits proud, file it down and use a very small amount of green stuff or thin super glue to fill gaps; a thin brush coat of primer over the magnet will ensure paint adhesion.
Vehicle joins and heavy weapons need stronger magnets and alignment attention. Use 3×2mm or 5×2mm magnets for load-bearing joins such as sponsons, turrets, and weapon banks. For rotating turrets consider a ring or plate magnet or several matched magnets around the circumference to keep rotation smooth. When drilling into hollow chassis, go slow and stop when you touch the inner shell; using a longer bit to seat magnets deeper helps, and supporting fragile plastic from the inside with Blu-Tak reduces flex. Because magnets alone don’t guarantee precise lateral alignment, add a non-magnetic locating peg such as a pinned plastic dowel alongside the magnet to keep parts indexed.
Safety and practical tips matter. Test polarity before final glue, avoid over-drilling, and balance magnet strength with part robustness to prevent brittle breaks. Don’t place magnets near electronics, credit cards, or pacemakers. When to magnetize? If you want multi-loadout options for tournaments, display conversions, or to make one kit serve multiple roles, magnetize. If a miniature is a set-display piece you’ll never change, skip the extra work and focus on paint and sculpting.
Our two cents? Take the slow route when drilling, test-fit constantly, and match magnet size to the job. A few careful magnet installations now save you time, money, and GAS later while keeping your army flexible and tournament-ready.
Know something we missed? Have a correction or additional information?
Submit a Tip