Practical Guide to Building and Basing Durable Modular Warhammer 40k Terrain
Learn practical steps to plan, build, paint and base durable modular 40k terrain that’s reusable, tactical and tabletop-proof.
Start with a clear brief for your table: theme, footprint and the tactical role each piece will play. Modular terrain that’s both durable and reconfigurable gives you the most play value for the time you invest.
1. Planning
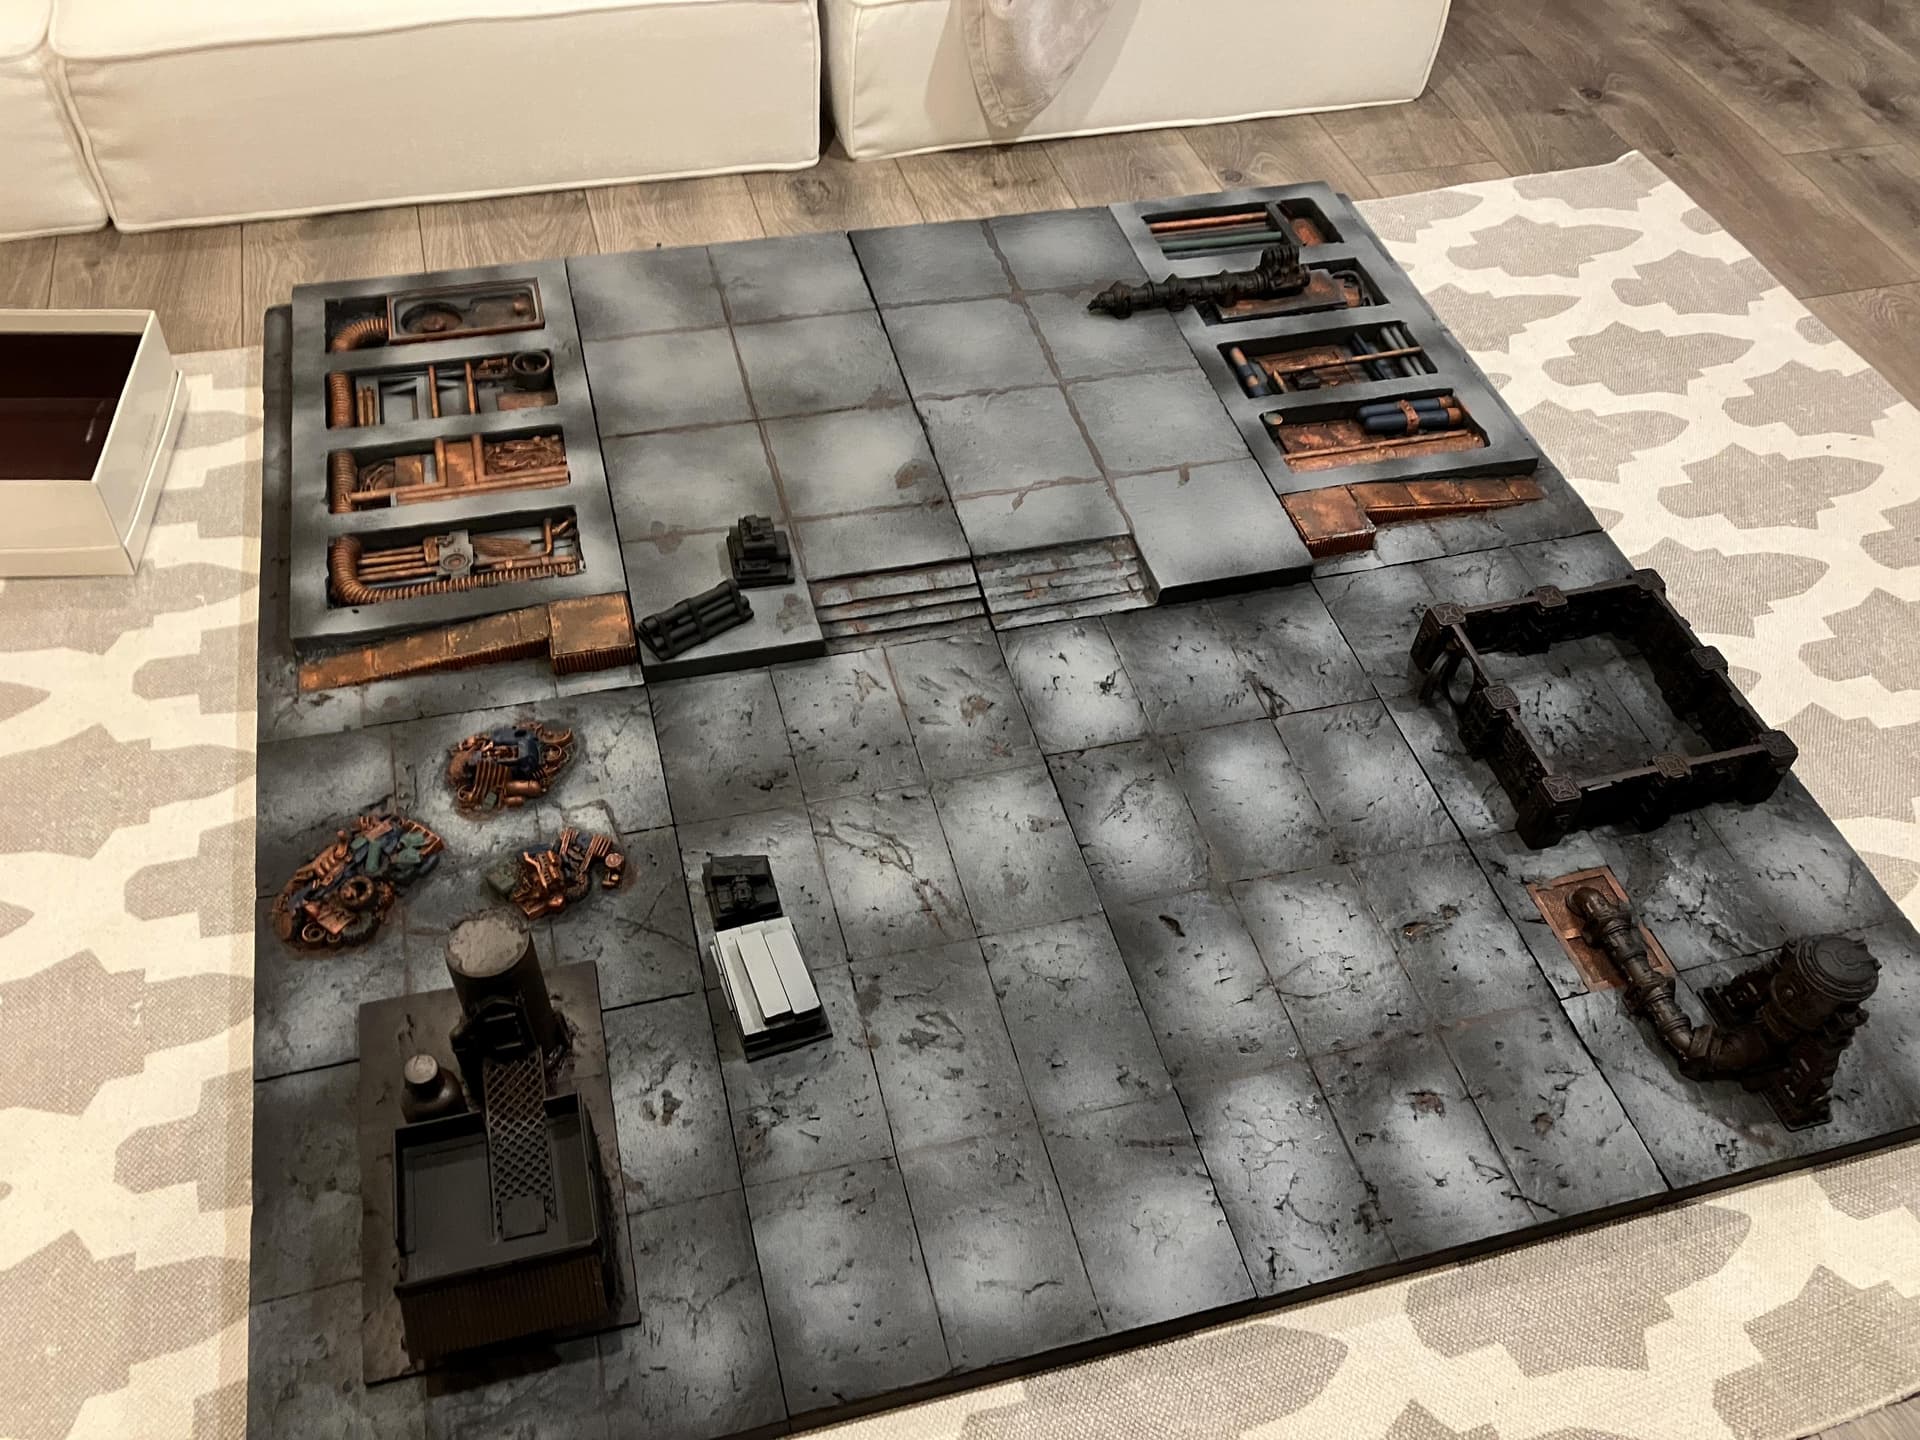
Decide a theme (ruined city, industrial sprawl, hive, alien landscape) and the footprint for your table, aim for roughly 6–12 interactable pieces on a standard 6'x4' board so sightlines and cover choices matter. Sketch a few layouts and plan vertical levels: multiple floors, raised walkways and line-of-sight blockers create tactical interest and scale with the game. Think about how pieces will be used during missions (choke points, objectives, terrain that funnels or promotes mobility) so your builds serve both story and rules.
2. Materials & tools
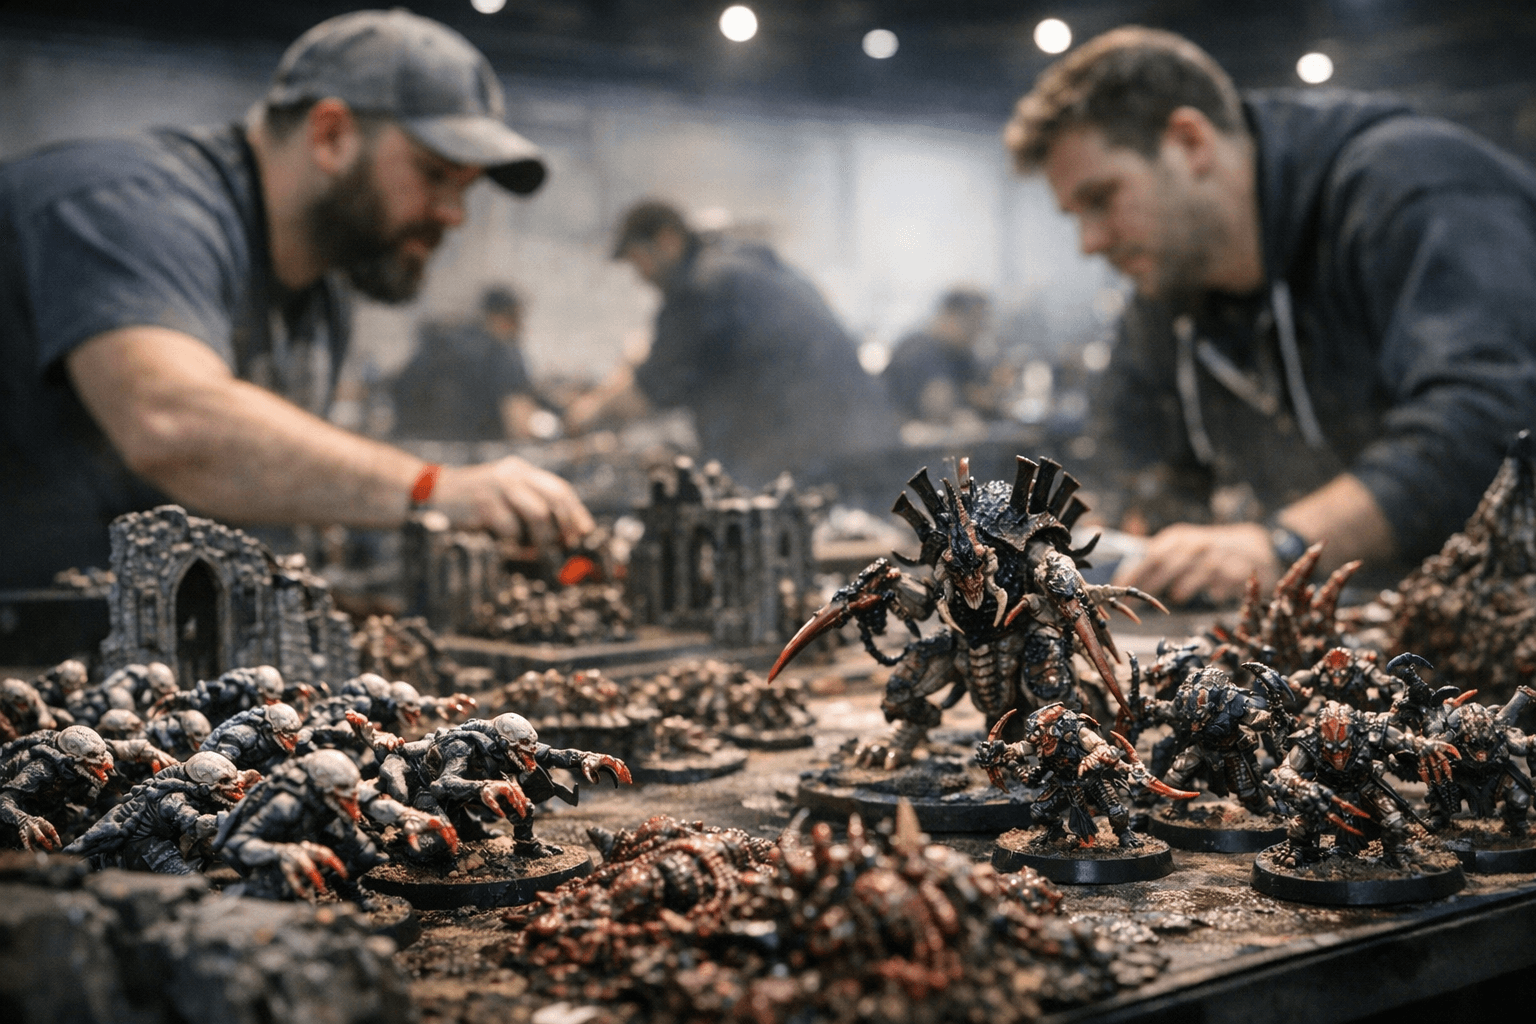
Use foamboard or extruded polystyrene (XPS) for bulk shapes, MDF or ply for solid bases, and plasticard for hard edges and detailing; texture pastes, PVA glue and hobby knives are your everyday essentials. Add a hot-wire cutter or serrated blade for shaping foam, cyanoacrylate for quick bonds, and basic paint supplies: primers, base/contrast paints, washes, and drybrush paints. Reclaimed bits like sprues, electrical components and small hardware make excellent scatter and greebles, they’re cheap, durable and give character to terrain without breaking the bank.
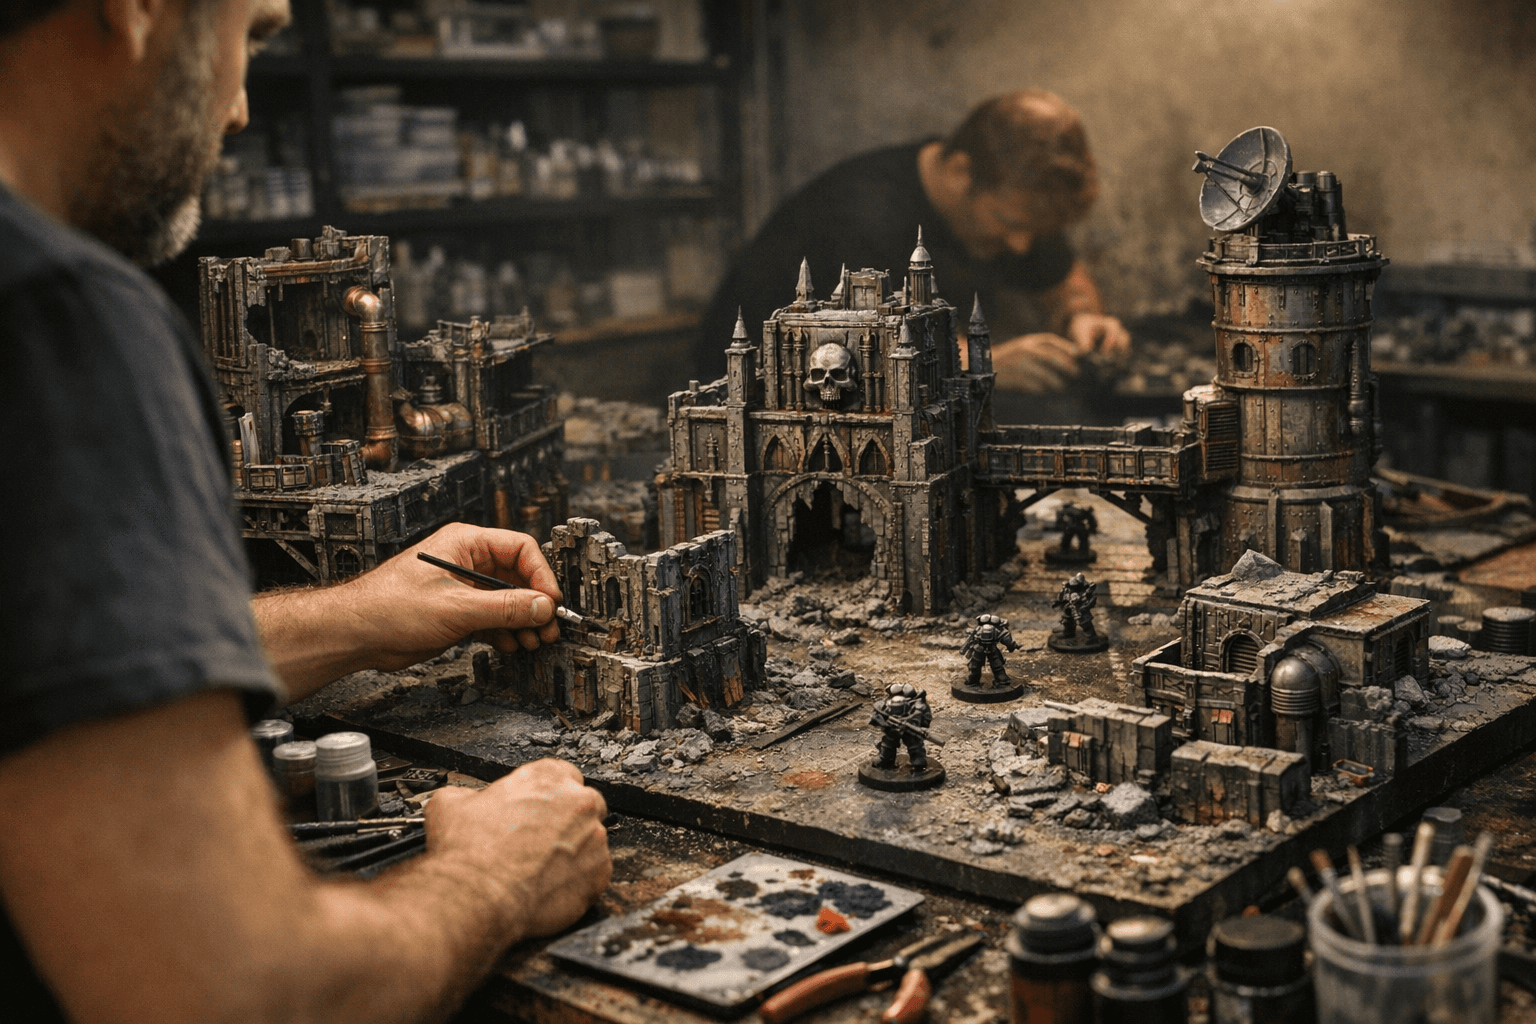
3. Construction tips
Build pieces as modules that can be re-arranged rather than single monoliths, make roofs removable and walls that slot together so setup and storage are easier. Reinforce large or tall pieces with internal wooden or plastic armatures (dowels, scrap ply frames) to stop sagging and to survive competitive and casual play. Seal expanded foam with a PVA/water mix or a thin plaster skim to protect surfaces, then add a fine sand coat mixed with PVA for extra abrasion resistance before priming; this prevents foam from gouging or crumbling during games.
4. Modular mechanics and durability techniques
Design connection methods that are simple and repeatable, pegs, magnets, or keyed slots keep sections aligned and avoid wobble during play. Make stackable elements travel-friendly: separate floors, removable rails and lightweight tops that can clip in place for secure gameplay but pack flat for transport. Use a balance of rigid materials (MDF bases, ply cores) and sacrificial texture layers (PVA+sand, modelling paste) so repairs in the hobby room are quick and cheap rather than full rebuilds.
5. Painting workflow
Prime your pieces black, grey or white depending on the final mood, black for grimy industrial, white for bleached alien terrain, grey for neutral urban scaffolds, then lay down flat basecoats for big areas. Apply targeted washes to add depth in recesses, pick out edges with lighter drybrushing for readability, and layer weathering using stippling for rust/grime and pigment powders for dust accumulation. Seal with a matte varnish for gaming durability and only use gloss varnish on elements that need shine (wet pools, glass, polished metal).
6. Basing models for terrain integration
Choose model base sizes that match your scale of terrain so units sit naturally in cover and on objectives; consistency helps movement and shooting look right on the board. Add texture, rubble and small debris to bases that echo the main table palette, matching grit, concrete tones or rust makes units read as part of the same scene. Keep base tones slightly muted so models remain readable against complex scenery, and use a palette tie (one or two shared accent colours) to visually unify forces with the table.
7. Practical workflow and community value
Start with one small project, a ruined building, barricade or scatter pack, and test it on your table to see how it changes play; iterate materials and finishes from that feedback. Modular, stackable pieces give the best returns: they provide multiple setups, reduce storage headaches and are friendlier for local tournaments and shared tables. Share plans and lessons in your club or online; community-tested connection methods and repair tips save time and help new players field better tables quickly.
- Quick hacks: magnets for repeatable roofs, PVA+sand for cheap hardcoats, and sprue-detailing for industrial clutter.
- Durability checklist before a game: secure joints, check for loose foam edges, touch up exposed PVA-sand patches and carry a small repair kit (superglue, sand, spare magnets).
Well-made modular terrain doesn’t just look good, it changes how games are played, makes setups faster and keeps your tabletop consistent from one event to the next. Start small, think modular, reinforce smartly and match your bases to the board: that trio will keep your terrain surviving long campaign nights and countless assaults.
Know something we missed? Have a correction or additional information?
Submit a Tip