Practical guide to maintaining carbide-insert woodturning cutters for hobby turners
A concise how-to explains maintaining carbide-insert cutters and when to hone or replace inserts. It helps you extend insert life and keep cuts clean.

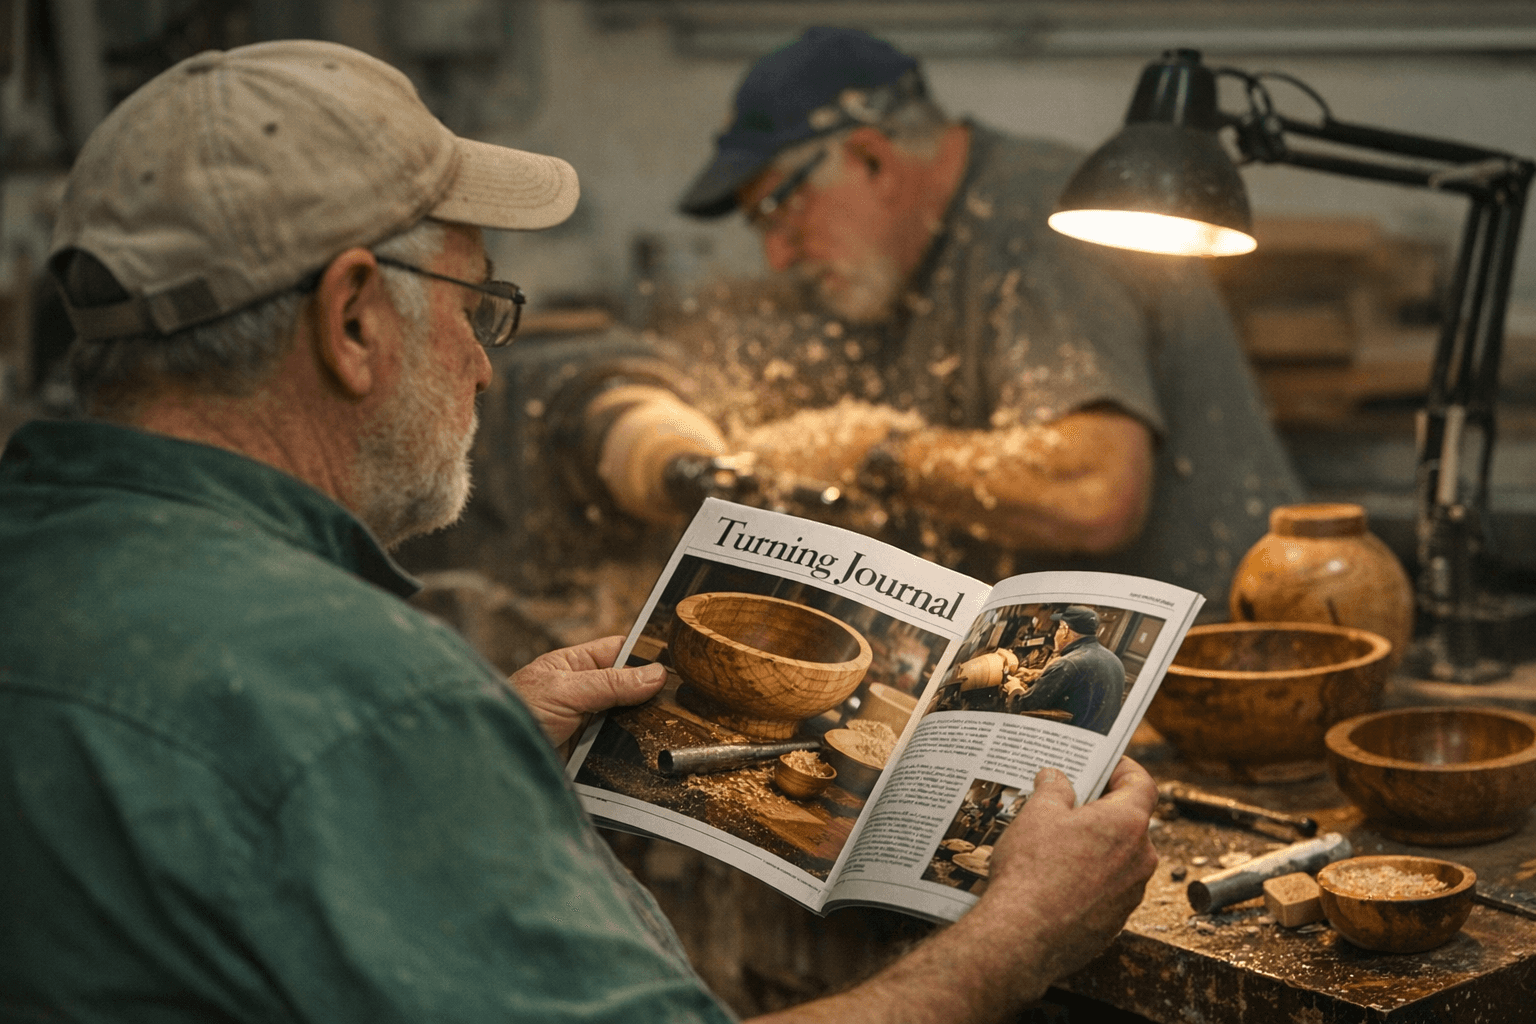
Carbide-insert cutters have become a staple in many shops for the speed and convenience they bring to day-to-day turning. This practical how-to focuses on keeping those inserts cutting well without reaching straight for replacements, showing how a small diamond hone and a steady hand can restore performance and stretch tool life.
Carbide inserts differ from resharpenable high-speed steel tools in that the cutting edge is a replaceable insert rather than a grindable steel profile. That brings obvious advantages: fast setup, predictable geometry, and minimal downtime when you swap an insert. The trade-off is less versatility for custom grinds and the recurring cost of replacements. For hobby turners who value quick tool changes and consistent cuts, maintaining inserts with light honing offers the best of both worlds.
The centerpiece of the technique is a compact diamond hone or honing system used to touch up the microbevel on the carbide face. A brief demonstration shows how a few controlled strokes can remove the smallest burrs and refresh the bevel so the tool cuts like new again, delaying replacement. How you hold the cutter matters: support the body and present the insert at a consistent angle to the hone, using smooth, even strokes that follow the edge geometry. The guide recommends matching grit selection and stroke patterns to the level of wear, and to progress carefully rather than trying to remove material aggressively.
Inspection before and after reconditioning keeps the process practical and repeatable. Check for chips, cracked corners, or heavy nicks before honing. After light honing, confirm a continuous edge and consistent chip formation on test cuts. Secure the cutter during the process to prevent slips, avoid generating heat by using light pressure and short strokes, and store inserts in a dry, labelled box so you can track which edges have been reconditioned.
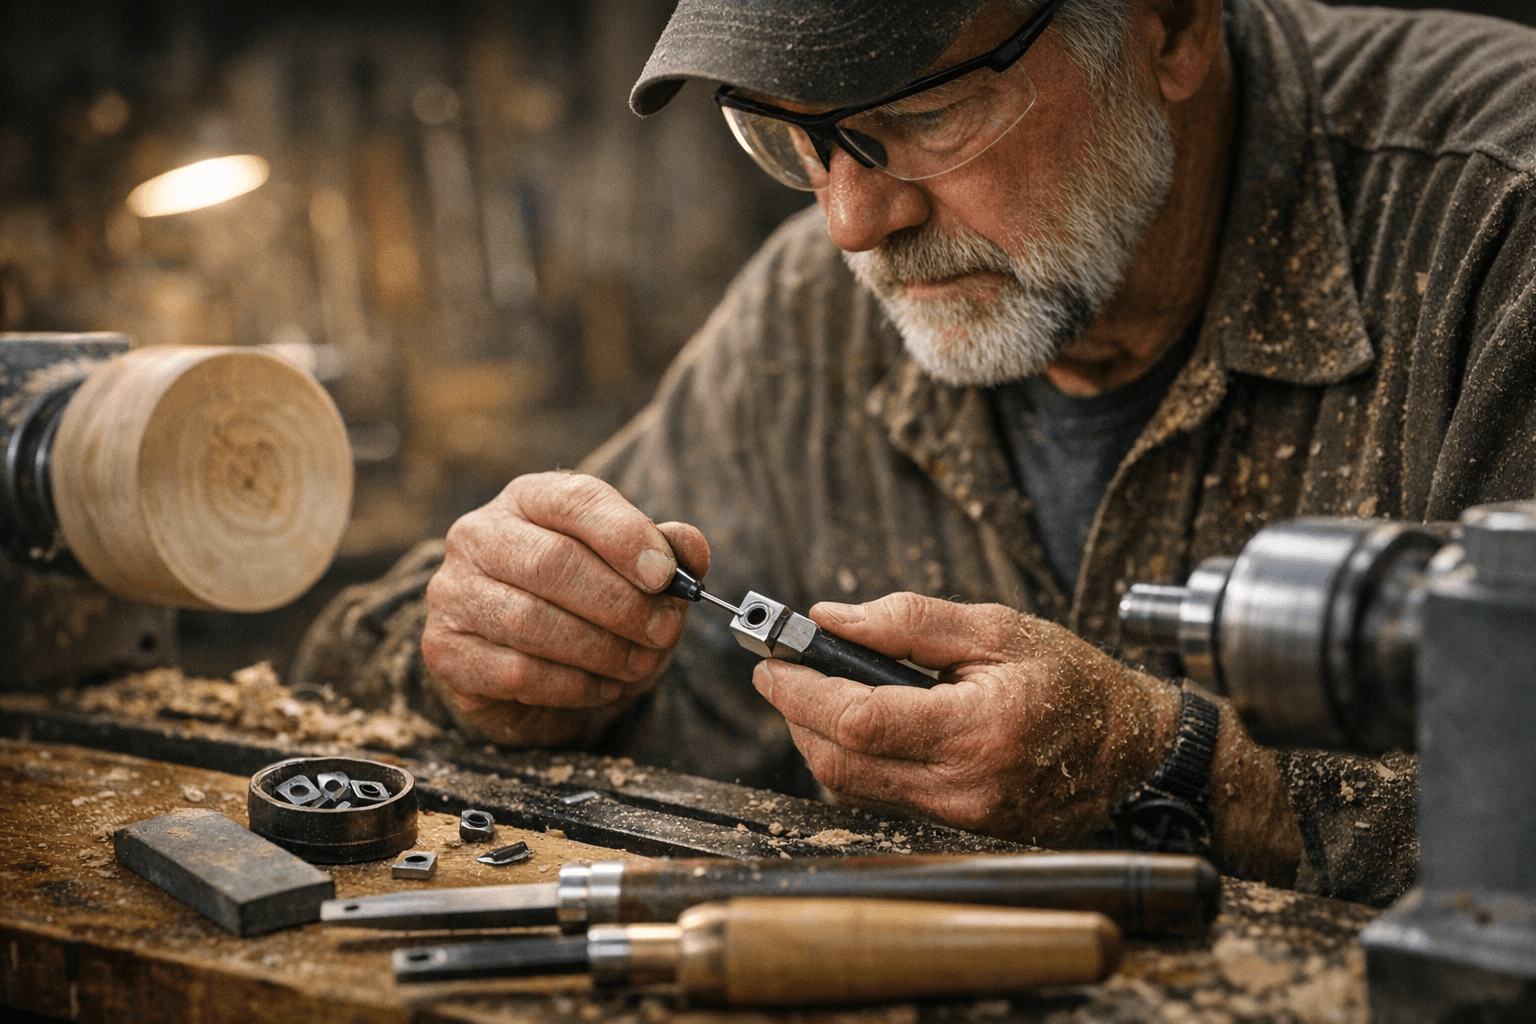
Safety and shop housekeeping are part of the workflow. Clamp or hold the cutter steady, protect your hands when handling sharp inserts, and give each insert an extra look for hard-to-see damage that a hone won’t fix. The result is cleaner cuts, fewer sudden tool changes, and a more predictable finish on bowls and spindles.
For turners looking to save a few dollars and reduce waste, keeping a diamond hone at the bench and adding a quick inspection-and-hone step to your routine pays off. If you want a printable quick-reference checklist with tools, grit suggestions, and a step sequence to tape in your shop, I can expand this into a step-by-step sheet you can keep at the lathe.
Know something we missed? Have a correction or additional information?
Submit a Tip