Practical Power Supply Diagnostics and Fixes for Vintage Synthesizers
This hands-on guide explains how to diagnose and repair common power-supply failures in 70s-90s vintage synthesizers and why those failures matter to collectors, restorers, and players. It lays out the essential tools, step-by-step inspection and measurement techniques, typical repairs like recapping and regulator replacement, and clear safety guidance so you can make informed decisions about when to tackle a fix yourself and when to call a professional.
Power supplies are among the most frequent failure points in vintage analog synthesizers. Aging electrolytic capacitors, stressed voltage regulators, tired rectifier diodes, and cracked solder joints are common causes of dead units, intermittent behavior, and noisy operation. This guide gives practical, usable diagnostics and repair steps you can apply to keyboards and rack units from the 1970s through the 1990s.
Start by assembling basic tools: a reliable digital multimeter, a temperature-controlled soldering iron, and a set of screwdrivers. Before you power up the instrument, perform a careful visual inspection. Look for leaking or bulging electrolytic capacitors, discolored or burnt components, frayed wiring, cracked insulation, loose connectors, and poor or cracked solder joints. Photograph the PCB and wiring layout before you touch anything so you can restore original routing.
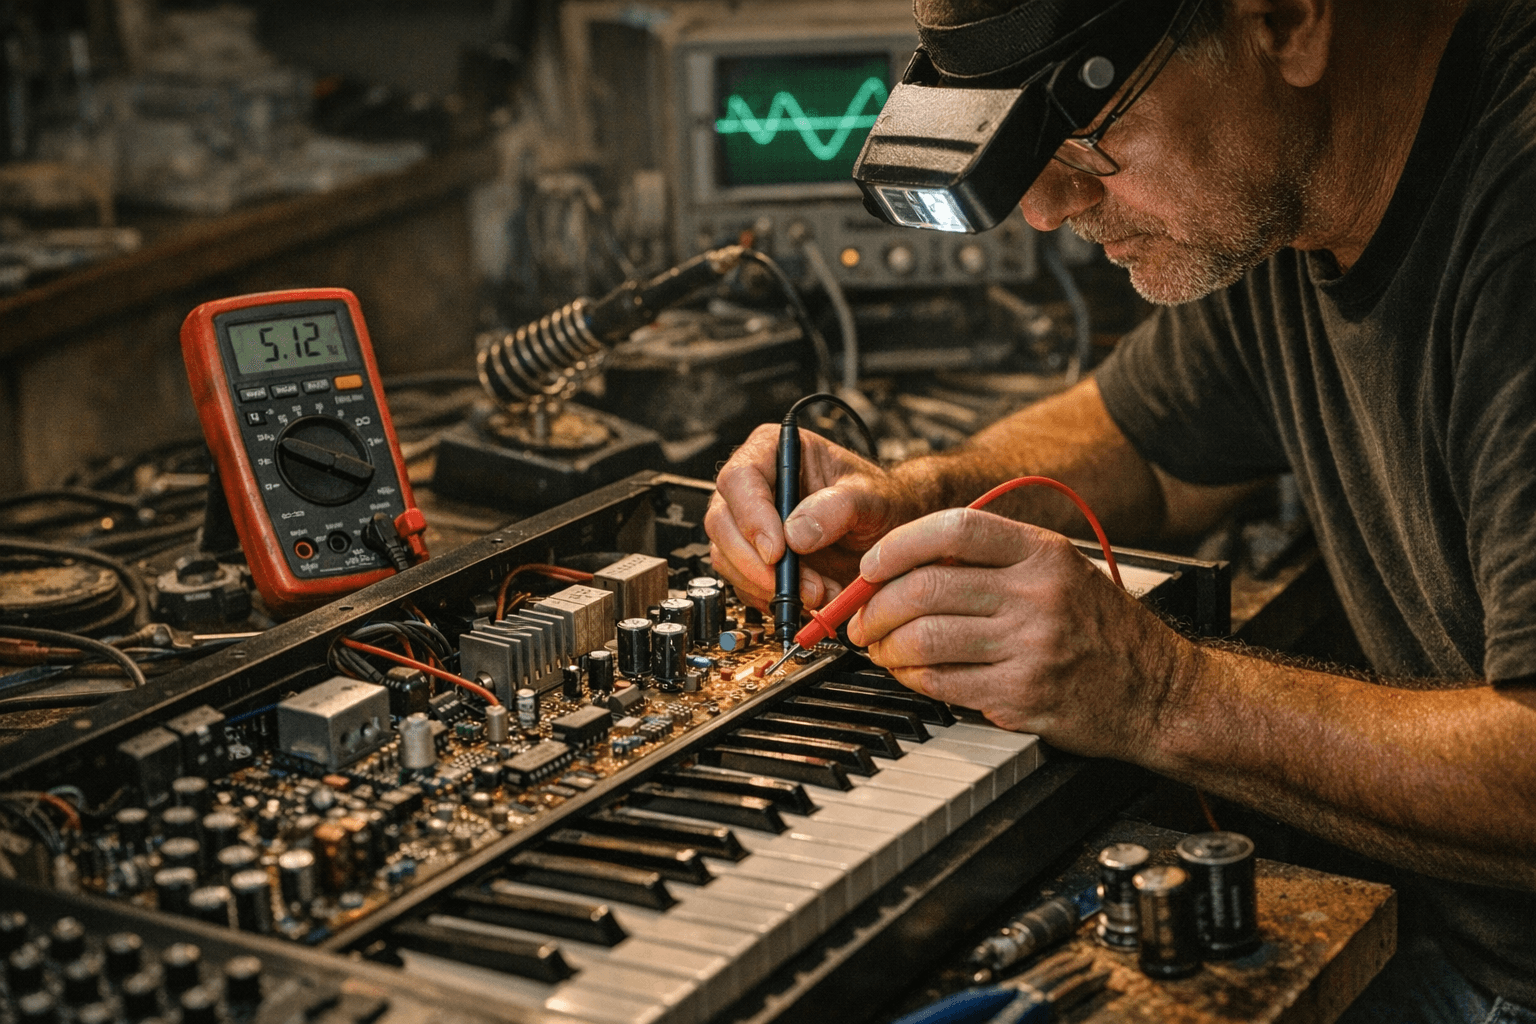
With the unit unplugged and capacitors discharged, remove covers as needed. For voltage checks use the multimeter set to the appropriate DC range and compare measured outputs to the factory specifications for your model. Measure supply rails relative to the common ground point and note any readings that fall well outside expected values. Significant deviations, excessive ripple, or missing rails point to failing caps, rectifiers, or regulators.
Use continuity testing to verify fuses, wiring and ground connections, and to find open traces. Inspect solder joints under magnification for hairline cracks and cold joints. Many intermittent problems trace back to a poor solder connection; reheating and adding fresh solder can restore reliable contact.
Common repairs that restore long life include recapping electrolytic capacitors, repairing or reflowing bad solder joints, and replacing faulty voltage regulators or rectifier diodes. When recapping, match capacitance and voltage ratings and install replacements with correct polarity and lead spacing. For voltage regulators use equivalent or recommended replacements and verify pinouts before installation. Replace rectifier diodes with equal or higher voltage and current ratings. After repairs, recheck voltages and ripple under load to confirm stable operation.
Safety is paramount. If you are uncertain about mains safety, live mains measurements, or high-voltage sections such as CRT-style power supplies, stop and seek professional service. Unplug the instrument before opening it, discharge large filter capacitors before touching circuitry, and work with tools rated for electronics. If you proceed, take steady, methodical steps and double-check wiring and polarity before reapplying power.
Maintaining power supplies preserves sound and value. Regular visual checks, replacing aging electrolytics before catastrophic failure, and sharing parts sources and repair notes with local groups and online communities will keep your vintage gear working for years. When in doubt, enlist a qualified technician; knowing what to test and what to replace makes you a better partner in any restoration.
Know something we missed? Have a correction or additional information?
Submit a Tip

