Practical rough-turning workflow reduces cracking and ensures predictable finishes
A practical guide outlines rough-turning, drying and re-turning steps that reduce cracking and make finishing predictable for green bowls.

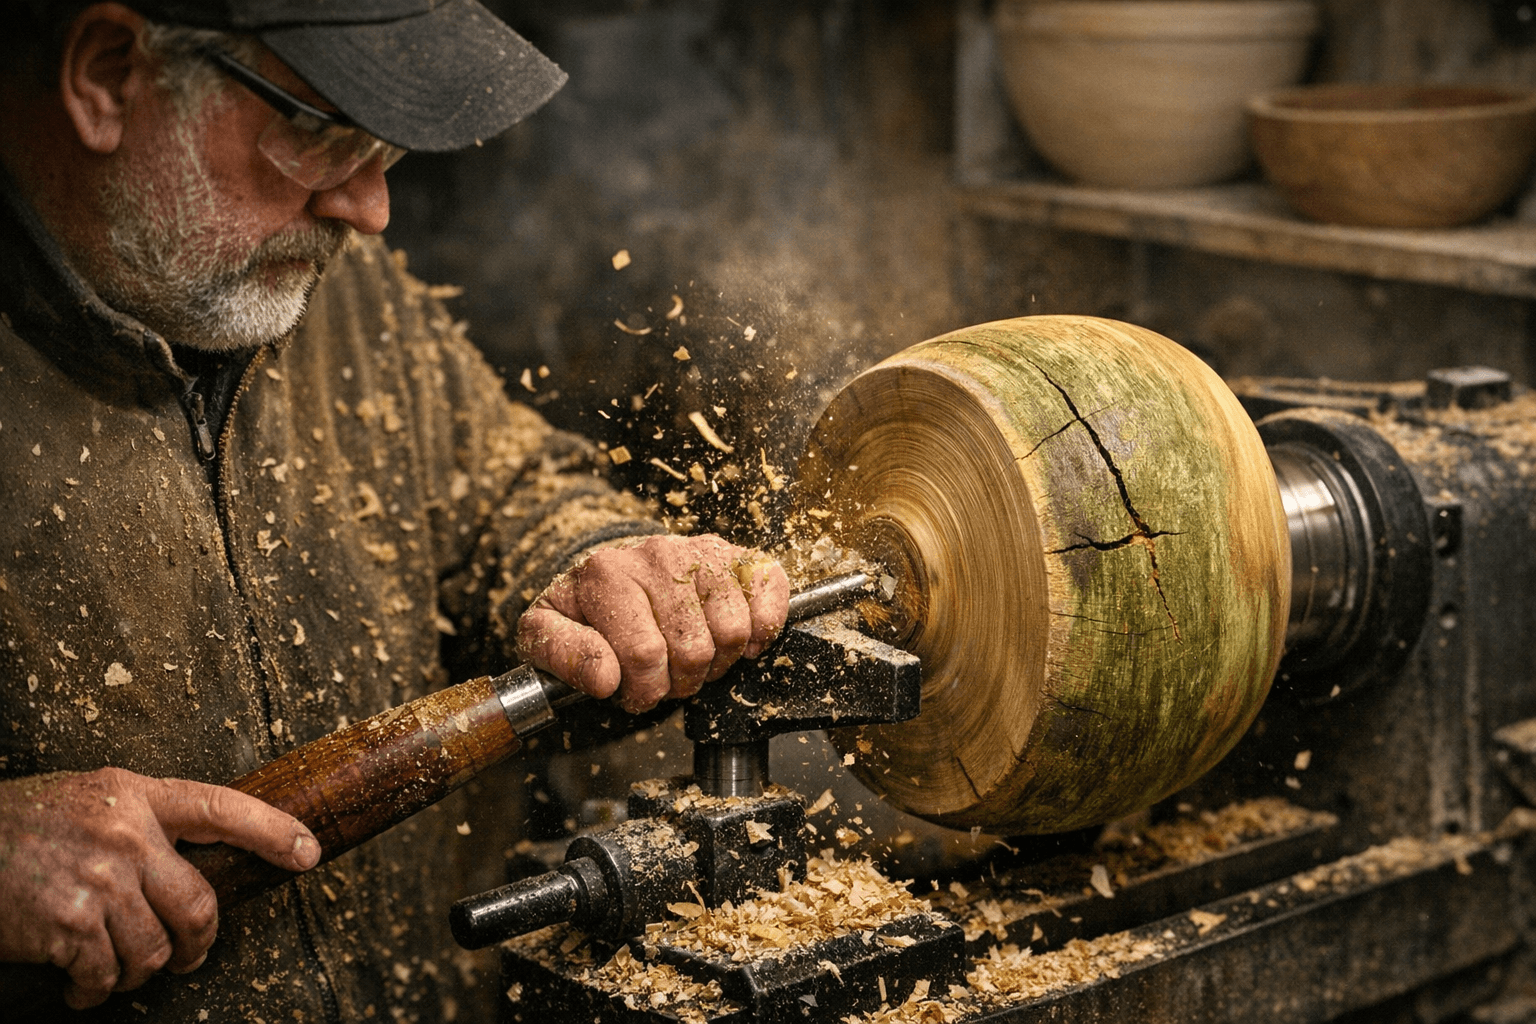
A clear, shop-floor workflow for rough turning and finishing bowls helps turners cut waste and avoid the most common failures with green wood. Start by turning the exterior first and remove the interior only enough to de-core the blank, leaving about 20 mm of wall thickness as a baseline so the bowl can be re-turned after drying. Larger diameters require more wall thickness to tolerate movement, so scale that margin up for big blanks.
Controlled drying is where a project lives or dies. Slow, even drying greatly reduces checking. Store rough-turned bowls in damp shavings or sealed bags, keep them out of drafts and heat sources, and consider periodic turning during the drying cycle to relieve built-in stresses. Avoid rapid drying conditions that invite checks; patience at this stage prevents repair work later.
When the bowl is dry, re-true it at low lathe speed. Always check balance by hand before applying power and use safe re-holding methods such as drive domes, gripper jaws or button jaws depending on the tenon and the final cuts. Low speeds are essential for large, off-balance pieces; confirm mounting security and maintain the toolrest correctly to avoid catches.
Plan the finishing sequence around the finish film you intend to apply. Establish a sanding progression matched to that finish, many bowl finishes are taken to 320–400 grit before film application. Food-safe oils are appropriate for serving bowls, while build-up lacquers or wiping varnishes are better choices for display pieces that need more surface durability. Hand sanding and finishing on the lathe remains common for bowl interiors, but protect yourself and stabilize the piece first.
Practical toolroom practices matter. Keep toolrests set close and at the right height, choose lower speeds for unbalanced blanks, and check chuck engagement each time you re-hold a piece. De-coring not only reduces drying time and movement but also gives you a usable core for other projects, a material-saving bonus.
These techniques are not species-specific tricks but foundational workflow choices. Apply the 20 mm guideline as a starting point, adjust for diameter and species, and prioritize slow drying and safe re-chucking. The payoff is predictable turning, fewer ruined blanks and finishes that behave the way you expect when the bowl goes back on the lathe for final shaping.
Know something we missed? Have a correction or additional information?
Submit a Tip