Woodturning 101: Essential Steps, Tools, and Projects for Beginners
A practical beginner’s guide lays out the core steps, essential tools, and two turning techniques so new turners know what to buy and what to learn first.

Woodturning starts with a simple promise: put a blank on a lathe and shape it while it spins. For anyone new to the craft, the basic roadmap matters because it narrows what to learn and what to invest in first. The process centers on eight key phases: selecting wood, preparing blanks, roughing, shaping, hollowing, smoothing, sanding, finishing. Knowing those steps up front saves time, limits mistakes, and points to the tools that actually matter.
Choose your preferred wood for your project. Consider the wood grain pattern, the color, the hardness of the wood, and its durability. Cutting and mounting the blank come next: cut your wood into a shape that is a little larger than your final piece. Mount the wood on the lathe, either on a faceplate or between the centers. Those two mounting choices determine whether you will use spindle turning or faceplate turning.
Spindle turning places the blank between the headstock and tailstock. You will then turn the spindle as you work. This technique is typically used for items like candlesticks or rolling pins. Faceplate turning attaches the wood to a circular metal plate. The wood blank is secured to the faceplate with screws. This is attached to the headstock of the wood lathe. Woodworkers use this technique to create bowls, platters, or any piece with a wide, flat base. Compared to spindle turning, it allows the woodturner to create larger and/or more asymmetrical pieces.
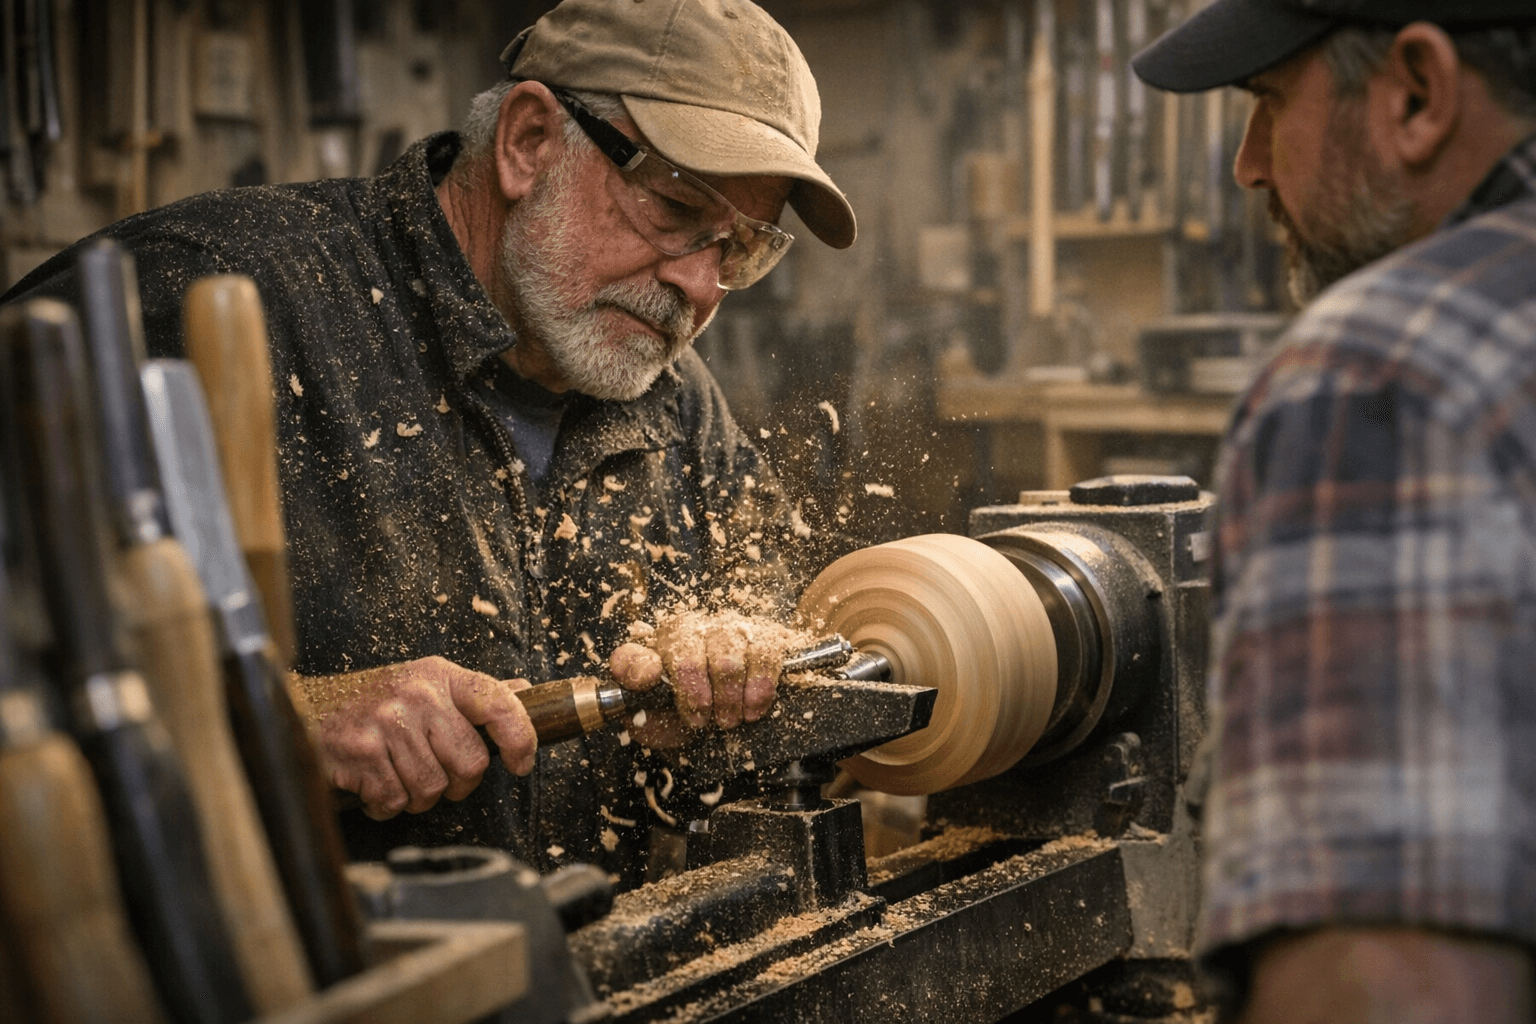
Practical shop work begins with roughing. After you turn on your lathe and choose the speed at which to run it, you will use turning tools to shape the wood. The first step is roughing, which uses a roughing gouge to remove excess material and create the base form of your piece. Use different tools to bring your project to life. Perhaps you will use a spindle gouge to add details or a bowl gouge to shape a bowl. There are multiple types of gouges and each one has its place in woodturning. A roughing gouge is essential no matter your type of project. A spindle gouge is used for shaping long, slender pieces. It has a smaller, shallower flute than a roughing gouge, which gives it more control.
Equipment choices matter. Wood lathes hold and rotate the wood. This is the most expensive piece of equipment. At the bare minimum, you will need a lathe, some wood-turning tools, and basic safety gear. The hollowing step and parting tool use are noted in standard workflows but are not detailed here; seek hands-on instruction for those operations before attempting them alone.
Community-friendly projects to start with include candlesticks, rolling pins, small bowls, and platters. These let you practice mounting options, roughing, and shaping without committing to expensive stock. For safety and skill development, take a class, join a local guild, or work with an experienced turner to learn hollowing techniques, recommended lathe speeds, and the specific safety gear appropriate for your shop. Knowing the eight core steps and the two primary turning techniques gets you turning sooner and smarter; the next step is practice under supervision and building a starter kit centered on a lathe and a few gouges.
Know something we missed? Have a correction or additional information?
Submit a Tip

