All3DP guide helps hobbyists diagnose common 3D printing failures
All3DP’s 30-problem guide turns failed prints into a fast triage list, so you can fix the bed, the filament, or the slicer before wasting another spool.
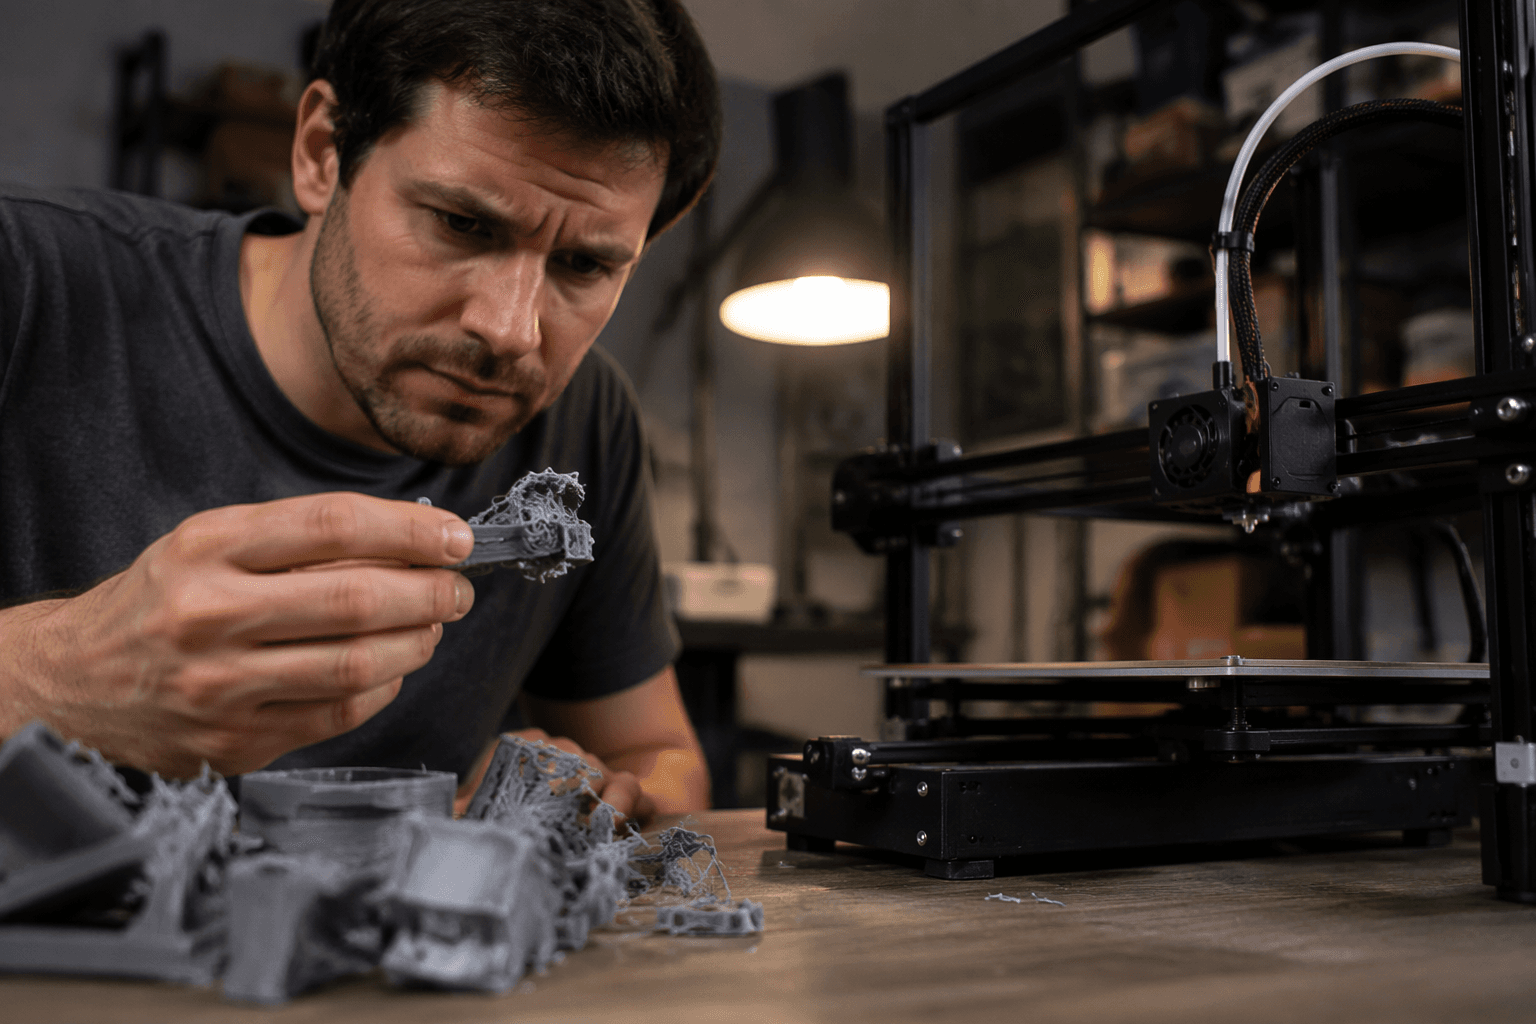
When the bed will not stick, the walls turn stringy, or a clean model starts lifting, blobbing, or shifting, All3DP’s “3D Printing Troubleshooting Guide: 30 Common Problems & Solutions” sorts failures like failed first layers, stringing, warping, under-extrusion, blobs, layer shifts, elephant’s foot, Z-banding, poor supports, clogging, delamination, and pillowing by symptom.
Start with the symptom, not the panic
It starts with the problems people actually hit most often. The same visible defect can come from very different causes, and changing a dozen settings at once only hides the real fix. All3DP’s broader troubleshooting hub has dedicated explainers for stringing, warping, first-layer problems, pillar and rough top-layer issues, gaps in top layers, elephant’s foot, bridging, and delamination.
The practical move is to diagnose in the order that saves the most time:
1. Check the first layer first, because adhesion problems can ruin the whole print in the first few minutes.
2. Dry the filament if you see stringing, popping, or inconsistent extrusion.
3. Review temperature and retraction before chasing more obscure slicer settings.
4. Inspect supports, cooling, and part orientation if overhangs, bridges, or top surfaces are failing.
5. Look at the machine itself if the defect is mechanical, like a layer shift or recurring banding.
When the first layer is the problem
A bad first layer is where most hobbyists lose the most time, because it can look like a bed-leveling issue, a temperature issue, or a slicer issue all at once. Bambu Lab groups the problem into two broad categories: the nozzle is either too close to the heatbed or too far from it. Too close and the filament gets squeezed, gouged, or starved; too far and the line will not bond well enough to hold the print.
- Clean the build surface so oils or residue are not defeating adhesion.
- Run a first-layer test print, the kind Bambu Lab recommends, instead of gambling on a full model.
- Recheck nozzle height and bed leveling if the lines are not laying down evenly.
- Watch for a warped build surface, which can make one corner fail even when the rest looks fine.
- Match the bed and nozzle temperatures to the material, since the wrong temperature pairing can mimic a leveling failure.
The first checks are simple and worth doing before another attempt:
A bad first layer does not point to one cause. A dirty bed, poor leveling, a temperature mismatch, the wrong nozzle height, and a warped surface can all produce a first layer that looks bad for different reasons.
When the print strings, blobs, or starves
Stringing and under-extrusion often show up together in the same printer session, which is why they are so frustrating. Stringing can come from retraction settings, moisture in the filament, print temperature that is too high, or some combination of all three. Under-extrusion and clogging often sit closer to the hardware side of the problem, where the filament path, nozzle condition, or heat break is no longer feeding reliably.
The useful habit is to separate the symptom from the assumption. If the print is covered in wispy strands, start with retraction and temperature before swapping nozzles. If the extrusion looks thin, patchy, or intermittent, inspect the filament path, check for a partial clog, and make sure the spool itself is not contributing moisture or drag. All3DP’s hub includes dedicated guidance for stringing.
When the model lifts, shifts, or falls apart later in the print
Warping, layer shifts, delamination, elephant’s foot, and Z-banding are not the same failure, but they often get grouped together by frustrated printer owners because they all show up after the first few successful layers. Warping can stem from cooling too quickly, drafty rooms, poor bed adhesion, or material choice. Layer shifts point more toward mechanical issues, while delamination and pillowing often show up when adhesion, support, or top-layer structure is not right for the part.
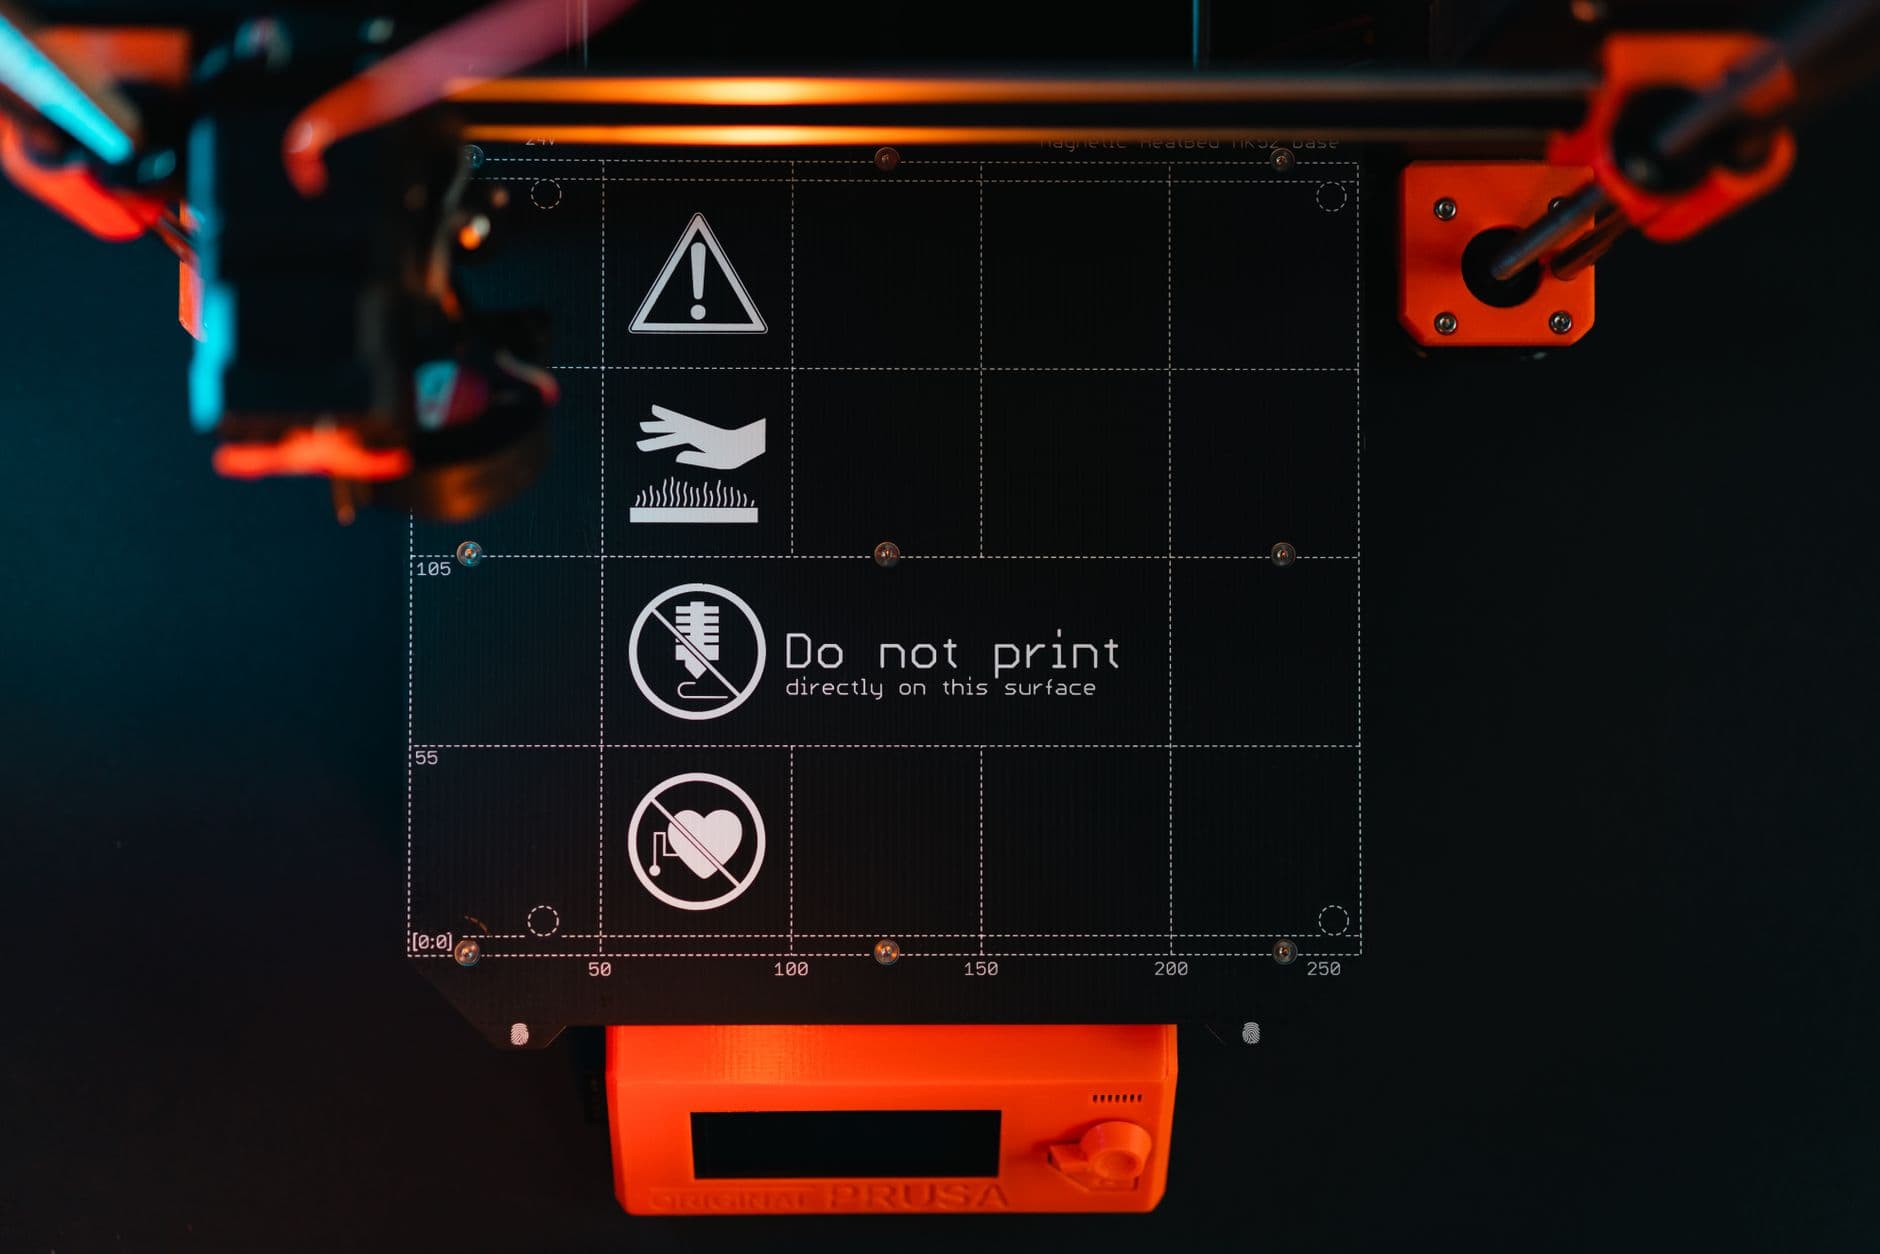
This is where support strategy and cooling matter as much as the machine. Poor supports can make a model look impossible to print even when the hardware is fine, and top-layer defects like pillowing or gaps in the top layers often reveal slicer choices that need adjustment rather than a broken printer. All3DP has separate explainers for bridging, elephant’s foot, and delamination.
Humidity is a hidden filament problem, not just a storage annoyance
Filament condition matters as much as the printer. BCN3D has a support article devoted to printing issues related to filament affected by humidity, covering why moisture changes the print, how to spot it, how to avoid it, and how to deal with it. A 2023 makerspace research project notes that failures are the largest factor in waste generated by 3D printing and points to humidity as a major contributor to PLA problems.
Dry storage and filament handling belong on the troubleshooting checklist, not as an afterthought. If the same profile suddenly starts stringing, popping, or under-extruding, the spool deserves suspicion before you blame the entire printer.
Troubleshooting has become part of the hobby, not a detour from it
A 2025 MDPI review on 3D-printing challenges groups recurring problems into design and pre-processing errors, geometric and dimensional issues, and process-related failures. That taxonomy sorts failures into the model, the slicer, the machine, or the material. Formlabs says independent third-party testing found a 99% print success rate for its Form 4.
This article was produced by Prism’s automated news system from verified source data, official records, and press releases, then run through automated quality and moderation checks before publishing. The system is built and supervised by the people who set the standards it runs under. Read our full AI policy.
Did this article answer your question?