How to hatch chicks at home with healthy eggs and proper storage
The hatch starts before the incubator does: the right eggs, cool storage, and a steady 21-day setup decide whether chicks live.

Chicken eggs incubate for about 21 days at 100 to 102°F. The easiest hatching mistakes happen before the first egg ever warms up. Backyard poultry is increasingly popular in the United States, and home hatching can grow a flock while teaching family and friends about embryology. It works only when you make a few precise decisions early and leave the rest alone.
Start with the right egg
Not every egg belongs in the incubator. Choose clean eggs, normal in shape and average in size, and collect them every day so they do not sit around picking up dirt or damage. Do not wash hatching eggs, because washing works against the shell’s natural protection.
The other myth to kill early is the idea that any grocery-store egg can become a chick. Table eggs from commercial laying hens are not potential chicks, because hens do not need roosters to produce eggs. If you are buying hatching eggs instead of collecting them from your own flock, look for reputable hatcheries certified by the National Poultry Improvement Plan, the voluntary federal-state testing and certification program for breeding flocks, baby chicks, poults, hatching eggs, hatcheries, and dealers.
NPIP is built around disease control, not marketing. USDA’s Animal and Plant Health Inspection Service traces the program to 1935, when efforts began to eliminate bacillary white diarrhea caused by Salmonella pullorum, and it now covers diseases including avian influenza, pullorum disease, and fowl typhoid. Under APHIS rules, flocks must first qualify as “U.S. Pullorum-Typhoid Clean” to gain additional NPIP benefits.
Store hatching eggs like they are already on a clock
Once the eggs are gathered, storage becomes the next make-or-break step. Keep hatching eggs with the big end up in a cool place around 65 to 70°F, with little temperature variation and out of direct sunlight. Properly handled eggs can be stored for up to seven days with little loss of fertility, which gives you a short, workable window without pushing hatch rates down.
Do not refrigerate hatching eggs. Household refrigerators are typically too cold for storage, and hatchability drops when eggs sit longer than ten days.
Set the incubator before the eggs do
The incubator is where the process either settles into rhythm or drifts into trouble. Test the incubator in advance, confirm that the thermometer is accurate, and keep the machine in a stable room away from drafts and direct sunlight. The ideal room temperature is 70 to 75°F, which helps the incubator hold a steady internal environment instead of fighting the room all day.
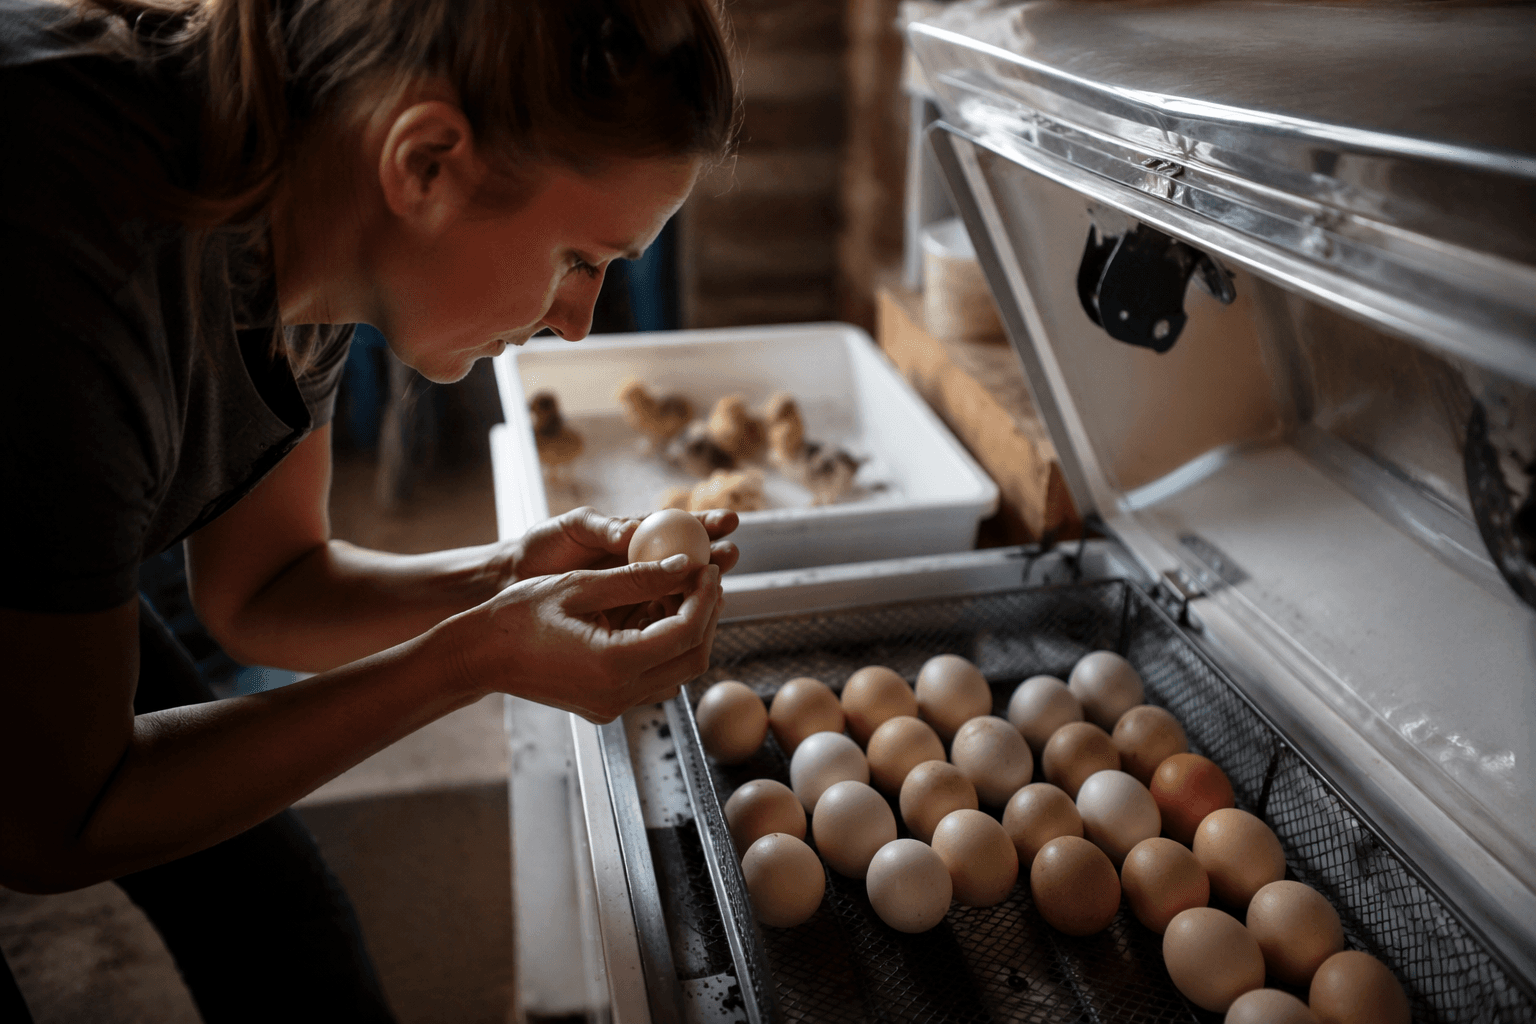
For chicken eggs, the incubator temperature is not forgiving: 99°F may be acceptable in some incubators, but 103°F and above will kill embryos.
Humidity varies by method. UNL’s incubation guide places humidity around 43 to 44% across the cycle, while Poultry Extension’s avian embryology guidance puts chicken eggs around 70 percent relative humidity. Keep the incubator in the right range for the method you are using and avoid swings that dry eggs out or leave them too damp.
Turn on schedule, then stop tinkering
Eggs should be turned three times a day. The embryo is developing inside a closed system, and incubation works best when you follow a steady routine rather than opening the incubator every time you worry.
The last few days before hatch are the transition period when the embryo positions itself to pip the air cell and hatch. That is the moment to back off, not to crowd the incubator with extra changes. If the temperature has been stable, the eggs have been turned on schedule, and the humidity has stayed in range, the hatch window is not the time to start experimenting.
Have the brooder ready before the first chick dries off
Before you ever set the eggs, clean and disinfect the brooding area at least two weeks before hatchlings arrive. Drafts should be eliminated, bedding should be ready to absorb moisture and keep the area clean, and the heat source should be in place before the first chick comes out of the shell.
The first day or two after hatch, feed should be available in a shallow pan or even an egg carton so chicks can find it easily. The brooder guard can be removed once the hatchlings are seven days old.
This article was produced by Prism’s automated news system from verified source data, official records, and press releases, then run through automated quality and moderation checks before publishing. The system is built and supervised by the people who set the standards it runs under. Read our full AI policy.
Did this article answer your question?