Beginner's Guide to DIY Bath Bombs Covers Recipes, Tips, and Customization
At $1–$3 per bomb versus $5–$9 at Lush, the DIY math is compelling; the real variable is your binder choice, which quietly controls hardness, fizz speed, and crack resistance.
At somewhere between $1.09 and $2.98 per bomb for a standard homemade batch, compared to $5 at Target or $6 to $9 for a Lush bath bomb, the cost argument for making your own is hard to ignore. But the economics only hold if your batch actually holds together, fizzes properly, and survives a few days on a shelf before it gets used. That's where ingredient logic, not motivation, is what matters.
The Chemistry Is the Recipe
Every bath bomb formula is built on a single acid-base reaction: baking soda (sodium bicarbonate) and citric acid meet water, produce carbon dioxide, and fizz. The standard ratio that delivers reliable results is 2 parts baking soda to 1 part citric acid. Baking soda is the structural base of the bomb, providing bulk and the alkaline half of the reaction. Citric acid is the trigger. Deviate too far from the 2:1 ratio in either direction and you either get a sluggish fizz or a bomb that starts reacting the moment humidity touches it.
The goal before your bomb hits the water is to keep those two ingredients completely dry and unreacted. That's why the choice of liquid binder matters far more than most beginner guides admit.
The Binder Decision: Where Hardness, Fizz, and Cracking Diverge
The three most commonly used binders and bulking agents, cornstarch, cream of tartar, and kaolin clay, each pull the formula in a different direction. Understanding the trade-off lets you tune the recipe instead of guessing:
- Cornstarch acts as a rate-of-reaction moderator. It binds with citric acid and baking soda and physically slows how fast the two dissolve on contact with water. The result is a longer fizz window rather than a brief burst, and a slightly harder bomb. The catch: use too much and fizz intensity drops noticeably. Keep it at or below 15% of your dry weight.
- Cream of tartar is occasionally used as a partial citric acid substitute, but its more reliable role is as a hardening agent. It contributes to a firmer, more dense bomb with a noticeably silky skin feel and a lower, slower fizz profile. If your priority is a gift-quality bomb that survives handling, cream of tartar earns its place. If high fizz drama is the goal, it works against you slightly.
- Kaolin clay improves hardness and adds skin-smoothing properties without significantly dampening the fizz reaction. It's a practical middle-ground choice, particularly for makers formulating for sensitive skin or anyone targeting a moisturizing finish over a visual spectacle.
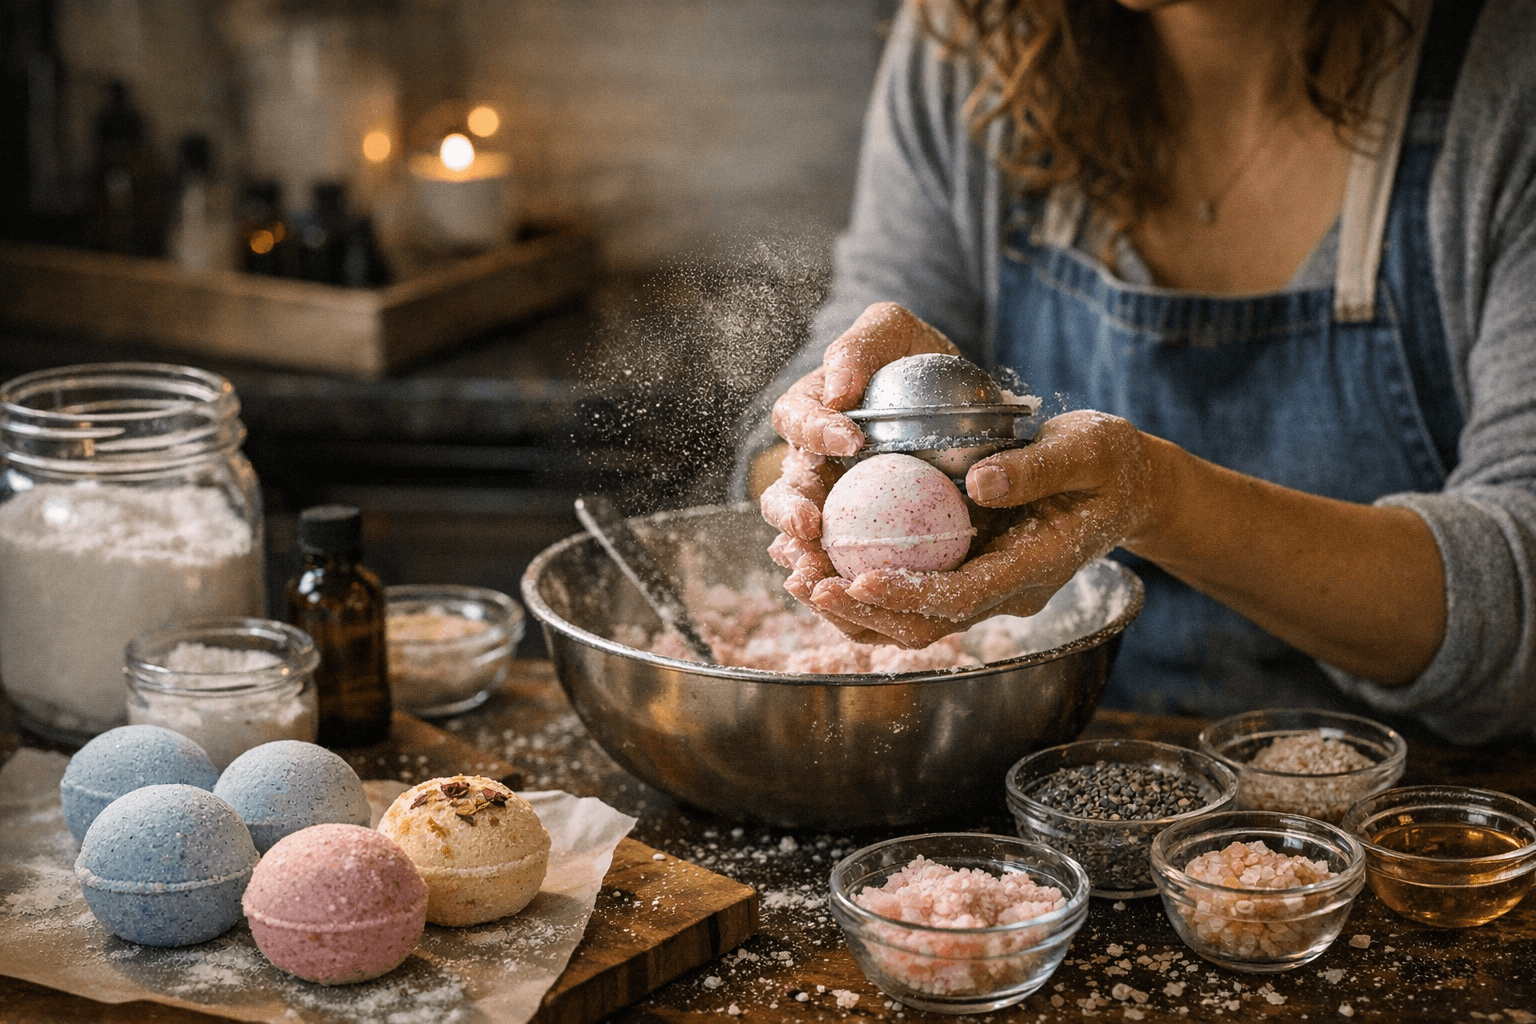
The practical single-batch test worth running: make three small batches using the same 2:1 baking soda-to-citric acid base, swapping only the bulking agent at a consistent 10% dry-weight inclusion. Press each into identical molds, dry overnight, and drop them one at a time into a measured volume of warm water. You'll see the cornstarch batch fizz longest, the cream-of-tartar batch hold the firmest shape before and during dissolution, and the kaolin batch sit in the middle on both axes while leaving the smoothest water.
Keeping the Reaction Where It Belongs: In the Tub
The single most common beginner failure isn't the recipe. It's triggering the citric acid-baking soda reaction before the mold is even filled. Water is the culprit. Even a few drops of tap water in your wet ingredient mix will start the CO2 reaction immediately, and by the time the bomb has dried, it's already partly spent.
Use a spray bottle loaded with witch hazel instead of any water-based liquid. Witch hazel delivers just enough moisture to bind the mixture without activating the fizz chemistry. Mist the surface of your dry mix very lightly, stir between each spray, and stop the moment the mixture clumps when squeezed. In high-humidity environments, 90% or higher isopropyl alcohol performs even more reliably than witch hazel because it evaporates faster and introduces less ambient moisture risk.
Work quickly once the wet and dry components meet. Dither for too long and the ambient humidity in your workspace starts doing the triggering for you.
Troubleshooting by Symptom
Three failure modes cover the majority of beginner batch problems:
- Crumbly bombs that won't hold shape: The mix is too dry. Add a few short mists of witch hazel, toss thoroughly, and re-press firmly into the mold immediately. Don't overdo the liquid; one or two additional mists is usually enough.
- Cracking after unmolding: Two causes, often occurring together. The mixture wasn't pressed firmly enough into the mold, leaving air pockets that become stress fractures as the bomb dries, or the bomb was left to over-dry in a hot, arid environment. Press hard when filling molds and aim for ambient room-temperature drying rather than an oven or dehydrator.
- Color bleed in the water: Reduce dye concentration and test any new colorant on a small amount of mix before committing the full batch. Mica powders and food-grade colorants are the safest options for skin contact. Liquid dyes at high concentrations are the most likely to bleed into the tub water and, in oils-heavy recipes, onto the tub surface itself.
Customization Without Duds: A Decision Framework
Customization is where bath bombs become genuinely personal, but each addition changes the formula's behavior. Here's how to add without breaking:
- Fragrance and essential oils: Keep essential oils within recommended skin-safe dilution ranges for rinse-off products. Going heavier on oil content also softens the mixture and can compromise the bomb's structural integrity; compensate by slightly reducing your liquid binder.
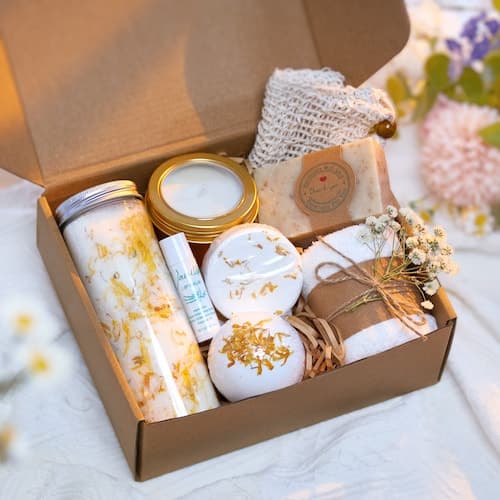
- Botanicals (dried flowers, herbs): Add at the mold stage rather than into the bulk mix. Pressing dried petals into the outside of the mold before filling keeps them decorative and prevents them from interfering with the dry ingredient ratios.
- Colorants: Skin-safe mica powder is the most forgiving option. Always test a pinch of colorant in water before adding it to the mix; some pigments interact unexpectedly with baking soda and shift hue.
- Moisturizing oils (coconut, almond, jojoba): These improve skin feel but leave a film on the tub surface. Polysorbate 80 is the standard emulsifier that disperses oils into the bathwater rather than letting them pool, which also reduces tub slippage risk. Whether or not you use it, rinsing the tub after a bath with oils-heavy bombs is a basic safety step worth including in any gifting label.
Labeling and Storage
A batch made for Mother's Day or a spring craft fair carries a few extra responsibilities. Include the ingredient list, the date made, and storage instructions on any gifted bomb. Bombs wrapped tightly in shrink wrap or sealed plastic and stored away from humidity will hold their fizz for up to six months. Exposed to open air in a bathroom, that window shortens considerably.
Simple labeling also directly addresses one of the strongest reasons to make rather than buy: ingredient control. For anyone with fragrance sensitivities, specific skin conditions, or allergies, a handmade bomb with a transparent ingredient list is a meaningfully better product than a commercial one, at a fraction of the retail price.
At $1–$3 per bomb with full control over every ingredient versus $5–$9 for a commercial equivalent, the formula for making DIY bath bombs worth giving is clear: get the 2:1 ratio right, pick your binder deliberately, and keep the reaction dry until the moment it's supposed to happen.
This article was produced by Prism’s automated news system from verified source data, official records, and press releases, then run through automated quality and moderation checks before publishing. The system is built and supervised by the people who set the standards it runs under. Read our full AI policy.
Did this article answer your question?