Beginner's Guide to Small-Batch Bath Bombs: Recipe, Troubleshooting, Safety
Learn a simple small-batch bath-bomb recipe, step-by-step method, common fixes, and safety/labeling tips to make reliable, skin-safe fizzies.

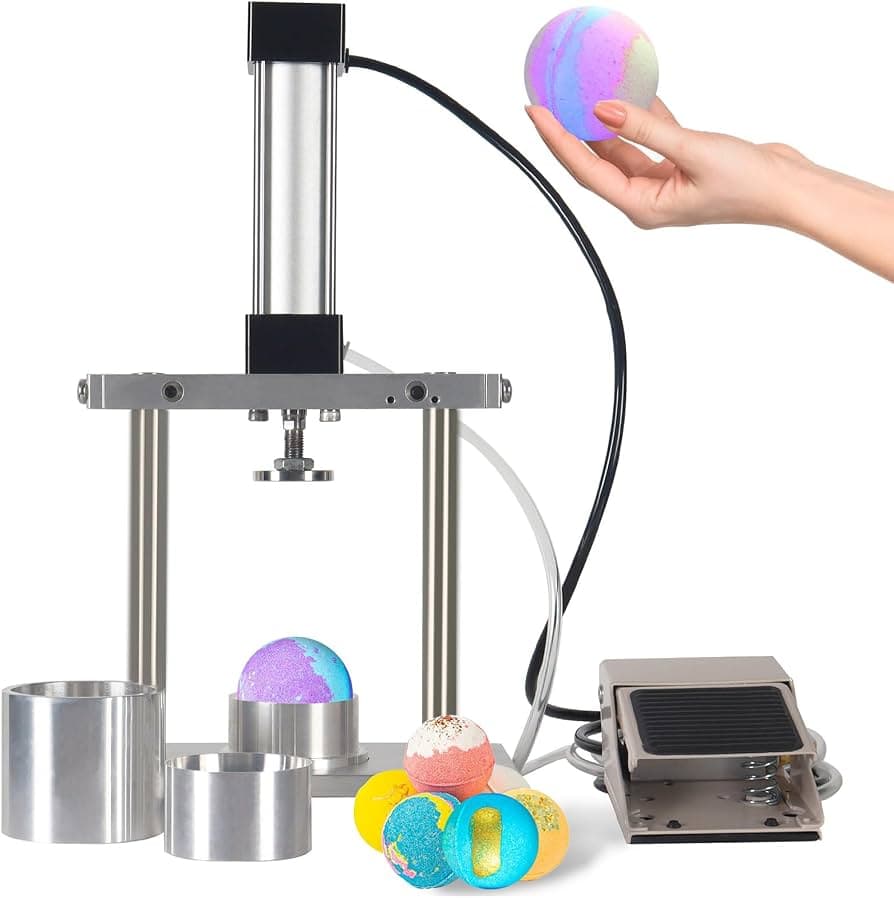
1. Core recipe (single small batch)
This is the compact formula you can scale later: 1 cup baking soda (sodium bicarbonate), 1/2 cup citric acid, 1/2 cup Epsom salt (optional), 1/2–1 tbsp carrier oil (sweet almond or fractionated coconut), 1–2 tsp water or witch hazel (spritz carefully), 10–20 drops fragrance or essential oil (skin-safe), and mica or cosmetic colorant as desired. Optional additions like butters or clays can add skin benefits but will change texture and may need less carrier oil. Measure by volume for small batches and keep ingredients dry until mixing to prevent premature fizz. This exact recipe gives one batch of bath bombs, ideal for trying scents and colors without wasting materials.
2. Method: mixing, molding, and curing
Mix the dry ingredients thoroughly first so citric acid, baking soda, and Epsom salt are evenly blended; use a whisk and break up any clumps for consistent fizz. Temper liquid additions: put fragrance and carrier oil together, then slowly spritz the water or witch hazel while stirring constantly to avoid activating the acid–base reaction; a spray bottle set to a fine mist works best. Pack firmly into two-part molds, press one half into the other with even pressure, and tap the sides to release trapped air; firm compaction prevents crumbling. Cure bombs on a lined tray in a dry area for 24–48 hours; longer curing improves hardness and shelf stability, especially in humid climates.
3. Troubleshooting common problems
If your bombs crumble, press the mixture more firmly into the mold and reduce the amount of liquid you add; excess liquid starts the fizz reaction early and weakens structure. Also check your packing technique, tapping molds and compacting in layers helps; letting bombs cure a full 48 hours can salvage slightly fragile ones. If your bombs don't fizz, verify the citric acid-to-baking-soda ratio and ensure your citric acid is fresh, old, clumped citric acid or incorrect proportions reduce effervescence. Humidity can neutralize performance too, so store ingredients and finished bombs in a dry place until use. If you see stains in the tub, switch to cosmetic-grade, skin-safe colorants and test small amounts on porcelain; some micas or strong pigments can deposit color, so less is more and pre-testing prevents guest complaints.
4. Safety, testing, and labeling
Test fragrances and essential oils for sensitizing potential, use skin-safe, recommended usage rates and avoid known irritants for bath products; always advise patch testing before full use. List ingredients clearly if you sell or gift bombs so people with allergies or sensitivities can make informed choices; include fragrance, carrier oils, and active additives like clays or butters. Store finished bombs dry and away from humidity and direct sunlight to maintain potency and prevent premature fizzing; airtight containers or desiccant packets help for longer storage. Include a basic use label: “drop into warm bath,” and any cautions (e.g., slippery tub from oils) so users stay safe and you reduce liability.
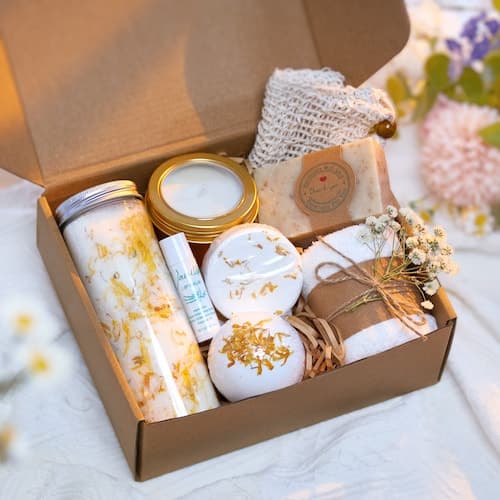
5. Add-ins, variations, and texture tweaks
Epsom salt (1/2 cup) is optional; it adds a mineral soak and changes the feel in water, so tweak ratios if you want a gritty or silky dissolve. Butters (like cocoa or mango) and clays add skin benefits and luxe feel but make mixtures softer, reduce carrier oil slightly when adding solids to retain firmness. Mica and cosmetic colorants give visual pop; use sparingly to avoid staining and blend with a little polysorbate 80 if available to help disperse color in the bath. Try layering dry colors in molds or swirls for eye-catching results that sell well at markets and craft fairs, small batches let you experiment without large inventory risks.
6. Small-batch workflow and community tips
Stick to a repeatable micro-batch workflow: measure dry, premix oils and fragrance, mist methodically, mold, label, cure, and quality-check a sample bomb before selling or gifting. • Share test batches with local craft groups or markets for feedback, community feedback helps you tune scent strength and color choices that perform well in real bathtubs. • Keep a notebook of ratios, humidity conditions, and curing times so you can reproduce winners; small-batch makers often trade notes at craft nights and online forums, and those details are gold. Packaging, clear ingredient lists, and small sample testers build trust in local markets and help you grow reputation as a reliable maker.
Closing practical wisdom Start with this small, reliable recipe and one or two scent-color combos; learn to read texture and moisture rather than chasing perfection on first tries. Keep ingredients dry, temper liquids slowly, and label clearly, those simple practices turn a hobby fizz into a community favorite you’ll be proud to share.
This article was produced by Prism’s automated news system from verified source data, official records, and press releases, then run through automated quality and moderation checks before publishing. The system is built and supervised by the people who set the standards it runs under. Read our full AI policy.
Did this article answer your question?