How Hobby Makers Can Elevate Handmade Bath Bombs With Better Craft Techniques
Ten decorative techniques separate a forgettable fizzy from a showstopper; here's how to bring layering, embeds, and swirls into your small-batch practice.

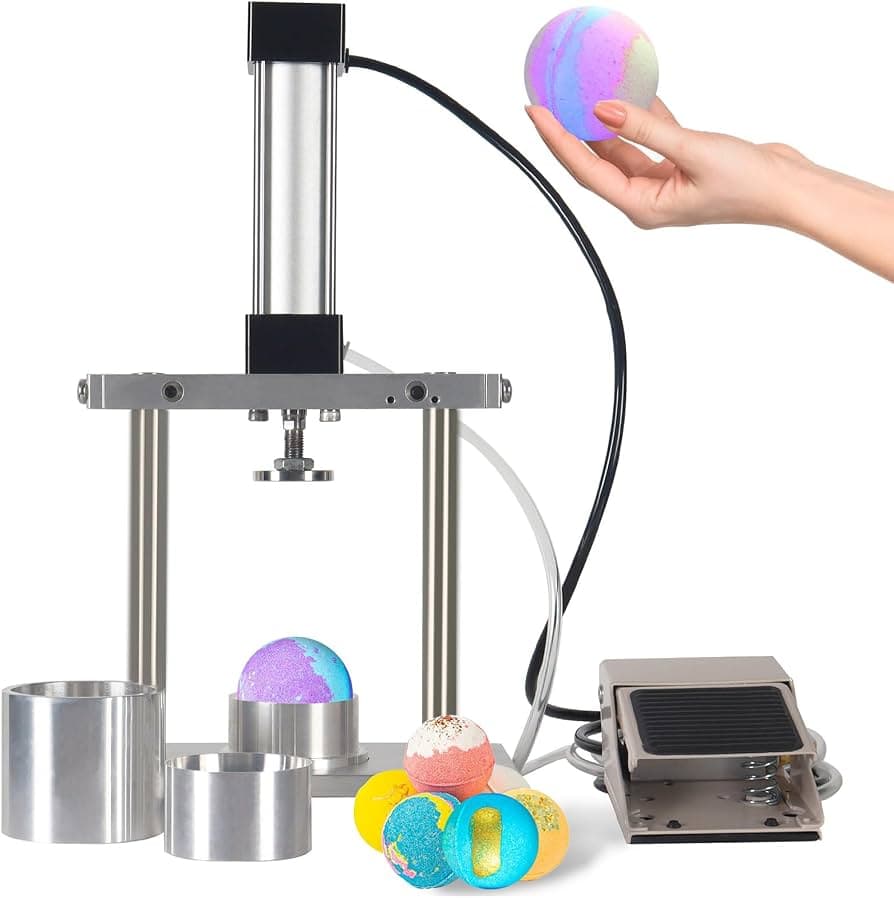
There's a moment every bath bomb maker knows: you crack open a mold and the result is technically correct but visually flat. It fizzes, it smells good, it does its job. But it doesn't *sing*. Closing that gap between functional and genuinely beautiful is what separates a hobby that plateaus from one that keeps pulling you back to the workbench. The good news is that the techniques capable of transforming your fizzies are all repeatable at home, in small batches, without industrial equipment.
What follows covers ten decorative approaches, from structural methods like layering and embeds to finishing touches that give your bombs a polished, almost commercial look. None of them require a production line. All of them reward practice.
Layering: Building Color From the Inside Out
Layering is one of the most visually dramatic techniques available to small-batch makers, and it's also one of the most forgiving once you understand the timing. The basic principle is simple: you pack one colored portion of your dry mix into the mold, allow it to set just enough to hold its shape, then add the next color on top. The magic happens when the bomb hits water and those distinct bands dissolve in sequence, releasing color in visible waves.
The challenge is moisture control. Each layer needs to be tamped down firmly enough to bond with the next without activating the citric acid and baking soda prematurely. Work quickly, keep your workspace dry, and resist the urge to over-mist with any liquid colorant. Two or three layers tend to read more clearly in the finished product than five or six, which can muddy together visually.
Embeds: Hiding a Surprise Inside
Embeds take layering one step further by concealing a secondary element at the heart of the bomb. This might be a smaller fizzy shaped like a flower or star, a cluster of dried botanicals, or even a tiny amount of a contrasting bath oil. When the outer bomb dissolves, the embed is revealed, which creates a second moment of discovery for whoever is using it.
From a craft standpoint, embeds demand that your base mix be packed tightly around the insert without leaving air pockets, which can cause cracking during cure. A useful approach is to fill one half of your mold, press the embed gently into position, then pack the second half of the mix around it before closing and compressing. The embed itself should be fully cured before you use it, otherwise the moisture it releases during its own cure can trigger the surrounding mixture.
Swirls: Controlled Chaos
Swirling is where bath bomb making starts to feel like painting. The technique involves combining two or more colored portions of your mix and folding or dragging them together before packing into the mold, so the finished bomb displays marbled or spiraling patterns on its surface. The result looks spontaneous, but the best swirls come from deliberate, light-handed mixing rather than aggressive stirring, which tends to blend colors into a muddy middle ground.
Mica powders are the go-to colorant for swirl work because they're dry, fine, and distribute without activating your mixture. Add each color to a separate portion of your base, then combine the portions in the mold itself using a skewer or thin spatula to drag lines through the mix before pressing. Every batch will be slightly different, which is part of the appeal.
Texture and Surface Detail
Beyond color, texture is an underused dimension in handmade bath bombs. Pressing botanicals, like dried rose petals, lavender buds, or chamomile flowers, into the surface of the mold before adding your mix creates a relief effect on the finished bomb. The flowers sit proud of the surface and give the product a garden-fresh, artisanal quality that photographs exceptionally well.
For a smoother but still visually interesting surface, some makers dust the inside of their molds with mica or shimmer powder before packing. This creates a subtle metallic sheen on the exterior that catches light without requiring any additional ingredients in the formula itself.
Professional Finishes: The Details That Signal Quality
The difference between a bath bomb that looks homemade and one that looks intentional often comes down to the last ten percent of the process. Curing time matters here. Rushing a bomb out of the mold before it's fully set almost always results in small cracks or a slightly rough surface. Giving each bomb adequate time in a cool, dry environment, away from humidity, lets the exterior harden properly and develop a smoother finish.
Once cured, a light polish with a dry cloth can remove any powdery residue and bring up a subtle sheen. Wrapping in shrink wrap immediately after polishing protects that finish and prevents the bomb from absorbing ambient moisture, which is the enemy of a crisp exterior. For makers who sell or gift their work, this step alone elevates the perceived quality significantly.
Mold Selection and How It Shapes Everything
The mold you choose determines not just the shape of your bomb but how effectively decorative techniques read in the final product. Round clamshell molds remain the most popular for home makers because they're easy to work with and show off surface detail cleanly. Silicone molds in more sculptural shapes, think faceted gems, shells, or floral forms, create surface texture automatically and pair well with a single bold color or a shimmer finish rather than complex swirls, which can get lost in the detail.
Whatever mold you use, make sure it's completely dry before you begin packing. Even trace moisture on the mold surface can trigger a premature reaction in the mix, leaving you with a fizzing, expanding disaster before the bomb ever reaches the tub.
Thinking in Small Batches
One of the real advantages of working at home scale is that small batches let you experiment without waste. Testing a new layering color combination or a different embed shape costs very little when you're making four bombs instead of forty. Keep notes on what works: which mica ratios produce a true swirl versus a blur, how long your particular mix needs before a layer is stable enough to add the next.
The ten techniques covered here, layering, embeds, swirls, surface botanicals, shimmer dusting, texture molds, mold preparation, curing discipline, polishing, and protective wrapping, are not a checklist to complete all at once. They're a vocabulary. The makers whose work consistently stands out are the ones who learn each method separately, understand why it works, and then combine them with intention. A layered bomb with a shimmer exterior and a floral embed at its center isn't complicated; it's just three understood techniques used together.
That's the real craft upgrade: not more techniques applied at once, but each technique applied with enough knowledge to control the outcome.
This article was produced by Prism’s automated news system from verified source data, official records, and press releases, then run through automated quality and moderation checks before publishing. The system is built and supervised by the people who set the standards it runs under. Read our full AI policy.
Did this article answer your question?