How to Make Bath Bombs with Exact Measurements, Molding and Color Tips
Learn a kitchen-friendly bath bomb recipe with exact small-batch measures, step-by-step molding and color tips plus troubleshooting and safe additives.

1. Ingredients (exact small-batch recipe and optional advanced additives)
Start with the ABeautifulMess small-batch formula if you want a ready-to-use set of exact measures that makes two bath bombs: 4 ounces baking soda, 2 ounces cornstarch, 2 ounces citric acid, 2 ounces Epsom salt, 1–1½ teaspoons water, 5–10 drops essential oil, 1¼ teaspoons oil (coconut or olive), and 1–2 drops food coloring (optional). For more advanced bath bombs that include commercial color and tub-safety additives, Crafters-choice details polysorbate 80 (1 oz / 28.3 g), fragrance or essential oil (2 oz / 56.7 g), 91% isopropyl alcohol (2 oz / 56.7 g, adjust if your concentration differs), and a water-soluble liquid colorant (1 tsp / 5 mL) or tap water. • Dry pigment powders belong in the dry mix; liquid colorants are mixed with the wet ingredients. Preserve the core functional pair: bicarbonate of soda (baking soda) and citric acid, the fizzing reaction depends on them.
2. Equipment and safety essentials
Use glass or stainless-steel bowls, accurate scales or measuring cups, a whisk, a hand or stand mixer if desired, and bath bomb molds (hard plastic, silicone, or two-part sphere molds). Wear gloves to protect your hands and manicure: “Wearing gloves not only protects your hands but also keeps your manicure pristine.” Avoid plastic containers for fragrance oils: “Avoid using plastic containers for fragrance oils to prevent reaction and degradation.” If you melt butters, use a microwaveable bowl or a double boiler and follow safe heating practice.
3. Prep, measuring and melting butters
Read instructions through and measure everything before you start to avoid rushed additions and premature reactions. If you use butters (cocoa, shea, or mango), melt them first: “Melt the cocoa and shea or mango butter using your chosen method, either in the microwave or a double boiler. Allow to cool briefly.” For microwave melting, Crafters-choice recommends that “This should take about 3 minutes on high power. Remember to stir halfway through the melting process.” Once cooled a bit, add your carrier oil, polysorbate 80, isopropyl alcohol, liquid colorant (or tap water), and fragrance to the melted butters and stir: “To the cooled butters, add the sunflower oil, polysorbate 80, isopropyl alcohol, liquid colorant (or tap water), and fragrance oil. Stir well to combine these wet ingredients.”
4. Mix the dry ingredients thoroughly
Combine bicarbonate of soda, citric acid, cornflour/cornstarch and Epsom salt in a large bowl and whisk until smooth. BBC Good Food’s practical guidance sums the method: put the dry ingredients in a bowl, then whisk until fully combined; this breaks up clumps and ensures even fizz and texture. Use your fingers to break clumps if needed, cornstarch especially can be lumpy, and keep the dry mix light and aerated before adding wet components.
5. Combine wet and dry ingredients slowly and prevent premature fizz
Very slowly add the oil mixture into the dry ingredients a little at a time, whisking between each addition: “Very slowly add the oil mixture into the dry ingredients a little at a time, whisking between each addition. When all the oil is added, add a few tiny drops of water and whisk again (it will fizz when you add the water, so mix it in quickly). You're looking for the mixture to slightly clump together when pressed in your hand and keep its shape – it shouldn't be too wet.” Inspiredbycharm and other makers stress dropwise addition and mixing to avoid foaming: add a few drops, stir, and repeat. If pouring is difficult or causes fizz, use a spray bottle to apply tiny amounts of water or isopropyl blend.
6. Mix to the correct texture, tests and tricks
Your goal is a texture that “feels like lightly damp sand, not like wet sand, which would be too much moisture.” Test by squeezing a handful together, it should hold in one or two chunks, or by tapping with your thumb: “I like to test mine by tapping it with my thumb. It should stay together and not break apart easily. Some makers hold the clump of mixture in the air (maybe 10-12 inches) and drop it into the bowl. If it stays together, it’s ready.” Use a mixer briefly to break clumps and aerate: “Blend the mixture using a hand mixer or a stand mixer... Mix for about a minute. This helps to break up clumps and aerate the mixture.” If the mix is too powdery, add a tiny bit more water; if it’s too wet, add more dry ingredients.
7. Color and pigment tips (dry pigments, lakes, liquid colorants)
Decide your color method before mixing. For dry pigments (powdered lakes), add them with the dry ingredients so color distributes evenly; Inspiredbycharm advises including dry pigments in the dry step. For food dyes or water-soluble liquid colorant, blend with the wet ingredients or with isopropyl alcohol as Crafters-choice recommends to avoid tub staining: “Water Soluble Liquid Colorant (1 tsp / 5 mL) or tap water - Colors your bath bombs without staining the tub.” Bathfizzandfoam used “Batch Certified Yellow 5 Lake and Blue 1 Lake” to create a “sea foam green”, a useful tip when you want consistent, repeatable shades. If you include oils, polysorbate 80 helps disperse color and oil in the bath: “Polysorbate 80 (1 oz / 28.3 g) - Helps oil and color mix into the bathwater without staining.”

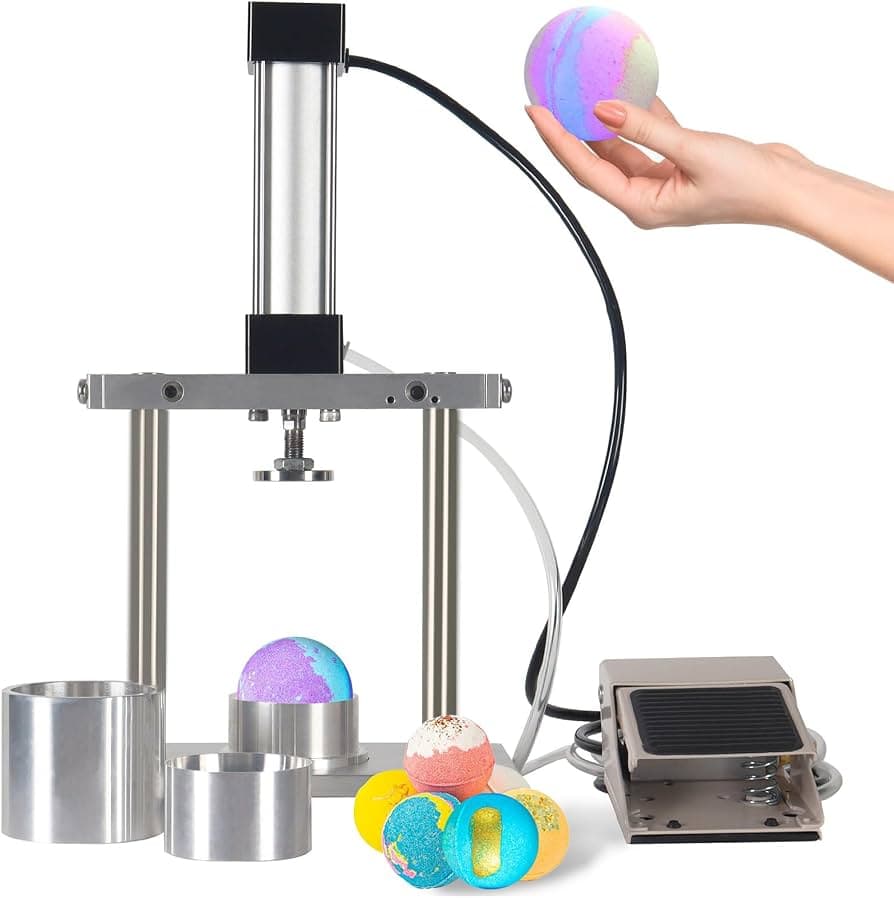
8. Molding techniques and child-friendly options
Fill half a spherical mold and overpack slightly, then press the other half on firmly; if using two-sided molds, secure them with elastic bands while they dry. BBC Good Food gives a simple child-friendly tip: “You can use anything flexible as a mould for your bath bombs... For children, we suggest making half-shapes as it can be tricky to make a sphere that sticks together.” For beginners, hard plastic molds are easiest to pack and release; Bathfizzandfoam recommends packing tightly and pressing down firmly. If you like decorative petals or citrus peel, “drop them into the bottom of your chosen mould” before packing.
9. Drying, demoulding and timing
Leave bath bombs in their molds to dry; BBC Good Food gives a practical window: “Leave your bath bomb in the mould to dry for 2-4 hrs, then carefully remove it. It's now ready to drop into the bath – watch it fizz away!” For fragile shapes, remove one half of the mold first and allow partial drying before fully demolding. Be gentle, mishandling wet bombs causes crumbling.
10. Troubleshooting common problems and pro fixes
Oil clumps cause surface defects, Bathfizzandfoam warns that “oil clumps in your mixture can cause warting, so be sure to break them up.” If your mix fizzes when you add liquid, you’re adding too fast; slow down and spray small amounts. If bombs crumble, add a touch more liquid (spray-style) and compact more firmly. To avoid tub staining from oils and colorants, use polysorbate 80 or stick to water-soluble colorants.
11. Advanced additives, measurements and safety caveats
If you include isopropyl alcohol as a binder, follow Crafters-choice’s guidance: “91% Isopropyl Alcohol (2 oz / 56.7 g) - Binds the ingredients and aids in the molding process,” and “Adjust the isopropyl alcohol amount if using a different concentration.” Keep fragrance oils in glass and avoid plastic to prevent degradation. Use polysorbate 80 if your formula includes oils and potent colorants: it helps oils and color disperse and reduces tub residues.
12. Variations, scaling and climate considerations
The ABeautifulMess batch “makes two (you can easily double or triple this recipe)” for small-batch home gifting. Bathfizzandfoam reminds makers that conditions matter: “There is no perfect recipe for making bath bombs because it all depends on where you live. You might need to modify it depending on your climate and humidity level where you live.” For aroma play, Inspiredbycharm recommends shopping essential oils in person and matching scents to moods, for example, purple for stress relief, blue to prompt sleep and yellow to promote joy.
13. Community tips and closing wisdom
Community makers swap tiny hacks, use a spray bottle for slow liquid addition, pack molds firmly, and label test batches with your colorant and oil ratios. Remember the core chemistry: citric acid plus bicarbonate makes the fizz, a detail the BBC explicitly flags: “The citric acid is what causes the bath bombs to fizz when it comes into contact with water.” “This really is the hardest part! If you can get this part down, you can successfully make bath bombs!” Amanda’s advice sums it up: mastering moisture control unlocks reliable results. Start small, keep notes, and adapt batches to your humidity and ingredients, you'll build dependable recipes and a community-ready stash.
This article was produced by Prism’s automated news system from verified source data, official records, and press releases, then run through automated quality and moderation checks before publishing. The system is built and supervised by the people who set the standards it runs under. Read our full AI policy.
Did this article answer your question?