Make Fizzy Bath Bombs at Home With This Step-by-Step Guide
Baking soda, citric acid, and the right mold technique are all that stand between you and a perfect fizzing bath bomb made at home.
Fizzy bath bombs are one of those satisfying makes where the chemistry is simple, the results are dramatic, and the margin for error is forgiving enough that you can course-correct batch after batch. Whether you're producing a small run for personal use, prepping for a craft fair, or building out a gift set, getting the fundamentals right from the start saves you from the most common pitfalls: bombs that crack, crumble, or go off prematurely before they even hit the water.
This guide covers everything from sourcing your ingredients through the molding and curing stages, with troubleshooting built in so you're not left guessing when something goes sideways.
What You'll Need Before You Start
The core of any bath bomb is a two-part reaction between a base and an acid. Baking soda (sodium bicarbonate) is your base; citric acid is your acid. When they meet water, they produce that signature fizz. Everything else, including oils, colorants, fragrance, and additives like Epsom salts or cornstarch, shapes the texture, skin feel, and aesthetic without changing the fundamental chemistry.
A standard starting ratio worth committing to memory is 2:1 baking soda to citric acid by weight. From there you can scale up or down depending on your mold size. Cornstarch is a common third dry ingredient, typically added at around half the volume of citric acid, and it softens the fizz slightly while helping the mixture hold together during pressing.
For oils, a lightweight carrier like sweet almond, sunflower, or fractionated coconut keeps the mixture from activating too early. Heavier butters like shea can be incorporated but need to be fully melted and cooled before combining with your dry ingredients.
Essential equipment:
- A digital kitchen scale (volume measurements are unreliable for this chemistry)
- Stainless steel or glass mixing bowls, not plastic, which can hold residual moisture
- Bath bomb molds, either metal hemispheres, plastic clamshells, or silicone
- A spray bottle filled with isopropyl alcohol (99% if possible)
- Gloves, especially if you're working with heavy fragrance loads or skin-sensitizing colorants
Mixing: Where Most Mistakes Happen
The enemy at this stage is moisture. Humidity in your workspace, water-based fragrance oils, and even the natural oils on your hands can all trigger a premature reaction. If you see your mixture starting to bubble and expand while you're still working it, that batch is likely lost.
Combine all dry ingredients first and whisk them thoroughly. Sifting is worth the extra step if you're working with mica powders or cocoa butter powder, both of which clump and leave streaks if not fully incorporated.
Add your wet ingredients (oils, fragrance, colorant) slowly. The standard method is to add them drop by drop or in a thin stream while whisking continuously with your other hand. You're looking for a texture that holds its shape when squeezed in your fist but crumbles apart when you break the clump. Too dry and your bombs will crumble out of the mold; too wet and they'll expand and crack during curing.
Alcohol spray is your corrective tool. If the mixture feels too dry or won't hold, mist it lightly with isopropyl alcohol and work it through. Unlike water, alcohol evaporates quickly without setting off the fizzing reaction.
Molding and Pressing
Speed matters here. Once your mixture is ready, you want it in the mold before it has time to absorb ambient humidity. Overfill each hemisphere or mold cavity slightly, then press the two halves together firmly. The excess mixture that squeezes out around the seam is a good sign: it means you had enough material to fill the mold completely without air pockets.
Metal molds give you the sharpest definition and a smooth surface. Silicone molds are more forgiving to unmold but can produce a slightly textured finish. If you're doing a batch with a design or embed (a small toy, a dried flower, a surprise center), pack your design element into one half first, then fill around it and join the halves.
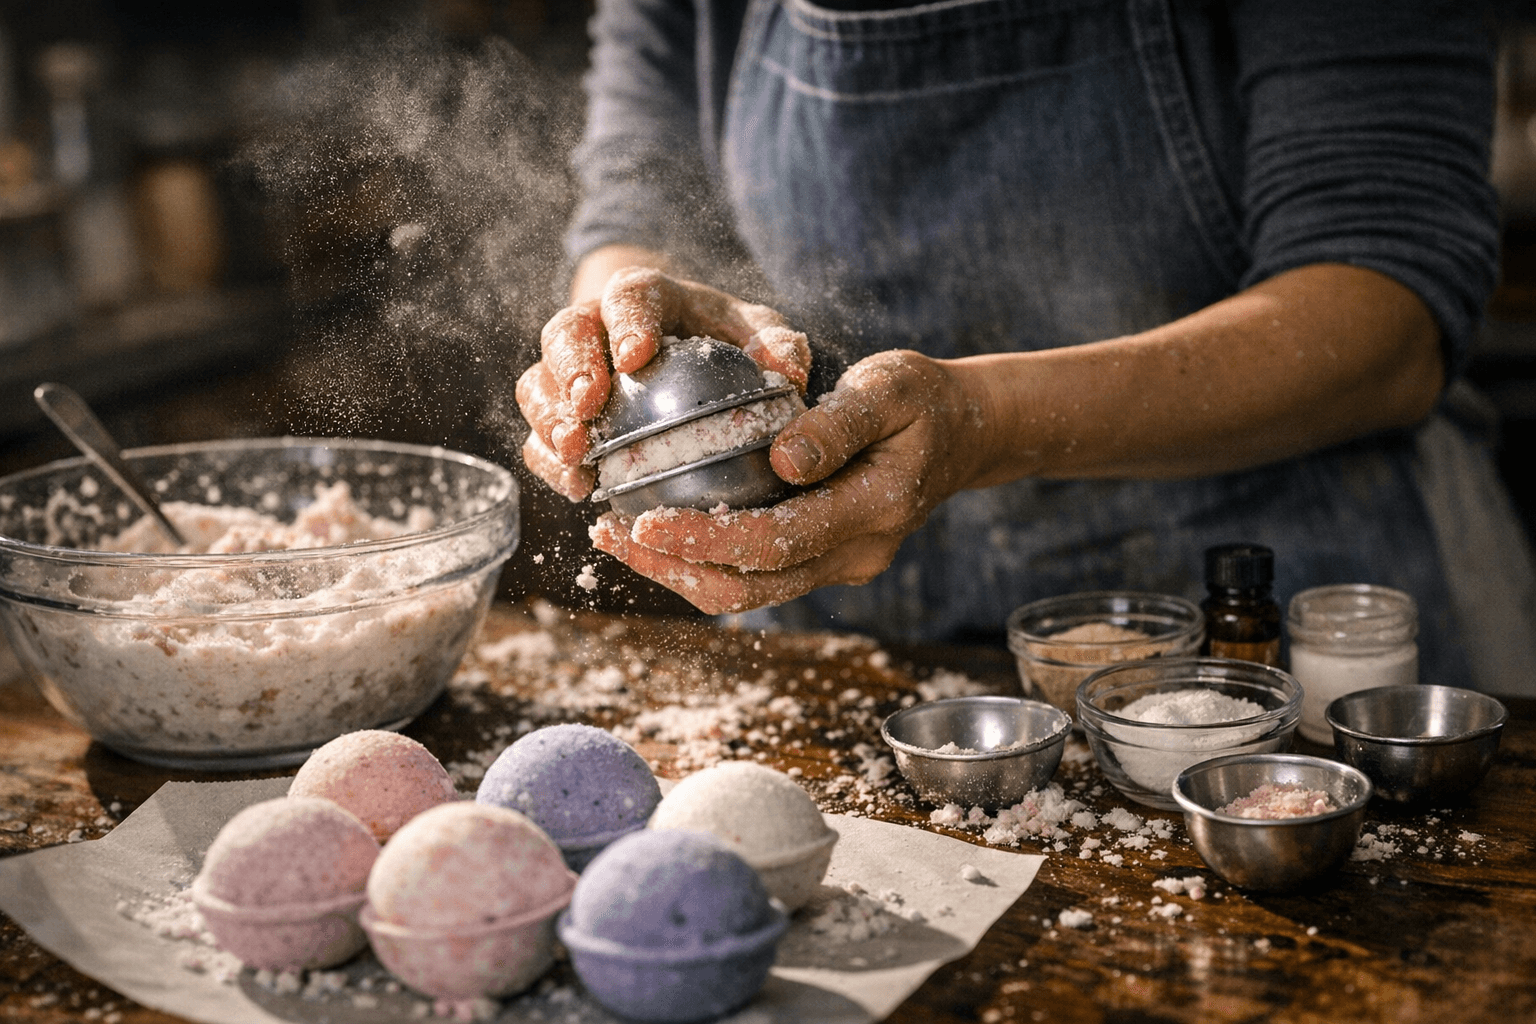
Tap the mold gently after pressing to encourage the mixture to settle, then let it sit undisturbed for at least 60 seconds before attempting to unmold. Twist the mold halves in opposite directions rather than pulling straight apart; this breaks the seal without cracking the bomb.
Curing and Storage
Freshly unmolded bath bombs are fragile. Give them a full 24 hours on a rack in a dry, cool room before handling them aggressively or wrapping them. If your environment is humid, a dedicated drying space with a small fan running can make a significant difference.
For longer storage, shrink wrap is the most reliable option because it creates a barrier against airborne moisture. Cellophane bags sealed tightly work for short-term storage and gifting. Avoid storing bath bombs in bathrooms (obviously, but worth saying) or near windows where temperature swings can cause surface sweating and premature activation.
A properly cured and wrapped bath bomb stored in stable conditions holds its fizz for around six months. After that the citric acid begins to lose potency and you'll get a weaker reaction in the tub.
Troubleshooting Common Problems
Even experienced makers run into batch failures. Here's what the symptoms usually mean:
- Cracks after unmolding: Mixture was too wet, or the mold was overpacked and the bomb expanded during curing. Try reducing your liquid ingredients slightly or adding a touch more baking soda to absorb excess oil.
- Bombs won't hold together / crumble: Mixture was too dry. Add a few more drops of oil or a light mist of alcohol and remix.
- Surface looks bumpy or pitted: Usually a sign of mica or colorant clumping. Sift your colorants before adding them and mix more thoroughly.
- Fizzing starts in the bowl: Moisture got in. Check your fragrance oil (some are water-based), lower your room humidity, or switch to working in shorter sessions.
- Weak fizz in the bath: Citric acid may be old or have absorbed moisture during storage. Fresh citric acid stored in an airtight container is essential for a strong reaction.
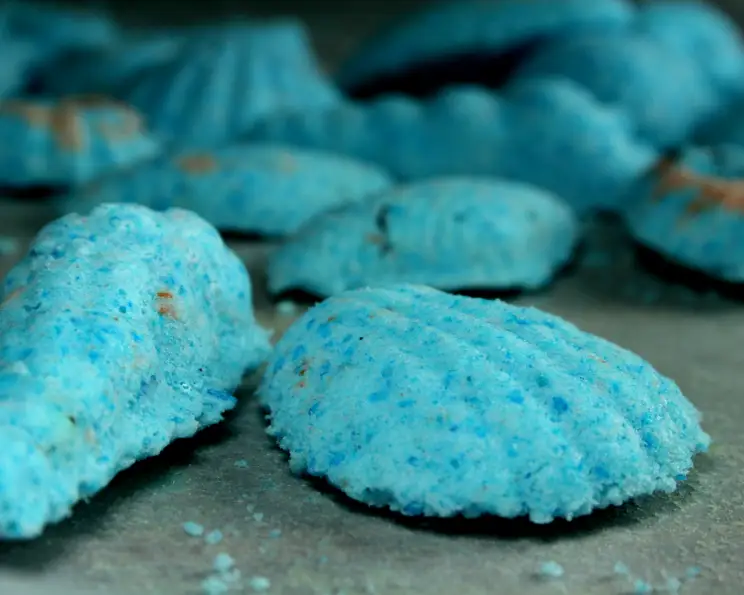
- Color bleeds or fades: Micas are generally bath-stable; water-soluble dyes and some liquid colorants can bleed. Switching to a cosmetic-grade mica gives you the most reliable color payoff.
Getting your first batch right is mostly about controlling moisture and moving with intention through each stage. Once the process is in your hands and you've felt what the right texture is supposed to be, you'll find the recipe scales cleanly and the variables become intuitive. A single recipe mastered is the foundation for every variation, seasonal scent, or themed collection you'll make after it.
This article was produced by Prism’s automated news system from verified source data, official records, and press releases, then run through automated quality and moderation checks before publishing. The system is built and supervised by the people who set the standards it runs under. Read our full AI policy.
Did this article answer your question?