The Crafters Shop shares simple AI-generated bath bomb recipe for beginners
The Crafters Shop’s AI-generated starter recipe is refreshingly honest, and its real value is simple: it shows new makers how to avoid the classic bath bomb fails.
The most useful thing about The Crafters Shop’s beginner bath bomb post is not the formula itself. It is the blunt note that the recipe is AI generated and not the company’s own cosmetic-safety version for people who plan to sell. That single detail does a lot of work: it tells you this is a home-craft starter, not a commercial formula, and it sets the right expectations before you ever reach for the citric acid.
Why this beginner recipe stands out
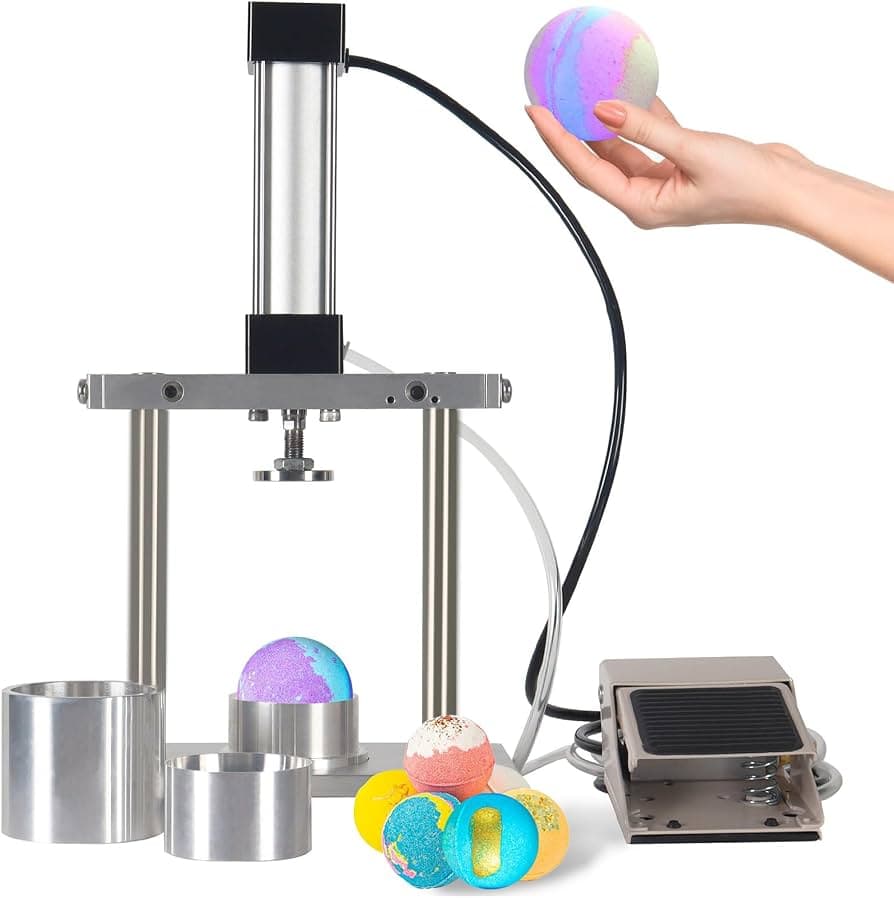
This is a small-batch recipe by design, yielding about three to four standard bath bombs, which makes it ideal for a first test run. The ingredient list stays familiar and approachable: baking soda, citric acid, cornflour, a light oil, essential oil, and just enough water sprayed in gradually to bring the mix together. The equipment list is just as forgiving, with a mixing bowl and whisk doing the heavy lifting, plus proper bath bomb molds or improvised options like a muffin tin or ice cube tray.
That simplicity matters because bath bombs fail in predictable ways. Beginners usually over-wet the mix, pack it too loosely, unmold it too soon, or leave it somewhere damp and wonder why it turns to dust. This recipe is useful because it names the pressure points up front and builds the method around them.
The part that actually makes it work
The post follows the classic bath bomb workflow, and that is exactly why it is worth paying attention to. You whisk the dry ingredients until they are smooth and lump-free, then prepare the wet ingredients separately and combine them slowly so the mixture does not start reacting too early. The target texture is fine, damp sand, and that is the moment that tells you the batch is ready for the mold.
If you have ever made a bath bomb that looked perfect in the mold and then collapsed the second you touched it, you already know why that texture test matters. The recipe’s simple rule is the right one: if the mix holds together in your palm, you are close enough to pack it. If it starts to foam while you are mixing, the liquid is going in too quickly, which is the clearest warning sign in the whole process.
Before you mix, check these failure points
- Keep the dry mix fluffy and fully blended before any liquid goes in.
- Add the spray water slowly, not all at once.
- Stop as soon as the mix clumps like damp sand in your hand.
- Pack the molds firmly enough that the shape holds, but do not crush the mixture into a paste.
- Leave the bath bombs alone long enough to harden before you try to remove them.
- Store finished bombs in an airtight jar once they are fully dry.
That checklist is the difference between a first batch that unmolds cleanly and one that crumbles on the counter. The recipe’s own guidance is very clear on patience: the bath bombs should dry for at least 24 hours in a cool, dry place before you try to unmold them. Pull them too soon, and you are inviting cracks and breakage.
What to change if your room is humid or dry
Humidity is the quiet saboteur in bath bomb making. If your home is humid, use less spray water than you think you need, add it in even smaller bursts, and give the batch extra drying time beyond the basic 24 hours. In a humid room, the mix is more likely to overreact or stay soft, so the safer move is to stop at the first point where it holds together, then let drying do more of the work.
If your space is dry, the opposite problem shows up: the mixture can look sandy for too long and refuse to bind. In that case, add the water in tiny increments until the texture just barely holds in your palm. Dry air can make the surface seem ready before the center is, so pack the molds carefully and still give them the full drying window before unmolding.
The goal in both conditions is the same: reach that damp-sand texture without triggering foam. The recipe’s gradual-water method is especially beginner-friendly because it gives you a real-time signal instead of forcing you to guess.
Why the fizz works, and why that matters
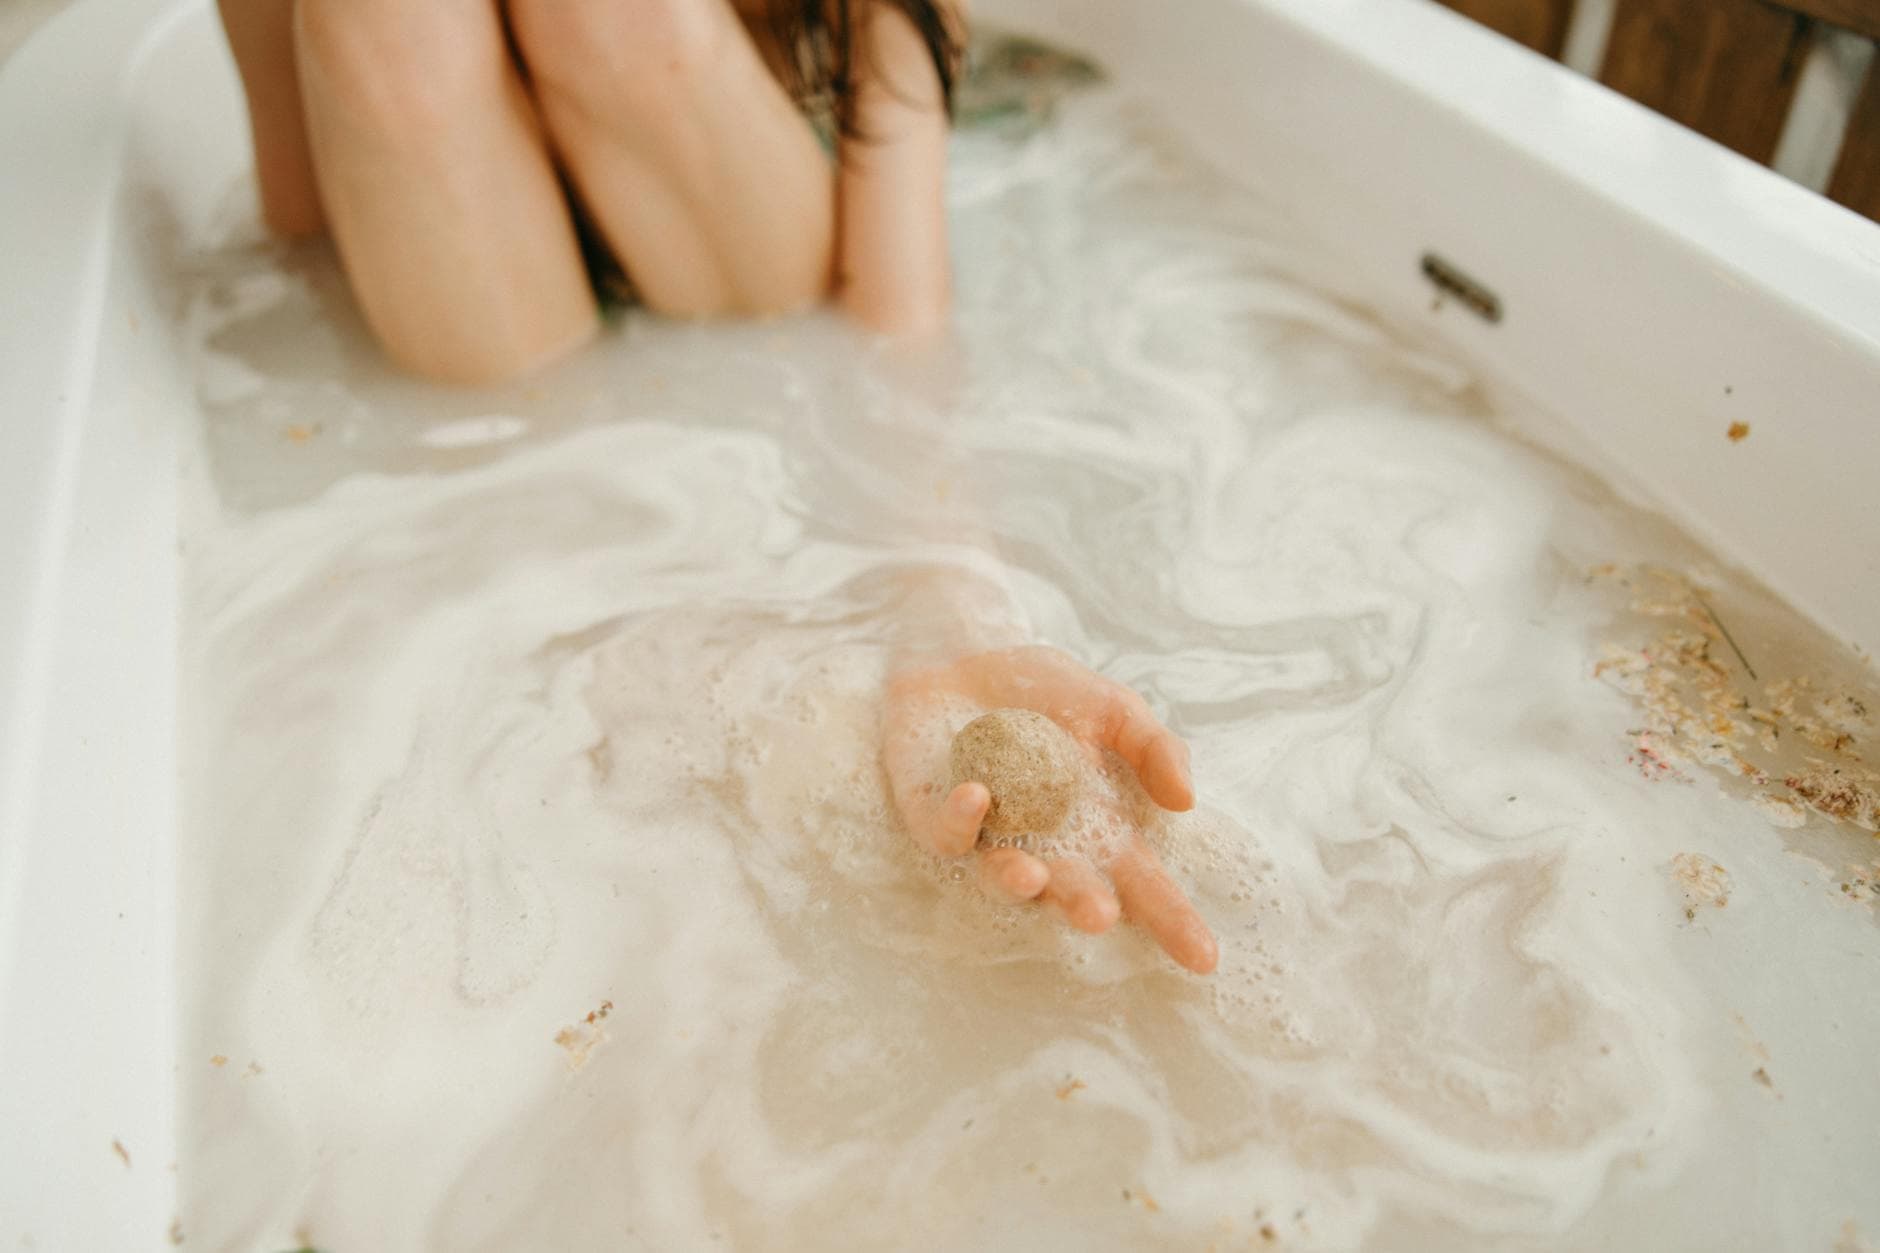
The post also explains the chemistry in plain language, and that is more helpful than it sounds. Bath bombs fizz because citric acid and baking soda react with each other and release carbon dioxide gas when the bomb hits water. That reaction is the whole point of the product, but it is also why moisture control matters so much during mixing and drying.
Once you understand that the fizz starts when acid and base meet water, the rest of the recipe makes sense. You are not just making a sphere that smells nice. You are building a dry reaction chamber that should stay quiet until bath time. That is why the method is so insistent on slow liquid addition, a lump-free dry blend, and airtight storage after the bombs harden.
The storage step is not optional
After the bath bombs set, the final move is storage. The post recommends keeping them in an airtight jar so moisture does not sneak back in and ruin the finish. That detail is easy to skip when you are excited to test your first batch, but it is one of the most practical parts of the whole recipe.
A well-made bath bomb can still fail later if it sits in a humid bathroom uncovered. Airtight storage protects the texture, preserves the shape, and keeps the batch in the condition you worked for. For a starter formula that only makes three to four bombs, that small container becomes part of the recipe itself.
Why the commercial warning matters
The transparency around the recipe’s origin is more than a footnote. The Crafters Shop says this AI-generated formula is different from the company’s own recipe used in Cosmetic Safety Assessments for people who want to make and sell bath bombs. That distinction is crucial, because the rules change the moment you move from personal craft to marketplace product.
In Great Britain, cosmetic products placed on the market must comply with Regulation 1223/2009, which includes a UK-based Responsible Person, an up-to-date Product Information File, and notification through the UK SCPN service before sale. The U.S. Food and Drug Administration also says companies and individuals who market cosmetics are responsible for ensuring product safety. Industry safety providers add that CPSRs are required for cosmetics sold in the UK or European Union, including bath bombs.
That is why the disclaimer matters so much. It tells you the post is a friendly starter recipe, not a shortcut around safety paperwork. If you are making bath bombs for your own bath, this is a clean, low-drama place to start. If you are selling them, the recipe is only the beginning, and the compliance work is part of the job.
The bottom line
For a first bath bomb that actually works, this recipe gets the fundamentals right: small batch, familiar ingredients, gradual moisture, a clear texture test, and a drying window that respects the chemistry. It is honest about what it is and what it is not, and that honesty is what makes it valuable. For a newcomer, that is often the difference between a crumbling experiment and a bath bomb worth keeping in an airtight jar.
This article was produced by Prism’s automated news system from verified source data, official records, and press releases, then run through automated quality and moderation checks before publishing. The system is built and supervised by the people who set the standards it runs under. Read our full AI policy.
Did this article answer your question?