PC Call of Duty Optimization Guide: Cut Latency and Stabilize Frames
Shaving even 10ms of input lag can be the difference between a clean headshot and a death screen; here's how to actually do it on PC.

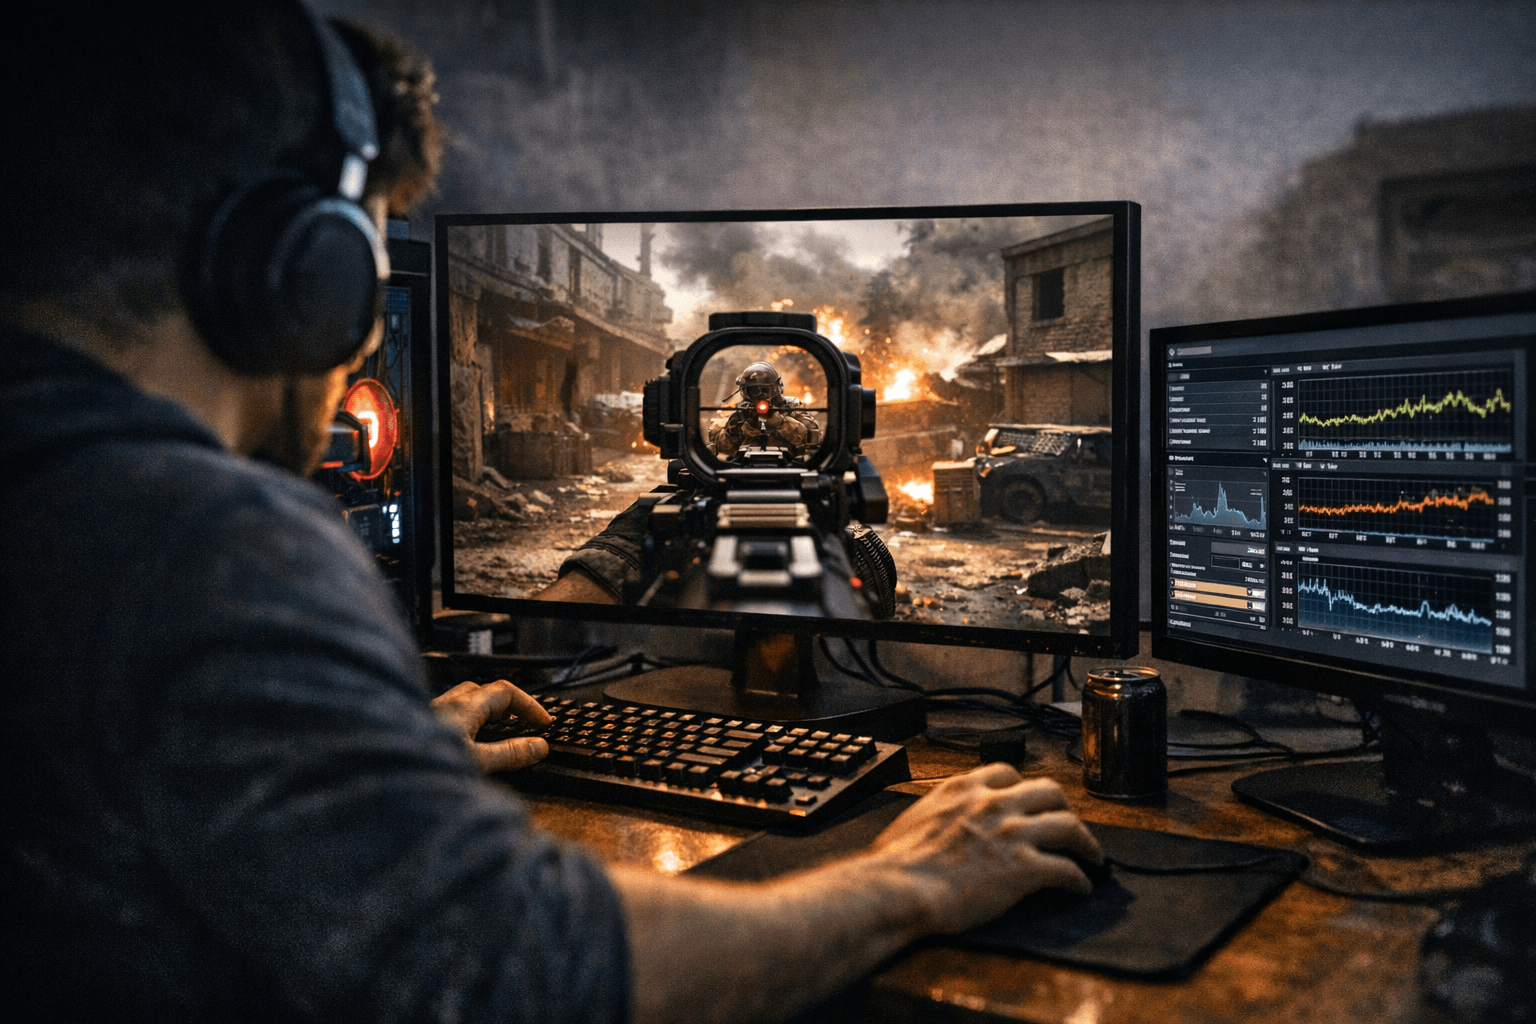
Every millisecond between your mouse click and the pixel changing on screen is a millisecond your opponent can use against you. Competitive Call of Duty on PC is won or lost in that gap, and most players are giving away far more latency than they realize through default Windows settings, wrong in-game options, and network configurations that were never meant for low-latency gaming. This guide covers the full chain: system latency, frame time stability, and network consistency.
Understand the latency chain before you start touching settings
Before you randomly toggle settings, it helps to understand what you're actually optimizing. End-to-end system latency runs from the moment your hand moves or clicks, through your peripheral's polling rate and USB stack, through your CPU and GPU render pipeline, through your display's response time and refresh rate, and finally to your eyes reading the result. Network latency runs a parallel track: your input leaves your machine, hits your router, travels to the nearest Call of Duty server, gets processed, and a response comes back. Each link in both chains has overhead you can reduce. Fixing one while ignoring another leaves gains on the table.
Windows and system-level settings
Windows is not configured out of the box for low-latency gaming. The first thing to address is your power plan. Navigate to Control Panel, then Power Options, and switch to High Performance or, better still, the hidden Ultimate Performance plan (enable it via PowerShell: `powershell -Command "powercfg -duplicatescheme e9a42b02-d5df-448d-aa00-03f14749eb61"`). This prevents your CPU from downclocking during brief load dips between frames, which is exactly when you need it most.
Disable Xbox Game Bar and background recording through Windows Settings under Gaming. These services inject overhead into your render pipeline. Similarly, go into Task Manager, find any startup applications you don't need during a session, and disable them. Every unnecessary process competing for CPU time adds jitter to your frame times.
Set your mouse polling rate to 1000Hz at minimum if your mouse supports it. Higher polling rates (4000Hz or 8000Hz) can help but also increase CPU interrupt load, so test before committing. Plug your mouse and keyboard into USB ports connected directly to your motherboard's primary controller, not a hub, to minimize USB interrupt latency.
GPU and driver settings
In your NVIDIA Control Panel or AMD Software, the single most impactful setting for input lag is enabling Low Latency Mode (NVIDIA) or Anti-Lag (AMD). NVIDIA's Low Latency Mode set to "Ultra" minimizes the pre-rendered frame queue, meaning your GPU submits frames just before they're needed rather than queuing several ahead. This directly compresses the gap between your input and what you see on screen.
Turn off V-Sync in both the driver and the game. V-Sync caps your framerate to your monitor's refresh rate and introduces a full frame of buffer delay. The only acceptable alternative is NVIDIA Reflex, which Call of Duty supports. Reflex dynamically manages the render queue to reduce latency without the tearing or buffer penalty of V-Sync, and it's worth enabling in-game.
Set your preferred refresh rate in the driver to match your monitor's maximum, and ensure your desktop resolution and in-game resolution match to avoid unnecessary scaling passes.
In-game Call of Duty settings
Cap your framerate slightly below your monitor's refresh rate, not at it. Running uncapped generates excessive heat and can cause the GPU to thermal throttle unpredictably. A cap of around 237fps on a 240Hz monitor keeps the GPU consistently fed without hitting the ceiling. Use the in-game limiter or RTSS (RivaTuner Statistics Server) for the most precise cap.
Enable NVIDIA Reflex if available in the game's settings. In Black Ops 6 and Warzone, it appears under the Graphics or Gameplay options and is labeled Reflex Low Latency. Set it to Enabled or Enabled + Boost; the Boost setting raises GPU clock speeds to reduce latency further, though it increases power consumption.
Texture quality and shadow settings affect your GPU's frame budget. Shadows in particular are expensive. Lowering Shadow Map Resolution and Spot Shadow Quality frees up GPU headroom, which smooths frame times even if your average FPS stays the same. Consistent frame times matter more than a high average with spikes.
Disable Film Grain, Depth of Field, and Motion Blur entirely. These are visual effects that add no competitive value and consume GPU resources.
Stabilizing frame times
A high average framerate with inconsistent frame times (commonly measured as 1% and 0.1% lows) feels worse to play than a lower but rock-steady framerate. The primary causes of frame time spikes are thermal throttling, background CPU load, and insufficient VRAM causing assets to stream from slower system RAM.
Monitor your GPU and CPU temperatures during a session using HWiNFO64 running in the background. If your GPU hits its thermal limit (typically 83-87°C depending on the card), it will downclock to protect itself, which shows up as frame time spikes. Improve case airflow, repaste if the card is older than three years, or lower the power limit slightly via MSI Afterburner to find a stable operating point with more thermal headroom.
For VRAM, check your usage in HWiNFO64 or GPU-Z during a match. If you're consistently pushing your card's VRAM limit, reduce Texture Quality one step. Running over VRAM capacity causes assets to spill into system RAM over the PCIe bus, which is dramatically slower and causes visible stutter.
Network optimization
Ping to the server is largely determined by your physical distance from the data center, but there's real overhead you can address locally. Use a wired ethernet connection. Wi-Fi, even modern Wi-Fi 6E, introduces variable latency that no amount of software optimization can fix. The jitter from wireless packet timing directly affects hit registration consistency.
Enable Quality of Service (QoS) on your router if it supports it, and prioritize gaming traffic or your PC's MAC address. This prevents a large file download or a family member streaming 4K video from competing with your game packets at the router level.
In Windows, open the Registry Editor and navigate to `HKEY_LOCAL_MACHINE\SOFTWARE\Microsoft\Windows NT\CurrentVersion\Multimedia\SystemProfile\Tasks\Games`. Set `GPU Priority` to 8, `Priority` to 6, and `Scheduling Category` to High. These registry values tell Windows to treat the game's network and scheduling needs as high priority.
Check your DNS server. Your ISP's default DNS can add measurable lookup latency on initial server connections. Switching to Cloudflare's 1.1.1.1 or Google's 8.8.8.8 in your network adapter settings takes two minutes and can shave off overhead on matchmaking connections.
Putting it together
The compounding effect of these changes is what makes them worth doing. Dropping 5ms from your USB stack, 5ms from your GPU render queue, and 10ms from your network path adds up to a meaningfully more responsive experience, one that shows up in your ability to react to fast-moving targets and win close-range gunfights. None of these settings require expensive hardware upgrades. The biggest gains come from the settings you likely haven't touched since installing Windows, and that's exactly where to start.
This article was produced by Prism’s automated news system from verified source data, official records, and press releases, then run through automated quality and moderation checks before publishing. The system is built and supervised by the people who set the standards it runs under. Read our full AI policy.
Did this article answer your question?