How to crochet a flat circle, plus fixes for common mistakes
Stop flat circles from ruffling, cupping, or turning lopsided with a simple increase formula that works for coasters, hats, and amigurumi bases.
Why flat circles go wrong so fast
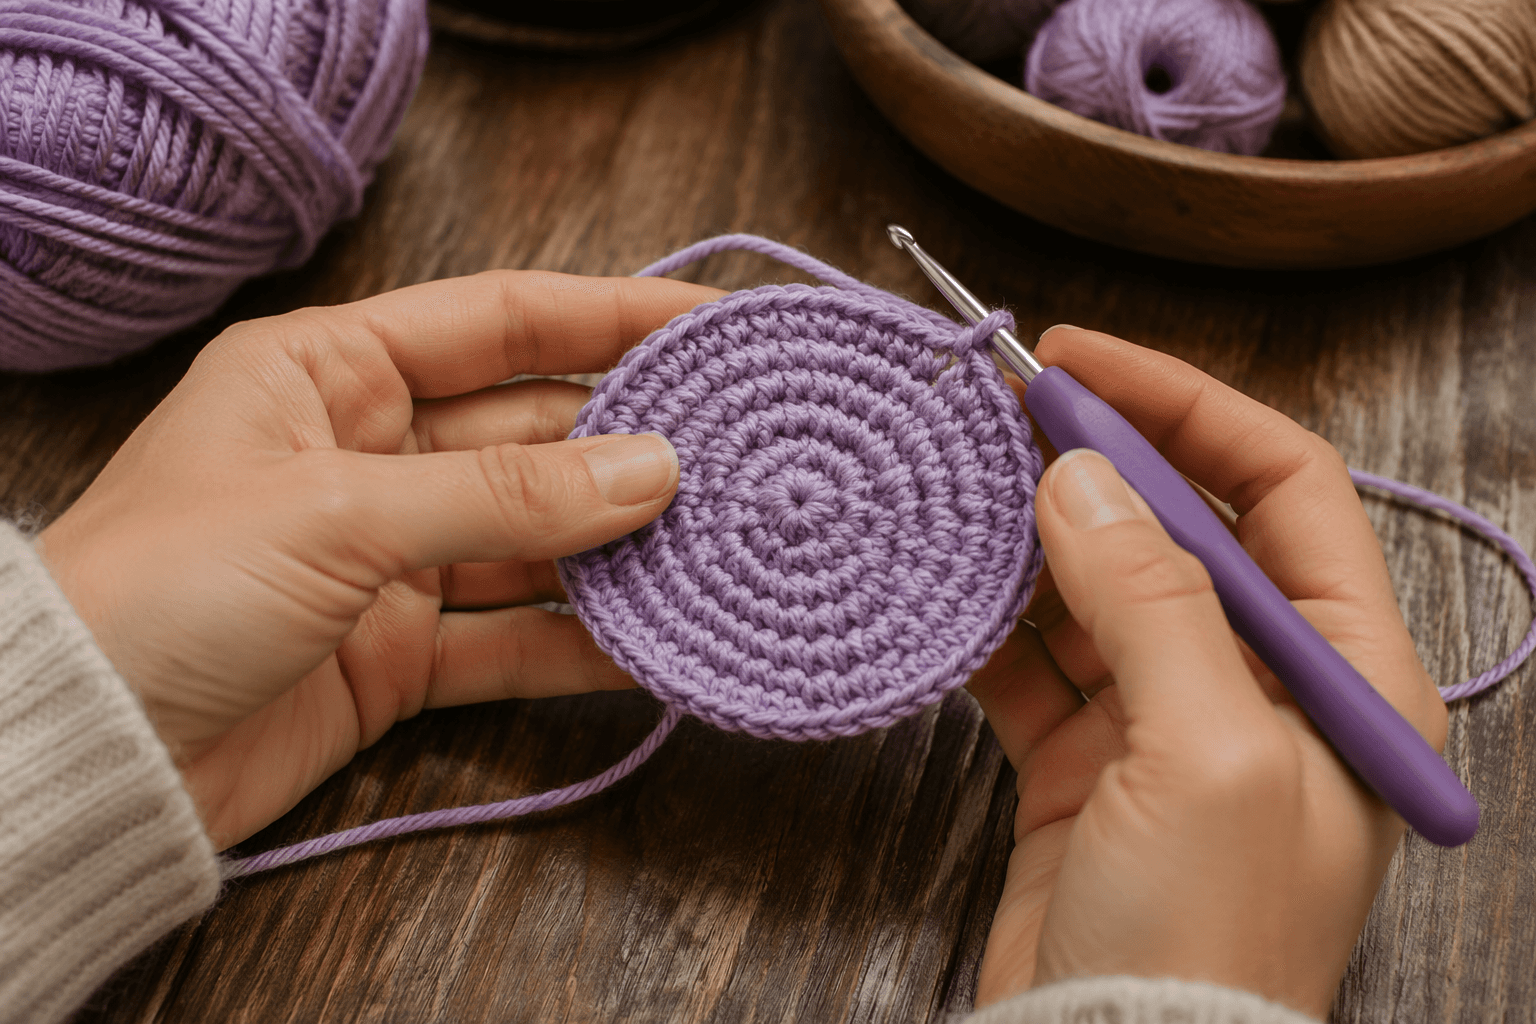
A flat circle looks simple until the edges start waving, the center buckles, or the whole piece takes on a hexagon shape. That is the geometry problem at the heart of working in the round, and it shows up everywhere from a coaster on the table to the crown of a hat and the base of an amigurumi piece. Crochetpedia’s guide treats that problem as a skill fix, not just a pattern, and that is exactly the right lens: once you understand how the circle is built, you can spot what is going wrong in a live project and correct it before the shape gets away from you.
The good news is that flat circles follow a repeatable rule. The challenge is keeping every round balanced so the piece grows outward evenly instead of folding into a bowl or flaring into points. That is why this technique matters beyond one project. The Craft Yarn Council notes that crocheting in the round is used to form either a tube or a flat surface, including the crown of a hat or a crochet motif, so learning the flat-circle formula pays off across a big range of makes.
Start with the right setup
A clean circle begins with clear terms, clear abbreviations, and the right starting ring. The Craft Yarn Council maintains standardized crochet abbreviations used by yarn-industry designers and publishers, and it also says stitch charts are being used more and more, either alongside words or in place of them. If you are reading patterns in the round, that shared language matters because it helps you track exactly where each increase belongs.
The center ring is just as important. Interweave says the adjustable ring, also called a magic ring or magic circle, is useful when you do not want a hole in the center of a motif, hat, or other project worked in the round. That makes it a strong choice for flat circles too, especially when you want a neat center for a coaster, motif, or amigurumi base. If you prefer a more open start, you can still build the circle another way, but the key is that the starting point must be stable enough to hold the first round evenly.
The formula that keeps the circle flat
The core rule is straightforward: each round must increase by the same number of stitches as the starting round. In other words, if you begin with eight stitches, you add eight stitches in every round. That even expansion is what keeps the fabric growing in a circular plane instead of turning into a wedge, a ripple, or a cup.
Crochetpedia’s tutorial uses single crochet as the clearest example, but the same principle holds when you work with stitches of different heights. The Craft Yarn Council notes that double crochet is a taller stitch than single crochet, and that matters because taller stitches create more drape and a looser fabric. If you want a denser circle for a coaster or a firmer base, a shorter stitch can help. If you want more fluidity, a taller stitch changes the feel of the fabric, but it still has to follow the same balanced increase logic.
A practical way to think about it is this: the stitch height changes the texture, not the math. The math is what keeps the piece flat.
How to tell when the shape is drifting
When a circle starts misbehaving, the clues are usually visible long before the project is finished. If the edge ripples, you are likely adding too much growth for the stitch height and round size. If the circle cups or turns into a shallow bowl, the fabric may need more room to expand. If the edge starts to look angular instead of round, the increases are probably clustering in the same places rather than spreading evenly around the round.
That is why a flat-circle method is so useful in real projects. You are not just chasing a better-looking coaster. You are learning how to recognize whether your increases are too dense, too sparse, or too predictable in the wrong places. Once you can read those signs in the fabric, you can correct the problem earlier, which saves time and prevents a lot of frogging.
How to fix the most common mistakes
When the circle refuses to stay round, the fix usually comes back to spacing. Crochetpedia’s guide points out that the number of increases has to match the start of the round, so the first thing to check is whether you are adding the right amount overall. If you started with eight stitches, the round should be built around eight increases, not seven, not nine, and not a guess based on how the edge looks.
A few practical habits help keep things on track:
- Count the stitches in each round instead of relying on eyeing the edge.
- Spread increases evenly rather than stacking them close together.
- Match the stitch height to the fabric you want, then keep the increase formula consistent.
- Use the ring style that suits the project, especially if you want to avoid a hole in the center.
If the fabric is rippling, the round is probably growing too quickly for the stitch height you chose. If it is cupping, the round may need more expansion. Either way, the solution is usually not to change the whole method, but to restore balance to the increase pattern.
What flat circles become next
Once the shape is under control, the circle stops being an exercise and starts becoming a building block. Crochetpedia points to a circular crochet coaster as a natural first project, and that makes sense because a coaster gives you a quick read on whether the fabric lies flat. The same technique scales up to placemats, amigurumi bases, and the crown sections of hats, all of which depend on clean round shaping.
Interweave describes crochet motifs as building blocks for sweaters, scarves, shawls, and more, and says motifs can be used to crochet squares, hexagons, circles, and more. That places the flat circle alongside the other foundational shapes you use again and again in crochet. Once you can make one that stays flat, you are not just making a circle. You are learning the shape logic behind a large part of the craft.
The bottom line
A flat circle succeeds when the center stays controlled, the increases stay even, and the stitches grow at the right pace for the fabric you want. The moment the edge starts ruffling, cupping, or turning wonky, the fix is usually waiting in the same place: the increase count and how evenly you have spread it around the round. Get that right, and the coaster lies smooth, the hat crown behaves, and every next circle starts from a much steadier place.
This article was produced by Prism’s automated news system from verified source data, official records, and press releases, then run through automated quality and moderation checks before publishing. The system is built and supervised by the people who set the standards it runs under. Read our full AI policy.
Know something we missed? Have a correction or additional information?
Submit a Tip

