Why miniature painters should choose inks by opacity and role
Choose inks by opacity and role, and they stop being gimmicks: the right bottle can glaze, shade, tint metals, and speed up color variation.

The smartest ink advice in miniature painting is not about chasing a magical bottle, it is about matching opacity to the task. One Nerdy Dad’s guide makes that plain: inks are not just for display painters or art-supply tinkering, they can be workhorse tools for glazing, depth, blending, shading, and airbrush work when you pick the right color and prep the model properly.
That shift in thinking matters because inks behave differently from standard paints. They are highly pigmented liquid media, they often need thinning or mixing, and different brands can behave very differently on the same miniature. Once you stop treating every ink like a one-bottle solution, the workflow gets clearer, faster, and more controllable.
Start with opacity, then assign each ink a role
The best way to buy inks is to ask what job you want them to do on the miniature. Transparent inks are ideal when you want a filter, a glaze, or a subtle color shift that leaves the work underneath visible. Semi-opaque inks sit in the middle and can cover while still letting light through, which makes them useful when you need speed without flattening the surface.
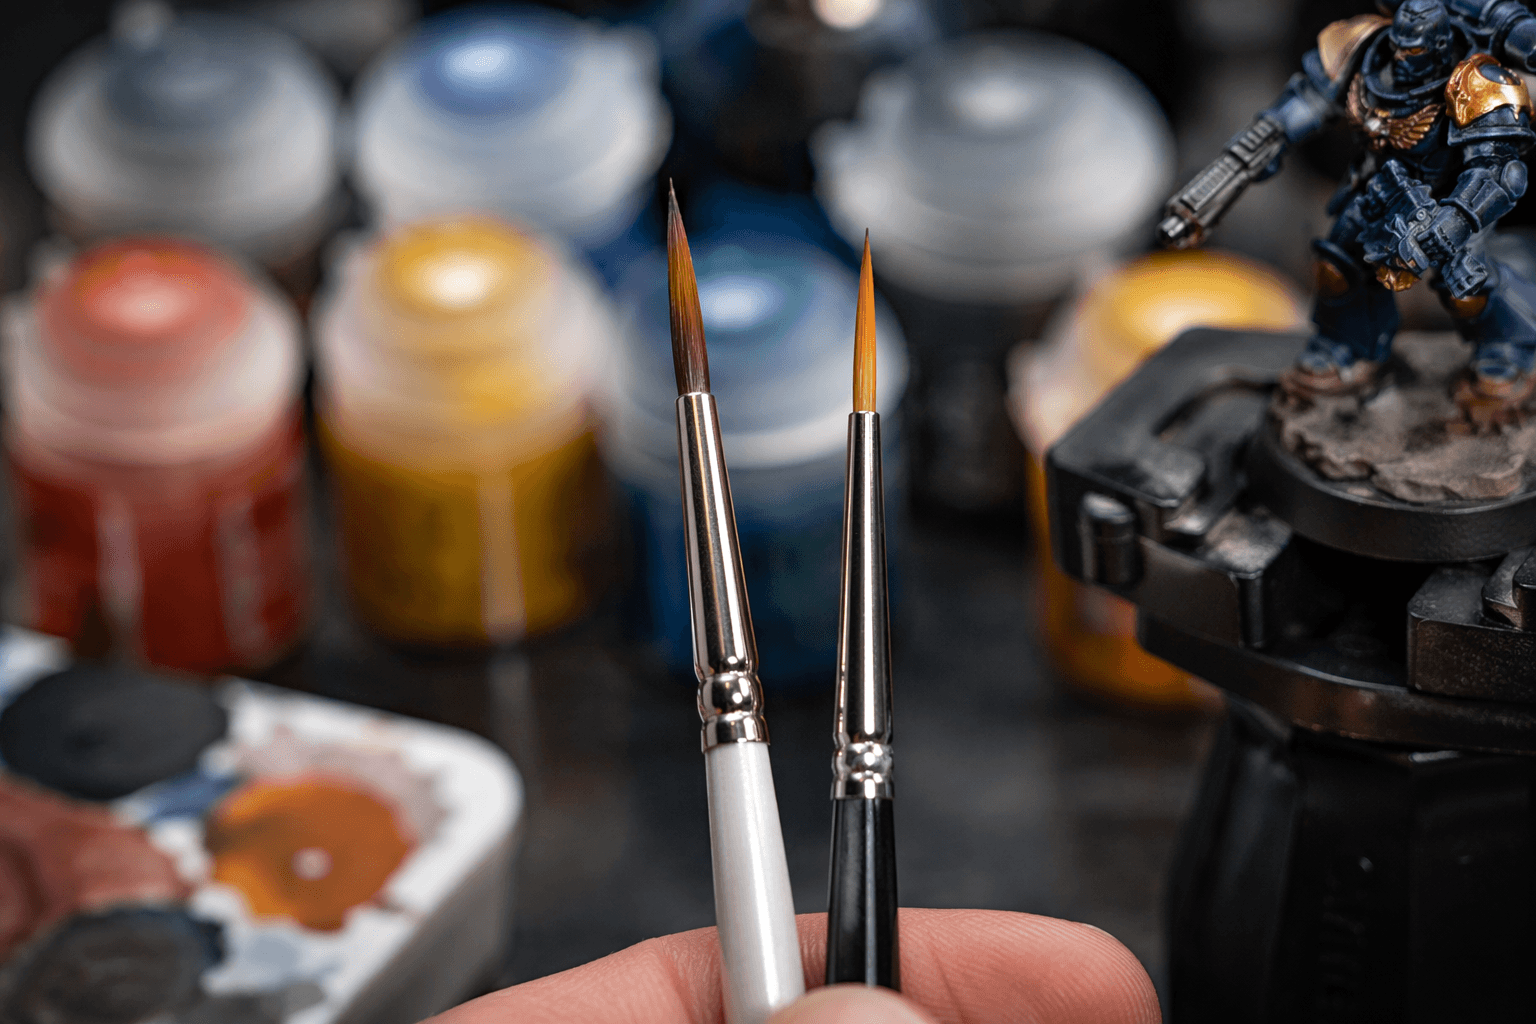
That is where the practical color callouts start to matter. Transparent yellow is useful for glazing and gentle color shifts, dark red or magenta can deepen shadows and enrich warm schemes, blue is a versatile blending color, and semi-opaque brown is the all-rounder that can do a little of everything without completely burying the layer underneath. Opaque inks, meanwhile, are often better when the job is airbrushing or fine pattern work, where stronger coverage and clearer marks are worth more than maximum transparency.
Where inks outperform standard paint on the desk
Inks earn their place when you want fast saturation and controlled depth without stacking layer after layer. Vallejo describes washes as transparent, very liquid acrylic colors used for shading, glazing, and filter effects, and says they can go on with a brush or an airbrush. Warhammer’s Contrast range pushes the same workflow logic even further, saying those paints can base, shade, and layer a miniature in one go, or be used to glaze or tint other paints.
That makes inks especially useful in a few everyday miniature-painting jobs:
- Shading a cloak or armor plate without losing the sculpted texture
- Tinting metallics so the shine stays visible but the color gains character
- Blending transitions on robes, skin, or monster carapaces faster than you could with standard layers
- Speeding up color variation on troops, where you want a coherent look across a unit without painting each model like a showcase piece
The real payoff is not just speed, it is saturation. AK Interactive frames its inks around saturation, gloss, vibrancy, and compatibility with acrylic paints, which is exactly why they can punch up a model that feels flat after the basecoat stage. Used well, an ink can do in one pass what would otherwise take multiple thin coats and a long cleanup of the edges.
Prep decides whether the ink looks rich or ragged
The frustration point is that inks reward preparation and punish shortcuts. Independent hobby guides stress that Contrast-style paints and inks work best over a smooth, light, or white primed surface. Dark primers can muddy the color, while glossy surfaces can make the paint slide too much, leading to pooling, streaking, or uneven texture.
That is why surface prep is not a boring preamble, it is part of the ink workflow. Clean the miniature thoroughly, apply primer evenly, and test your ratios before you commit to the finished model. If the primer is patchy, the ink will show it. If the surface is too dark, the color can collapse into murk. If it is too glossy, the paint may refuse to settle where you want it.
Brush or airbrush, but thin with intent
One of the reasons inks have moved deeper into the hobby mainstream is that they now sit comfortably in both brush and airbrush workflows. Vallejo’s guidance for Xpress Color says diluted color can be used in an airbrush at 1 part thinner to 2 parts color, which is a useful reminder that these products are meant to be adjusted, not dumped straight into the cup and hoped for the best.
Airbrush users need to be especially careful here because fine tools clog easily when the mix is too thick or the pigment load is too aggressive. That is also where the difference between transparent and opaque inks becomes more than a label on the bottle: transparent mixes are often better for filters and gentle glazing, while more opaque inks can hold up better in airbrush passes or crisp pattern work. For brush users, the same principle still applies, just with less risk of clogging and more room for controlled feathering on the model.
Build the finish, then lock it down
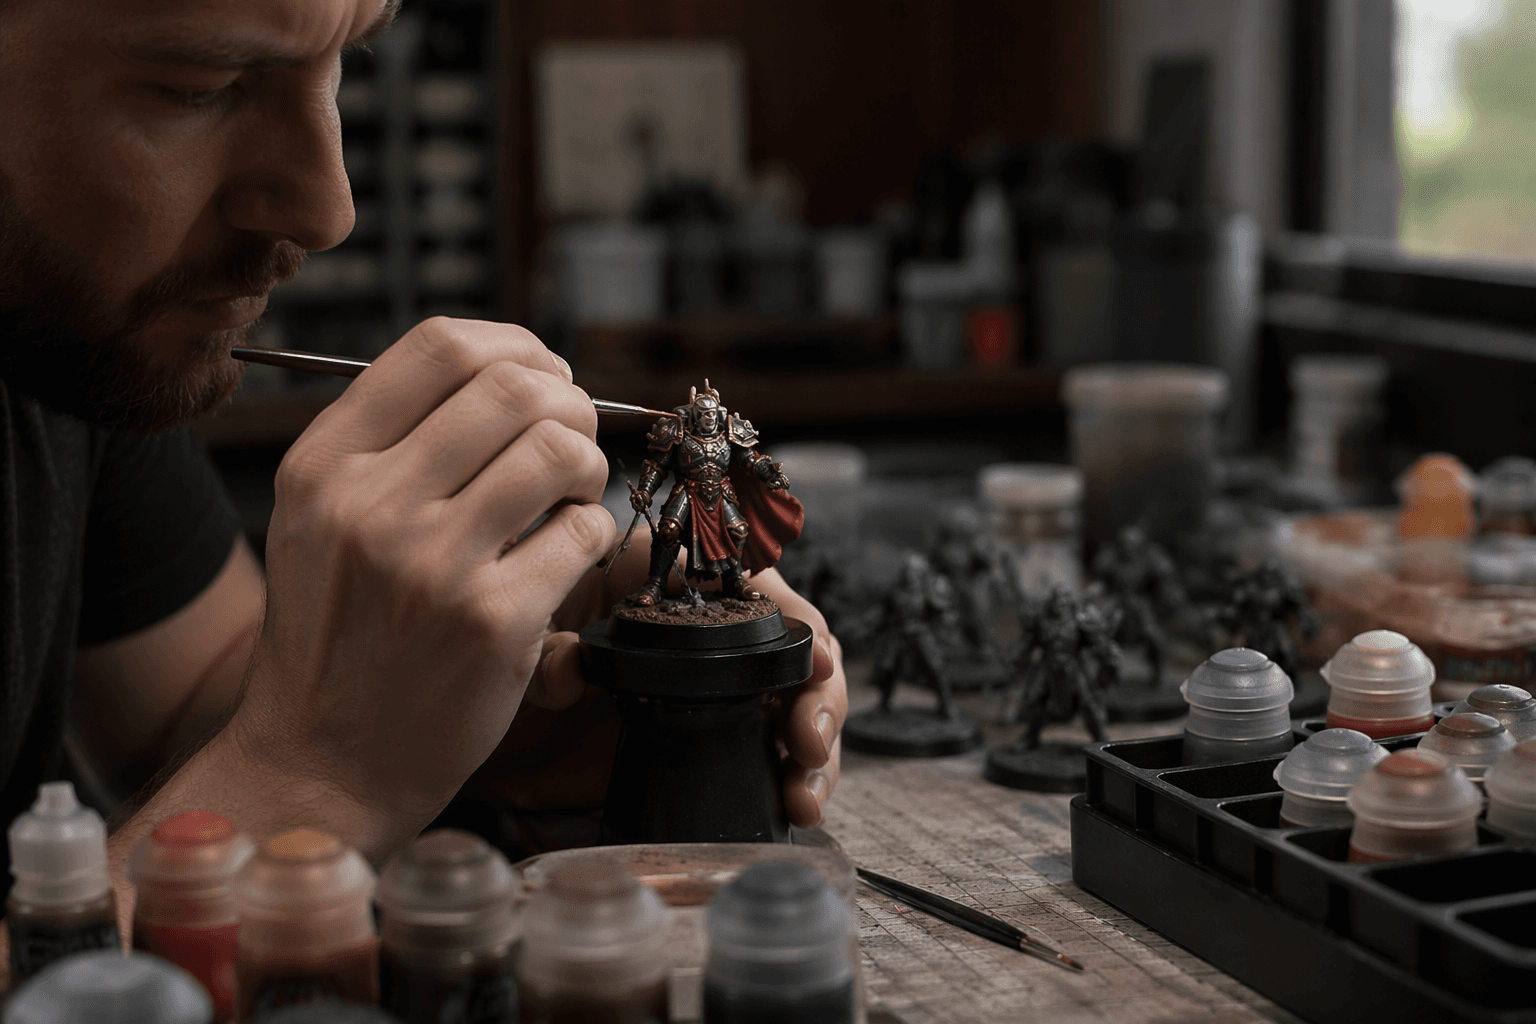
Inks do their best work when they are part of a sequence rather than the whole job. After the ink stage, layering and highlighting bring the sculpt back to the front and keep the model from looking over-processed. A matte varnish at the end helps lock in the result and stop all that saturation and gloss from fighting the final look.
That is also why inks are so useful in a normal painting routine. They are not a special-effects detour for showcase pieces only. They are a flexible middle step that can deepen armor, push warmth into skin, add speed to rank-and-file models, and help you get from basecoat to finished miniature with fewer passes across the same area.
Why inks feel more central now
This is not a niche corner of the hobby anymore. Vallejo has been building purpose-made acrylics for airbrushing since 1986 and its Model Color line arrived in the early 1990s, while Games Workshop launched Contrast paints in 2019 and sold them as a way to compress basecoat, shade, and highlight into a tighter workflow. That history says a lot: the market has kept rewarding products that save time without sacrificing visual punch.
So the practical answer is simple. If you want fast shading, richer color, or better control over how light moves across a miniature, choose the ink by opacity and role, not by the prettiest bottle on the rack. That is the difference between a medium that fights you and one that starts pulling its weight the moment it touches the model.
This article was produced by Prism’s automated news system from verified source data, official records, and press releases, then run through automated quality and moderation checks before publishing. The system is built and supervised by the people who set the standards it runs under. Read our full AI policy.
Know something we missed? Have a correction or additional information?
Submit a Tip