MyTEAM Auction House & Budget Squad Strategies (How to Build Competitive Lineups Without Spending Big VC)
The MyTEAM Auction House rewards process over spending; master timing, role-based building, and smart set locks to run a competitive lineup without touching your wallet.
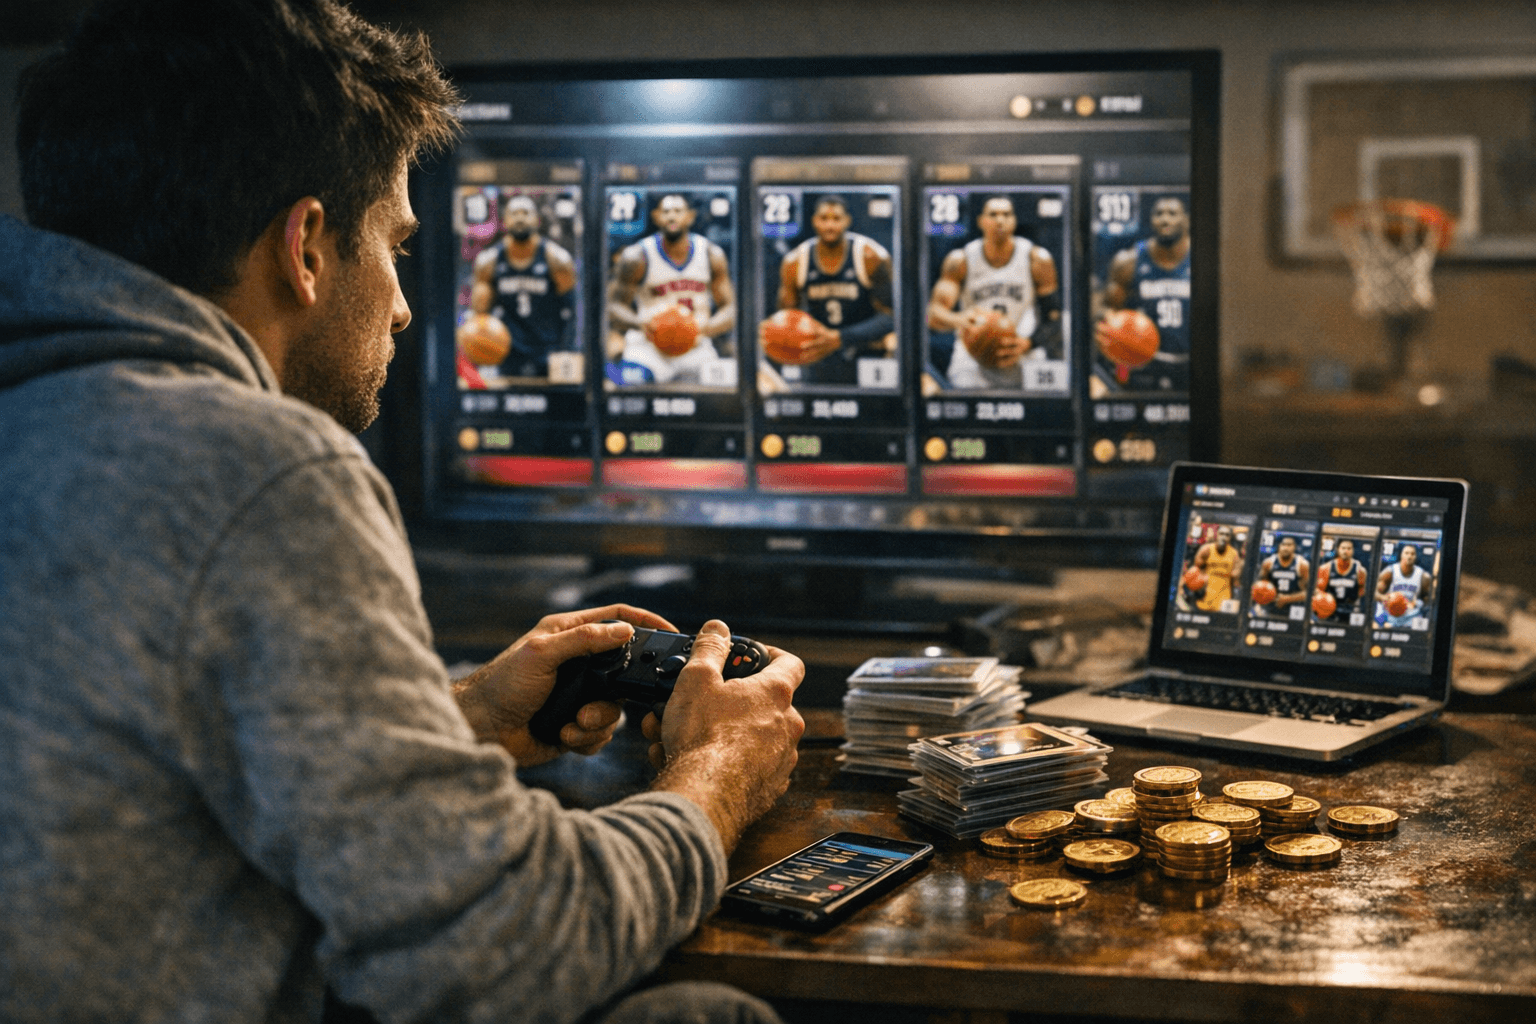
The gap between a wallet warrior and a disciplined grinder in MyTEAM isn't talent; it's market knowledge. Most players who struggle to field a competitive squad aren't missing MT, they're missing a system. The Auction House is a living economy with predictable rhythms, and once you learn to read them, every Season drop and promo event becomes an opportunity rather than a drain.
Reading the market: when supply is your friend
The MyTEAM AH moves on a cycle tied directly to 2K's content calendar. Every new Season release, promo pack drop, or limited-time event floods the market with cards, and that flood is exactly when prices soften. The rule is straightforward: buy when supply is high and demand is low. In the 24-to-48-hour window right after a major promo release, duplicate pulls and quick sellers push card floors down. That's your buying window.
Timing within the day matters too. Late-night and early-morning hours in your platform's dominant time zone tend to produce thinner bidding competition and more panicked listings. Fewer eyes on the market means more underpriced buy-nows sitting unclaimed. Pair this with community-run price trackers on Discord servers and Twitter/X accounts that update card floors in near-real time, and you're operating with information most casual players don't have.
Sniping and flipping: the weekly MT engine
Sniping is the most repeatable low-effort MT generator in MyTEAM, but it only works if your filters are tight. Don't browse broadly. Lock in specific parameters: team, card type, era, and a narrow buy-now price range. Search for listings that hit common price-rounding habits, since sellers often list in round numbers, which creates predictable clustering around certain price points. The target margin that makes a snipe worth your time is buying at 5-10% below the median floor and reselling at 10-20% above your buy price. Bidding wars kill that margin fast, so walk away from contested auctions.
Flipping extends this logic across volume rather than single big scores. Spread small investments across multiple cards rather than concentrating into one expensive pickup. The staples worth tracking consistently are:
- Contract and fitness consumables, which are always in demand and rarely spike unpredictably
- Popular role-player cards during locker-code windows, when demand jumps briefly
- Auctionable signature shoe cards, which hold floor value through multiple content cycles
A weekly routine built around these categories: scan the AH in two daily sessions (one at off-peak hours, one post-content-drop), list your flips with a 48-hour window, and reinvest profits into the next cycle. Compound that over a few weeks and the MT adds up without a single dollar spent.
Set locks and reward prioritization: what's actually worth it
Not every set lock delivers value proportional to what you give up. The sets worth targeting are ones that produce durable, transferable returns: token rewards that unlock guaranteed high-tier cards, sets containing contract and fitness bundles you'd be buying on the AH anyway, and sets with historically appreciating reward cards that hold value into later content cycles.
The trap is chasing flash. Locking a large collection for a short-term reward only pays off if the expected return clearly exceeds the long-term utility of the cards you surrendered. If you're newer to the game or just picked it up on a recent sale, start conservative: prioritize sets that give you immediate lineup utility (early contract packs, fitness cards, low-end consumables) and hold off on big locks until you understand which card types hold value in the current meta. The cost of locking prematurely is often invisible until you need those cards back and they're gone.
Build by role and badge, not by name
A budget lineup built around role specialists with elite badge loadouts consistently outperforms a roster anchored by one or two expensive superstars with thin badge depth. The AH is full of mid-tier cards that badge out beautifully and get ignored because their overall rating doesn't pop. Those are your targets.
Structure your rotation around functional roles rather than star power:
- 3-and-D wings (high defensive badges, catch-and-shoot, corner specialist): the backbone of any budget squad, often available well below their on-court value
- Rim runner/shot-blocker: one player who protects the paint and finishes above the break, sourced from the mid-tier market where rim-protection badges concentrate
- Secondary handler: a playmaker with floor general badge priority who doesn't need the ball to score, reducing pressure on your primary scorer
Build your coaching and chemistry setup to amplify these roles rather than chasing the highest overall. In online competitive modes, a card with the right badge distribution beats a higher-rated card with shallow depth almost every time. Filter AH searches by badge type and floor, not by overall, and you'll find undervalued cards that every name-focused buyer is scrolling past.
Risk management: the mistakes that drain MT fast
The most common budget-building errors aren't bad buys; they're bad habits. Don't concentrate your MT into a single auction. If you get outbid or the market shifts, a single overcommit can set your grind back by days. Keep a reserve. Similarly, don't impulse-spend every locker code reward or promo pull on packs. Those pulls often have better expected value as trade leverage or set-completion fuel than as random pack gambles.
After major promo drops, many cards lose significant value for days or weeks as the market digests the new supply. If you have a card you were planning to sell, list it before the drop or wait for the post-drop floor to stabilize before buying. And be honest with yourself about nostalgia cards: a card you loved from a previous 2K has no on-court advantage unless it fits a specific meta use-case in your lineup.
If real money ever enters the equation, compare the long-term expected return of direct VC purchases against a planned AH flipping strategy. Disciplined flipping typically produces better on-court value than reactive pack spending, particularly once you've built even a modest MT reserve to work from.
The budget ladder: three lineups that scale
Here's how to think about your roster at each stage of the grind:
Tier 1: The grind-entry squad (minimal MT, reward-based)
Build entirely from Solo Challenge rewards and set-completion prizes. Prioritize a 3-and-D wing from the earliest token rewards, one rim-protecting big, and fill the rest with high-contract consumable cards that keep your lineup running cheaply. No AH spending yet; this tier is about learning the market while staying on the court.
Tier 2: The early flipper squad (a few thousand MT reinvested)
After two to three weeks of consistent AH flipping, upgrade your secondary handler first (floor general badge, solid three-point attribute) and add a second 3-and-D wing. These two slots carry the most matchup flexibility in online modes. Source both from off-peak AH sessions targeting mid-tier cards with badge depth, not overall rating. Keep one starter from Tier 1 to maintain budget discipline.
Tier 3: The badge-optimized mid-tier squad (compounded MT from sustained flipping)
At this stage you have enough MT to be selective. Target a primary scorer with consistent finishing and playmaking badges, lock in a corner-specialist shooting wing, and upgrade your rim runner to a card with both paint protection and above-the-break finishing. Chemistry and coaching slots should now actively boost your primary scorer and 3-and-D roles. Every card on this roster has a defined job and the badge loadout to execute it.
The players who sustain competitiveness in MyTEAM year over year aren't the biggest spenders; they're the ones who treat the AH like a second game running alongside the court game. Master the cycle, build by function, and the marquee cards fund themselves.
This article was produced by Prism’s automated news system from verified source data, official records, and press releases, then run through automated quality and moderation checks before publishing. The system is built and supervised by the people who set the standards it runs under. Read our full AI policy.
Know something we missed? Have a correction or additional information?
Submit a Tip