NBA 2K26 Lockdown Defender Build Guide: Best Attributes, Badges, and Tactics
A true lockdown in 2K26 starts with badge selection, not attributes; build backward from On-Ball Menace and Challenger to set your defensive ceiling before you touch a single stat.
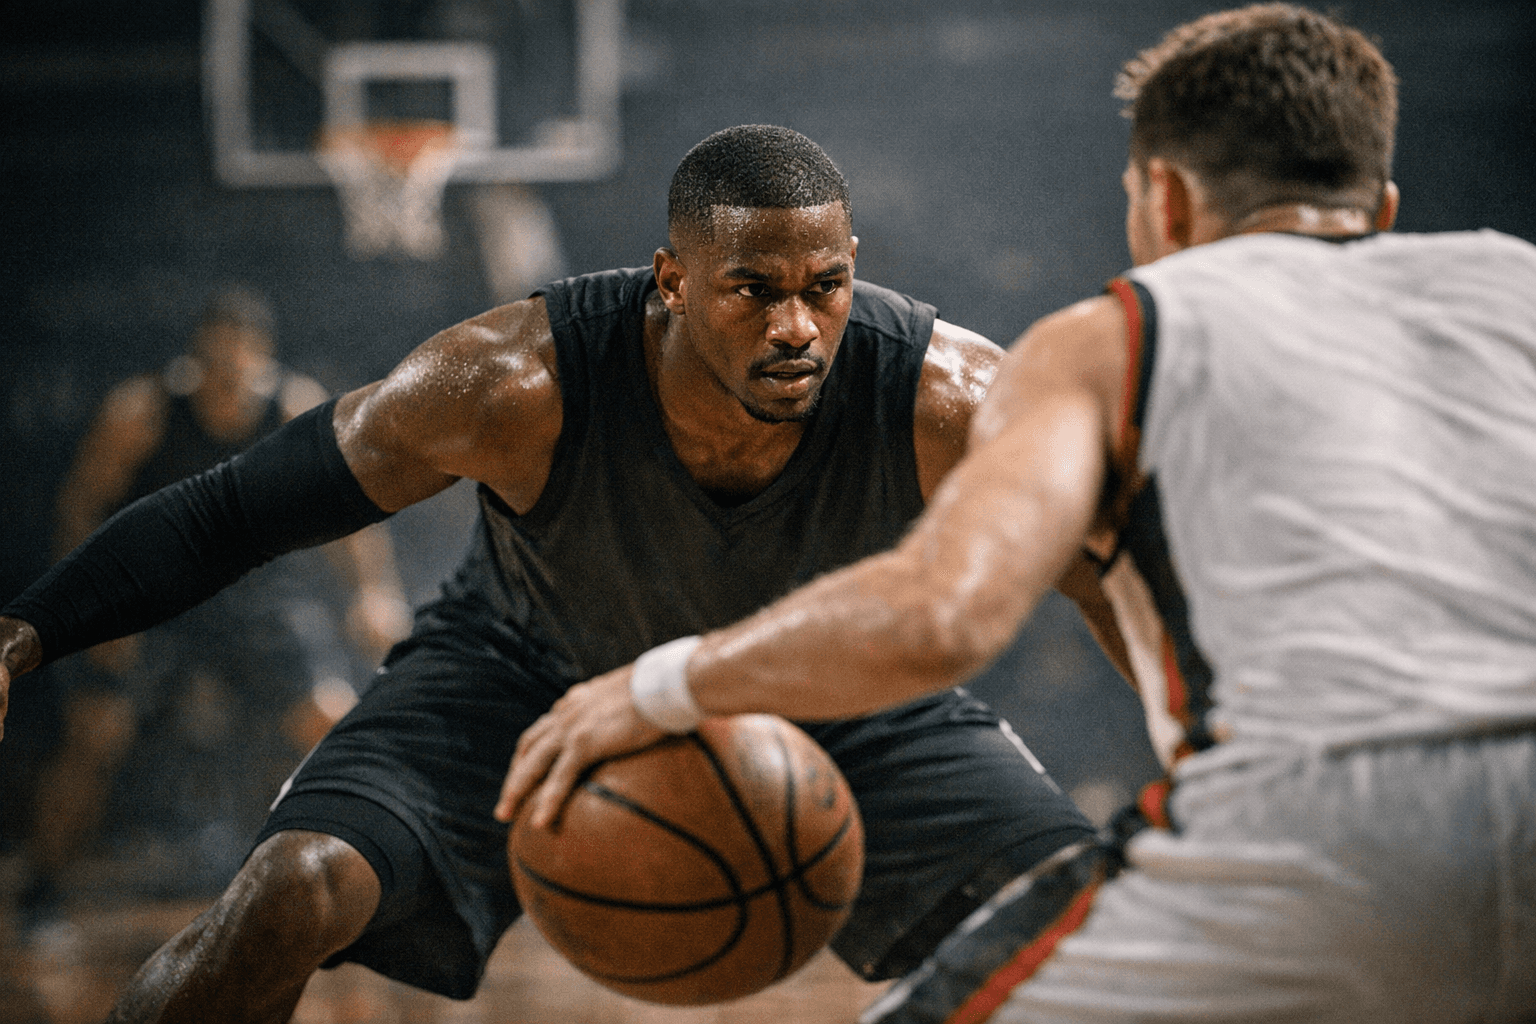
Defensive specialists are the rarest and most valuable players in any Park, REC, or Pro-Am lobby. A single lockdown defender reshapes the entire offensive gameplan of an opponent, forces uncomfortable pull-ups, creates turnovers, and launches fast breaks before the other team can set its defense. The problem is that most players who build "lockdowns" end up with a high overall rating and low actual impact, because they chase attribute numbers instead of building around the right system. In NBA 2K26, with its Build via Badges framework, that mistake is more costly than ever.
The Build via Badges System Changes Everything
NBA 2K26 introduced a fundamental shift in how MyPLAYER construction works: you now select your badges and their tiers first, and the system automatically locks in the attribute minimums required to support them. This means your badge priority list is not a finishing touch; it is the foundation of your entire build. Every decision about height, weight, wingspan, and attribute caps should trace back to the badge thresholds you are targeting. For a lockdown defender, that means knowing exactly which defensive badges you want at which tier before you ever enter the attribute slider.
Step 1: Body Settings and Archetype
The ideal lockdown MyPLAYER runs between 6'5" and 6'8". That window, particularly 6'6" to 6'7", delivers the best balance of lateral quickness, contest reach, and speed. Go taller and you surrender the foot speed needed to stay with guards in isolation; go shorter and your contest modifier takes a hit against wings and forwards.
Wingspan is the variable where most builders leave value on the table. A +2 to +4 inch wingspan tradeoff over the default is almost always worth it, as the added reach directly improves contest animations and deflection opportunities without a meaningful speed penalty at this height range. For weight, a slightly heavier build increases your ability to body up without getting displaced in the post or on drives, but stay within a range that keeps your speed ratings competitive.
If your role is primary on-ball stopper, guard sizing with elite lateral quickness and steal tendency is the priority. If you are building a switchable forward or rim-anchoring center, shift your emphasis toward block, interior defense, and rebounding, and adjust your body settings to reflect the greater size you will need to bang with bigs.
Step 2: Attribute Allocation and Early Progression
Once your body settings are locked, the early progression path is straightforward: pump Perimeter Defense first. A base of 94 in Perimeter Defense, pushed to 99 via cap breakers, unlocks the highest-tier versions of the defensive badges that define this build. Alongside that, Agility is a surprisingly high-priority attribute; hitting 92 Agility is the threshold that unlocks Legendary status on Ball Menace, Pick Dodger, and Challenger simultaneously, which is one of the most efficient single-stat investments in the build.
Early on, Stamina and Speed with Ball matter more than most players realize. A lockdown who runs out of gas in the fourth quarter or who cannot stay attached to a ball-handler over a full possession is only effective for the first few minutes of a game. Avoid pouring early attribute points into low-impact offensive categories; your offensive floor only needs to be high enough to punish defenders who disrespect you, not to carry a scoring load.
Secondary attributes come later. Pass Perception and Hands can wait until mid-game, but they should eventually be addressed to convert deflections and loose balls into clean possessions. For steal-focused builds, targeting 94 Steal opens up Hall of Fame Interceptor, which makes a substantial difference in passing lane disruption.
Step 3: Badge Selection - The Non-Negotiables and the Role-Specific Stack
2K26's defensive badge ecosystem has a clear tier of must-haves for any lockdown build. The non-negotiable core looks like this:
- On-Ball Menace / Ball Menace: The on-ball containment badge. Non-negotiable for primary stoppers in Park and Pro-Am. This is 2K26's answer to what Clamps represented in earlier titles, and it should reach Legendary.
- Challenger: Strengthens the impact of well-timed contests on perimeter shooters. Widely regarded as the best defensive badge in the current meta, it reduces shooting accuracy even when opponents have a sliver of space. Max this to Legendary.
- Interceptor: Boosts effectiveness in passing lanes. Hall of Fame tier is achievable with 94 Steal and cap breakers, and it directly generates transition opportunities.
- Pick Dodger: Keeps you attached to your man through screen actions. Essential for Park and REC environments where off-ball screens are used constantly to generate open threes.
- Immovable Enforcer: Strengthens your defensive stance and body control, reducing the effectiveness of drive attempts to blow past you.
- Paint Patroller: If your build has any rim protection responsibility, this badge improves your contest modifier near the basket.
Badge selection should bend to your actual role on the floor. If your squad already has a rim protector, go deeper into perimeter badges. If you are the only interior threat, balance your badge spend between Immovable Enforcer and Paint Patroller. Watch patch notes closely: badge behavior and tier thresholds in 2K26 have shifted across seasons, and a badge that performed at Gold in early builds may require Legendary investment after a tuning update to produce the same results.
Step 4: Animations and Setup
Defensive animations are not cosmetic choices; they directly affect how quickly you can recover, contest, and mirror crossovers. Prioritize a narrower defensive stance, which reduces the gap between your feet and the ball-handler's release point. Faster lateral slide animations keep you in front of quick guards without requiring you to reach. A quicker contest animation timing window is especially valuable against shooters who look for the slight hesitation in your contest to fire.
For transition and finishing, pick efficient dunk and layup packages that capitalize on the fast-break opportunities your defense generates. A lockdown who cannot finish a wide-open layup off a steal is leaving points on the table at the one moment the defense has done its job.
Step 5: In-Game Fundamentals and Positioning
Attributes and badges set your ceiling; positioning determines your floor. The most common mistake among players running defensive builds is over-reaching: lunging for steals, gambling on passing lane reads before the ball moves, or over-committing to a drive that was a setup for a kick-out three. Every time you are drawn out of position, you are handing the offense exactly what it wants.
The fundamentals that separate an impactful lockdown from a high-rating decorative defender:
- Stay in a balanced stance with short, controlled strides. Being baited into a long reach-in foul is a worse outcome than giving up a contested pull-up.
- Force elite scorers toward your help side or baseline; avoid letting them attack the middle of the paint where they can either finish or dish to cutters.
- Master late contest timing. In 2K26, a slightly delayed contest often produces a better contest modifier than an early swipe because the animation connects cleanly at the release point.
- Protect the help side off the ball. Cutting passing angles when the ball moves keeps you active in the possession even when you are not guarding the primary handler.
- Box out after every contest. A defensive rebound is not a bonus; it is the completion of the defensive sequence. Converting that rebound into a fast break is where a lockdown defender's impact shows up in transition.
In Pro-Am specifically, communication about pick-and-roll coverage is as important as individual skill. Establish a team-wide approach to switching versus drop coverage versus hedge before the game begins. A lockdown who freelances against screens in Pro-Am creates defensive breakdowns that no amount of Challenger badge can fix.
Step 6: Long-Term Progression and Team Fit
As cap breakers accumulate across seasons, the priority order shifts. Early game: two defense cap breakers on Perimeter Defense, then speed. Mid game: push Agility to 92 for the Legendary badge cluster and address Steal if Interceptor at Hall of Fame tier is in your plan. Late game: round out Stamina, shore up your weakest secondary defensive attribute, and consider one or two offensive investments that expand your offensive threat level enough to prevent opponents from sagging off you entirely.
Fit matters as much as build quality. Communicate with your squad about defensive identity, audit whether your team needs more perimeter pressure or interior depth, and adjust your badge distribution accordingly when the meta shifts. The offensive explosion of each new season tends to push players toward scoring builds, which is precisely why a lockdown who commits fully to the defensive-first philosophy becomes so valuable. When everyone else is running two-way scorers, the player who can make an elite scorer disappear for a full game is the one who changes outcomes.
The numbers, eventually, take care of themselves. A player who consistently limits opponent efficiency, forces turnovers, and turns defensive stops into fast breaks will be one of the most impactful players in any lobby, regardless of where their overall sits on the scoreboard at the end of the night.
This article was produced by Prism’s automated news system from verified source data, official records, and press releases, then run through automated quality and moderation checks before publishing. The system is built and supervised by the people who set the standards it runs under. Read our full AI policy.
Did this article answer your question?