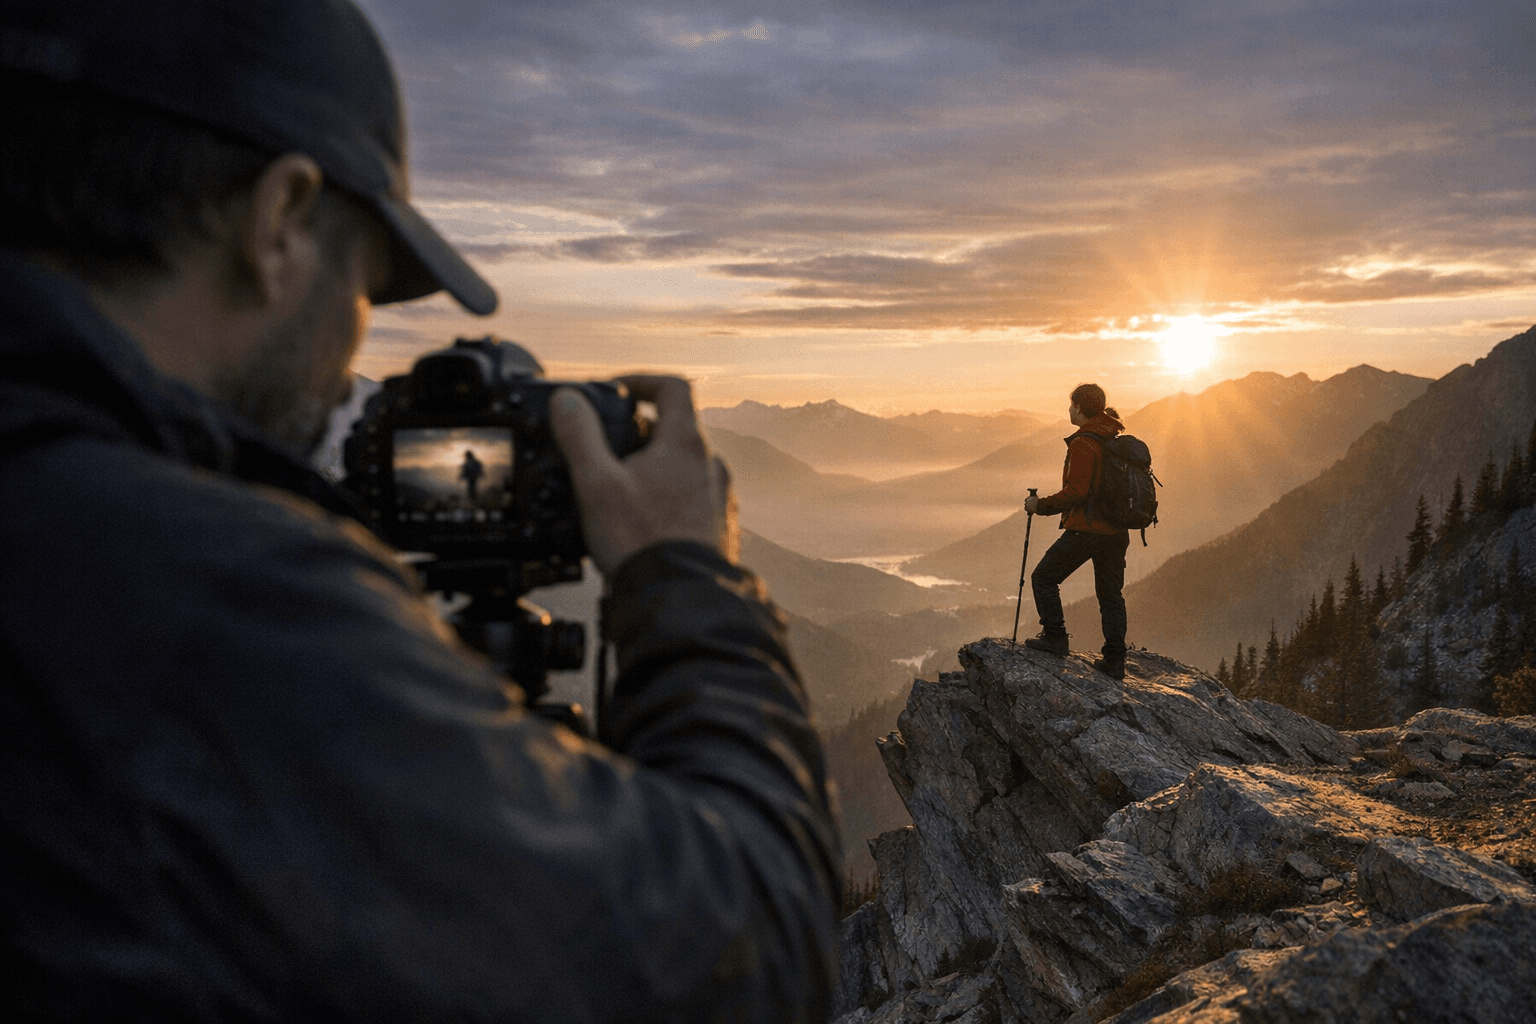
Composition, Light, and Workflow Tips to Instantly Sharpen Your Photography
Centering your subject is the single most common beginner error, and fixing it takes 30 seconds. A 7-day bootcamp built around composition, light, and workflow will change how you shoot permanently.

Here is a number worth sharing: centering the main subject is consistently ranked the most-reported compositional error across beginner photography communities, and studies of rule-of-thirds adoption suggest around 70% of beginners either ignore the grid entirely or apply it so rigidly they never break it creatively. That single habit, more than sensor size or lens choice, is what separates snapshots from photographs. The fix costs nothing and takes a few intentional sessions to rewire. The 7-day bootcamp below gives you one focused assignment per day covering composition, light, color, and editing workflow. Any camera works, including your phone. What matters is doing each assignment with intention, keeping a log of your settings and decisions, and comparing your before and after frames honestly.
Day 1: Break the Center Habit (Rule of Thirds)
Today's assignment is the foundational reset. Enable your camera's grid overlay and shoot ten frames of the same subject, placing it at each of the four intersection points of the 3x3 grid rather than the center.
*Before prompt:* Shoot your subject dead-center and save the frame. *After prompt:* Move the subject to an intersection. For portraits, anchor the near eye on one of the upper intersections. Compare the two files side by side.
The rule of thirds is a starting grid, not a permanent cage. Once you can feel the difference between a centered and an off-center composition, you earn the right to break the rule deliberately. Until then, the grid is your most useful tool.
- Enable grid overlay in your camera menu or phone settings
- For portraits, place the subject's eyes at an upper intersection to strengthen engagement
- Set a theme (one color, one emotion) and shoot ten frames exploring different placements
- Rate selects 1-5 after the session; identify which intersections created the strongest visual tension
Day 2: Lead the Eye (Leading Lines)
Identify a location with natural lines: a road, a railing, a row of windows, a shoreline, a fence. Your assignment is to compose at least five frames where those lines pull the viewer's eye through the image and culminate at your subject.
*Before prompt:* Photograph the same scene ignoring lines entirely, framing only the subject. *After prompt:* Reframe so a strong line originates near a corner and terminates at the subject.
Architecture, fences, and rivers are reliable line sources. The viewer's eye follows the path you build, not the path that exists in reality. Diagonal lines carry more energy than horizontal ones, and shooting both portrait and landscape orientations reveals which framing maximizes a line's directional pull.
- Look for converging lines created by perspective, not only physical structures
- Diagonal lines read as more dynamic than horizontal or vertical ones
- Shoot both orientations and compare: one will almost always outperform the other
Day 3: Build Depth (Foreground and Negative Space)
Flat images feel like records; layered images feel like experiences. Today's assignment has two parts. First, use a wide-angle perspective and include deliberate foreground interest, placing something visually interesting close to the lens. Then, for a second set of frames, strip the scene down and practice negative space, leaving large areas of the frame intentionally empty.
*Before prompt:* Shoot a landscape or environmental portrait with nothing in the foreground. *After prompt:* Move close to a textured foreground element (rocks, grass, a table edge) and reframe so both foreground and background share the image. Use a narrow aperture (f/8 to f/11) to hold sharpness across the depth.
Negative space is not wasted space. It can emphasize solitude, scale, or isolation more powerfully than a busy frame. Both techniques belong in your compositional vocabulary: use shallow depth-of-field at f/1.8 to f/2.8 when you want the foreground to blur into atmospheric layers, and narrow aperture when you want the foreground sharp and structural.
- Wide aperture (f/1.8-f/2.8): foreground blurs into layers, subject pops
- Narrow aperture (f/8-f/11): foreground sharpens into context, creating full depth
- Ask honestly: does empty space in this frame mean something, or is it just accidental?
Day 4: Read the Light (Natural Light Directions)
Light is not just illumination; it is texture, mood, and dimension. Today, photograph one subject in three lighting conditions: front-lit (sun behind you), side-lit (sun roughly 90 degrees to the side), and backlit (sun behind the subject).
*Before prompt:* Shoot front-lit and note how flat and shadow-free the subject appears. *After prompt:* Shoot side-lit. Note how texture and dimensionality emerge from the shadows the directional light now casts across surfaces.
Side-lighting reveals surface detail that front lighting erases entirely. Backlighting creates rim light and clean separation from the background; to make it work without silhouetting the subject, either meter carefully for the subject's face or introduce fill light. A collapsible 5-in-1 reflector bounced toward the subject from the shadow side is the most portable solution, and white foamboard works as a budget alternative in a pinch.
- Front light: safe exposure, flat mood, minimal shadow texture
- Side light: texture, drama, dimensionality through shadow
- Backlight: rim separation and depth, but requires fill or deliberate exposure compensation
Day 5: Chase the Golden Hour
Today's assignment requires one early morning session or one in the hour before sunset. Arrive at your location at least 20 minutes before the light peaks so you can scout and set up rather than scramble as conditions shift.
*Before prompt:* Shoot a frame at midday harsh light. Note the hard shadows and blown highlights. *After prompt:* Shoot the same or a similar subject at golden hour. Underexpose slightly (dial in -0.3 to -0.7 EV) to deepen the warm tones, then lift shadows in post.
Bracket your exposures. Golden hour moves fast; the quality of light can shift in under five minutes, and bracketing gives you more latitude in editing. Underexposing slightly protects highlights in camera and produces more saturated, cinematic color. You recover the shadows later in post; blown highlights are unrecoverable in any RAW file.
- Arrive 20 minutes early to scout and compose before the light arrives
- Underexpose by 1/3 to 2/3 stop for richer, more saturated color
- Bracket at least three exposures per composition
- Shoot RAW to maximize highlight and shadow recovery latitude
Day 6: Color and Camera Settings Discipline
Color is composition. Today's assignment focuses on restraint: choose one color or one tonal mood as your theme and build five frames around it. Pair this with a deliberate camera settings exercise using fixed white balance and manual ISO.
*Before prompt:* Shoot in auto white balance and auto ISO. Note the color inconsistency across frames. *After prompt:* Set a fixed white balance (Daylight or Cloudy outdoors, Tungsten indoors) and dial in ISO manually. Observe how consistent tonal rendering across a set makes editing faster and the series feel cohesive.
For portraits and static scenes, Aperture Priority is the most efficient mode: you control depth-of-field and let the camera handle shutter speed. Shift to Manual when working with off-camera flash or studio-like setups. For action, Shutter Priority with 1/500s or faster freezes motion cleanly; slower speeds (1/30s or below) produce intentional creative blur. Keep shutter speed at or above the reciprocal of your focal length to avoid camera shake: shooting at 85mm means 1/100s minimum.
- Aperture Priority: portraits, landscapes, controlled depth-of-field scenes
- Shutter Priority: sports (1/500s+), creative blur (1/30s or slower)
- Manual: controlled flash setups, studio-like environments
Simple One-Light Flash Setup
If you have a speedlight or a small monolight, place it 45 degrees above and to the side of your subject for classical portrait modeling. Use a small softbox or diffuser to soften the output. Reduce flash power and raise ambient exposure slightly for a natural blended look. This single-light configuration produces professional portrait results without a dedicated studio.
Day 7: Full Workflow Integration
The final day is not about shooting new images; it is about running the complete post-shoot workflow on everything you captured during the week. This is where inconsistent photographers lose time and consistent ones compound their gains.
Follow this sequence in order:
1. Import and immediately back up files to at least two locations (external drive plus cloud or a second drive)
2. Rate your selects on a 1-5 scale; only work on frames rated 3 or higher to reduce the editing set to a manageable number
3. Apply global adjustments first: exposure, contrast, and white balance corrections before anything else
4. Apply local corrections sparingly: dodge and burn for tonal shaping, selective sharpening on key detail areas only
5. Export in sRGB for web sharing; use ProPhoto RGB or Adobe RGB at 16-bit depth for print output
*Before prompt:* Open your weakest frame from the week. Diagnose specifically what failed: was it exposure, composition, light direction, or color? *After prompt:* Open your strongest frame. Identify the single decision that made it work, and write it in your settings log.
Keeping a written log of settings and decisions is the fastest accelerator available because it forces you to articulate why a frame succeeded or failed, not just whether it did.
Beyond the Week: The One-Lens Discipline
The single most consequential long-term practice you can adopt costs nothing and is the hardest sell: for three months, use only one camera body and one lens. No new purchases, no gear swaps. This constraint forces genuine familiarity with a focal length's specific character, its compression, close-focus behavior, and rendering, rather than reaching for a different tool whenever a composition gets difficult.
Mastering composition and light delivers measurably greater improvement than any body or lens upgrade. The photographers who progress fastest are consistently the ones who shoot more, critique more, and buy less. Submitting work to a peer group, whether a local camera club, an online community, or a structured photography challenge, accelerates the pattern recognition that eventually turns intentional technique into instinct.
This article was produced by Prism’s automated news system from verified source data, official records, and press releases, then run through automated quality and moderation checks before publishing. The system is built and supervised by the people who set the standards it runs under. Read our full AI policy.
Did this article answer your question?


