Master Portrait Lighting Techniques for Consistent, Repeatable Results
Loop lighting flatters almost every face; split lighting bisects it with drama. Here's how to build both from scratch and make them repeatable every single time.
If you want to capture flattering portraits, then you must master lighting," writes portrait photographer Darlene Hildebrandt. The good news, as she points out, is that this is more achievable than it sounds: "lighting patterns, that is, simple portrait lighting setups you can consistently use for nice-looking images," give you a repeatable framework regardless of whether you're shooting with strobes, speedlights, continuous LED lights, or natural window light.
This guide is built for portrait photographers working at the beginner-to-intermediate level, across disciplines including wedding, editorial, family, and headshot work. The goal is predictable, repeatable results: the kind of lighting control that lets you walk into any space, any session, and know exactly how to shape light around a face.
Understanding your light sources
Before touching a pattern or technique, it helps to categorize the light you're working with, because the source shapes every decision that follows.
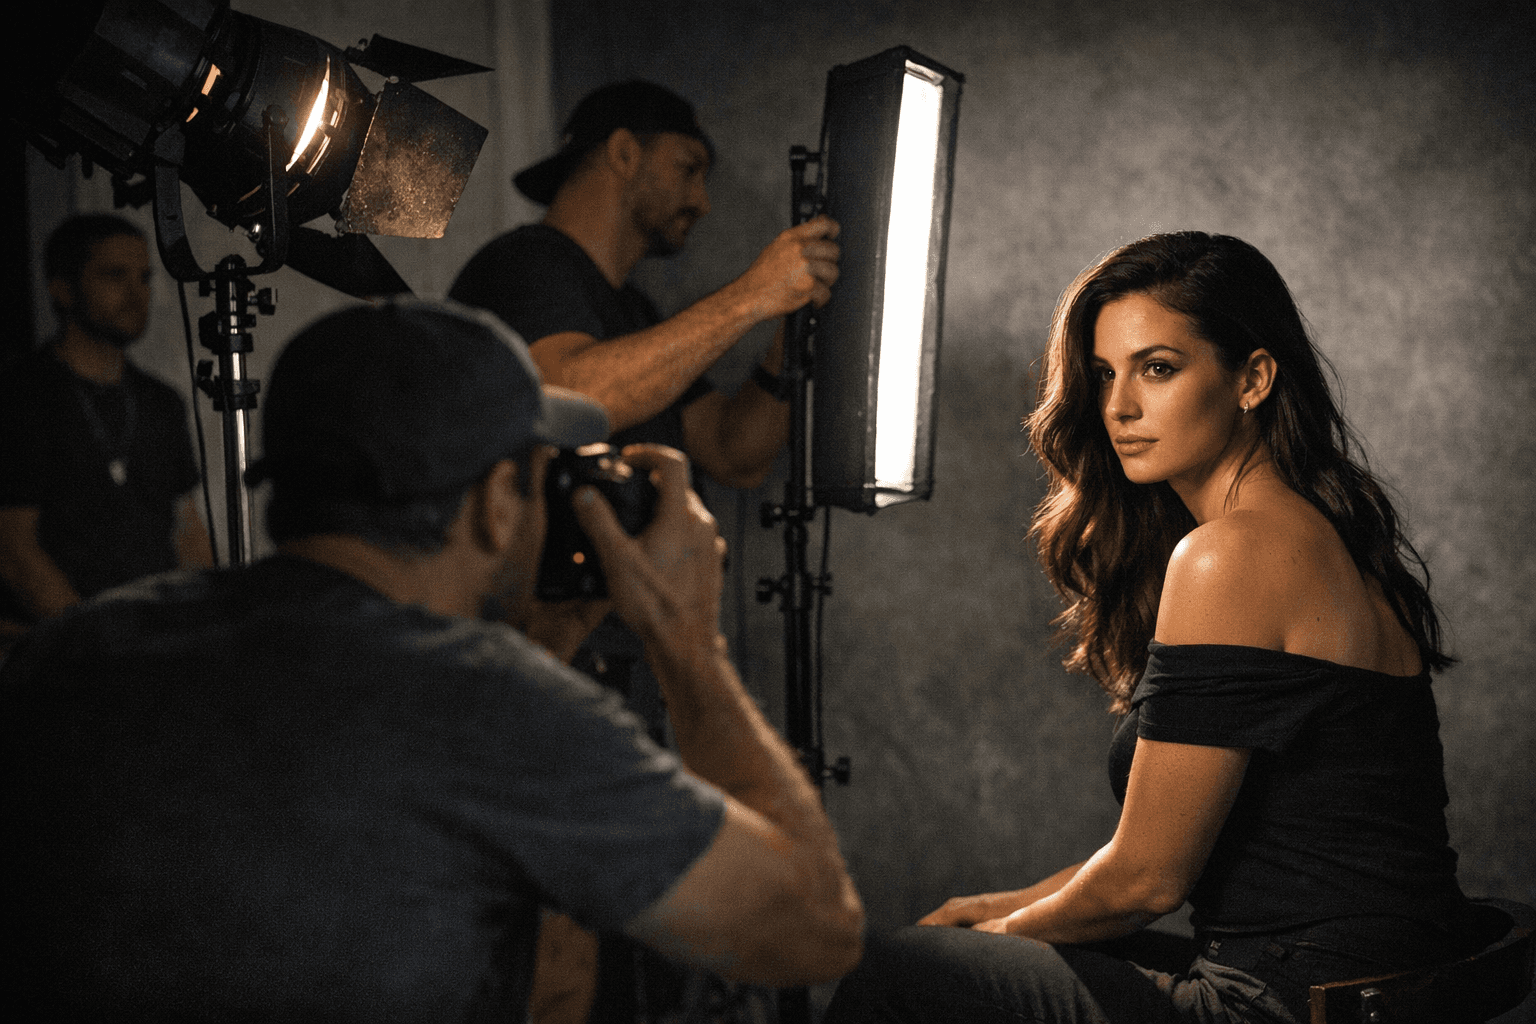
Natural light harnesses the glow of the sun, and is typically gentle and complimentary, making it well-suited for open-air portraits. Artificial sources, whether studio strobes, flashbulbs, or steady continuous lights, provide exact illumination and the freedom to mold light precisely as you envision. Ambient light, the existing illumination inside a room or specific location, crafts the overall feel of the portrait and understanding its role in your frame is essential. Finally, mixed lighting scenarios, those scenes with varied light origins, require mastering the nuanced blending of those sources into a cohesive result.
Knowing which category you're working in (or combining) determines how much control you have and where your creative constraints lie.
Loop lighting: the everyday workhorse
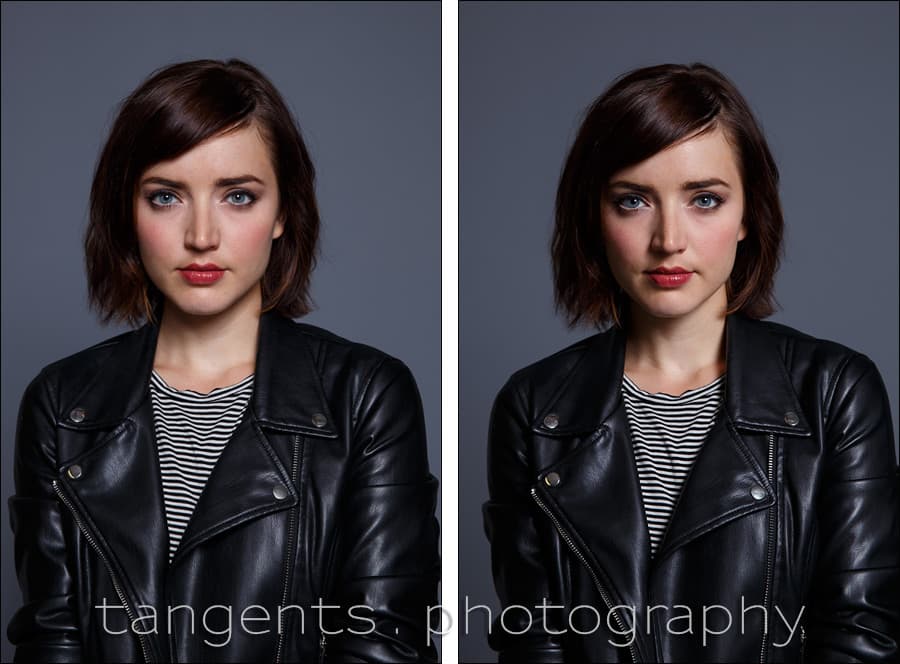
Of all the foundational patterns, loop lighting is arguably the most useful to internalize first. As Hildebrandt describes it, "Loop lighting positions a small shadow from the subject's nose across their cheek." That small, downward-falling shadow is the signature: it should land slightly to the side of the nostril, not directly beneath it.
Why does loop lighting dominate portrait work? "It's easy to create, plus it flatters most people," Hildebrandt notes, adding that some photographers consider it "the absolute best lighting for portraits, especially if you're a beginner."
The technical benchmark for getting loop right is a small triangular highlight that forms beneath the eye on the shadow side of the face. According to guidance from 500px, you should move your key light up or down until that signature triangle appears below the eye, aiming to get "the triangle to be approximately the same width as the eye above it and no longer; the highlighted triangle should also stop before crossing past the nose." Rotate the subject's head slightly if the triangle isn't landing quite right. It will take some finessing depending on the individual face.
For diffusion: whether you're using a softbox in studio or a window at home, the light should be heavily diffused. If working with a longer window, block off part of it so the light effectively comes from above the subject rather than washing across them from the side.
Split lighting: drama by geometry
Split lighting is exactly what the name suggests. As Hildebrandt describes it, the pattern "splits the face into two parts, one illuminated and one in shadow." To execute it, place your key light at a 90-degree angle to the right or left side of the subject's face, positioned at around eye-level. The goal for true split lighting is to have the face directly bisected through the middle, with minimal gradual shift from light to dark. "Needless to say, this look is a dramatic one," Hildebrandt writes, and when you want to soften that contrast slightly without losing the effect, a fill card on the shadow side will do the work.
It's worth noting that some patterns producing defined shadows, particularly those with a hard shadow under the nose, are tough to create using only window light or a reflector. You'll often need a hard light source such as the sun or a flash to produce those more sculpted results. Split lighting falls into this category.
Broad lighting: a style, not a pattern
Broad lighting occupies a slightly different conceptual space. As Hildebrandt clarifies, "technically, broad lighting isn't a portrait lighting pattern; it's a portrait lighting style, which you can use with loop lighting, Rembrandt lighting, or split lighting." The distinction matters because broad lighting describes a relationship between the face and the light, not a specific setup. You achieve it when the subject's face is slightly turned away from the camera and the side facing the camera is the illuminated side. It tends to open up and widen the face, which is why it's often paired with other patterns rather than used in isolation.
Catchlights: the detail that makes eyes alive
Across every pattern and style, catchlights are non-negotiable. Hildebrandt is direct about the stakes: "make sure at least one of your subject's eyes contains a catchlight, a bright spot of light that reflects from the light source. Otherwise, the eyes will appear lifeless, and the entire shot will likely be ruined."
For the most natural-looking result, one round catchlight in each eye works best, mimicking the quality you'd get from shooting with only the sun as your source. Portrait photographers commonly position catchlights at the "10 o'clock" or "2 o'clock" position relative to the subject's eye, though mood and intent can shift that. Whatever position you choose, make sure the eyes are sharp: the catchlight only does its job if the eye itself is in focus.
Cinematic and creative techniques
Once you have the core patterns down, there's a whole register of more experimental approaches worth exploring. The Silvergumtype blog describes cinematic lighting this way: "Cinematic lighting can create depth to your composition. It can also add texture and flavour."
One particularly unusual technique involves placing a single light at waist height and pointing it upward at the subject. "One light at the height of your waist pointing up at the subject will give an unusual look," the author writes. "It's not a typical lighting style, but when you mix this lighting with avant-garde clothing and makeup, it can look so good. This lighting creates drama wherever it is used."
The historical roots of this cinematic approach run deep. The Silvergumtype author traces their early research into light to Hollywood master photographers Sinclair Bull and George Hurrell, and credits that lineage with informing much of their own cinematic work. The author speaks with particular enthusiasm about older continuous "hot lights": "When mixed with Film lighting or, better still, the older hot lights such as Blondes (2K Halogen) and Redheads (1K Halogen), the texture of the subject's face literally looks like it emulsifies and has creamy looking skin and softens the skin. This is why the Hollywood master photographer's pictures look so beautiful." These are the author's subjective impressions drawn from their own practice, but they point to something real: the quality of light from a continuous warm source behaves differently from the sharp, cooler output of a modern strobe, and that difference is visible in how skin renders.
Building a consistent practice
Mastering the core patterns gives you more than just a collection of setups; it gives you a transferable language. As one practitioner puts it, "once you master the technique for each they map out into any other lighting types from flash to LED. Getting control of your light to create light, shape and form is essential to getting a diverse style of capture in your portfolio but equally having lighting techniques in your arsenal helps you work at different level."
Consistency comes from understanding the logic behind each pattern, not from memorizing positions. Loop lighting places a small nose shadow and a measured triangle of light under the eye. Split lighting bisects at 90 degrees. Broad lighting opens the face by illuminating its camera-side. Catchlights in every eye, heavy diffusion where flattery is the goal, and a hard source where definition is required: these are the repeatable variables that turn a good session into a reliably good body of work.
The cinematic techniques and the classic Hollywood influence are there when you want to push beyond the expected. But the patterns are the foundation, and no amount of creative lighting can substitute for knowing them cold.
This article was produced by Prism’s automated news system from verified source data, official records, and press releases, then run through automated quality and moderation checks before publishing. The system is built and supervised by the people who set the standards it runs under. Read our full AI policy.
Did this article answer your question?


